
That first stretch of thawed soil always makes me itch to “do something” in the garden. After a long winter, it is tempting to rake hard, cut everything to the ground, and dump on fertilizer like we are trying to make up for lost time.
But spring perennial care is really about gentle, well-timed steps. You are waking up crowns, bulbs, and beneficial insects that have been resting right where you want to dig. This checklist walks you through what to do first, what can wait, and how to avoid two common spring mistakes: working wet soil and cleaning up too aggressively.
Before you start: quick spring readiness check
Wait for workable soil
If soil sticks to your boots and tools in heavy clumps, it is still too wet. Working beds when they are saturated compacts the soil and squeezes out air, which is tough on perennial roots all season long.
A simple guideline: squeeze a handful of soil. If it forms a sticky ball that does not crumble when you poke it, give it more time. (Clay soils can ball up even when they are close to workable, so also pay attention to how easily the soil breaks apart and whether you are leaving shiny, smeared footprints.)
Gather a few gentle tools
- Hand pruners and clean scissors
- A small hand rake or fan rake (light pressure only)
- Gloves and a bucket for debris
- Compost or leaf mold
- A slow-release, balanced fertilizer (optional, see notes below)
- Mulch for topping up later
One more “tool” I lean on every spring: a warm drink and patience. Spring is not a race, and your plants will thank you for slowing down.
1) Clear debris without damaging new growth
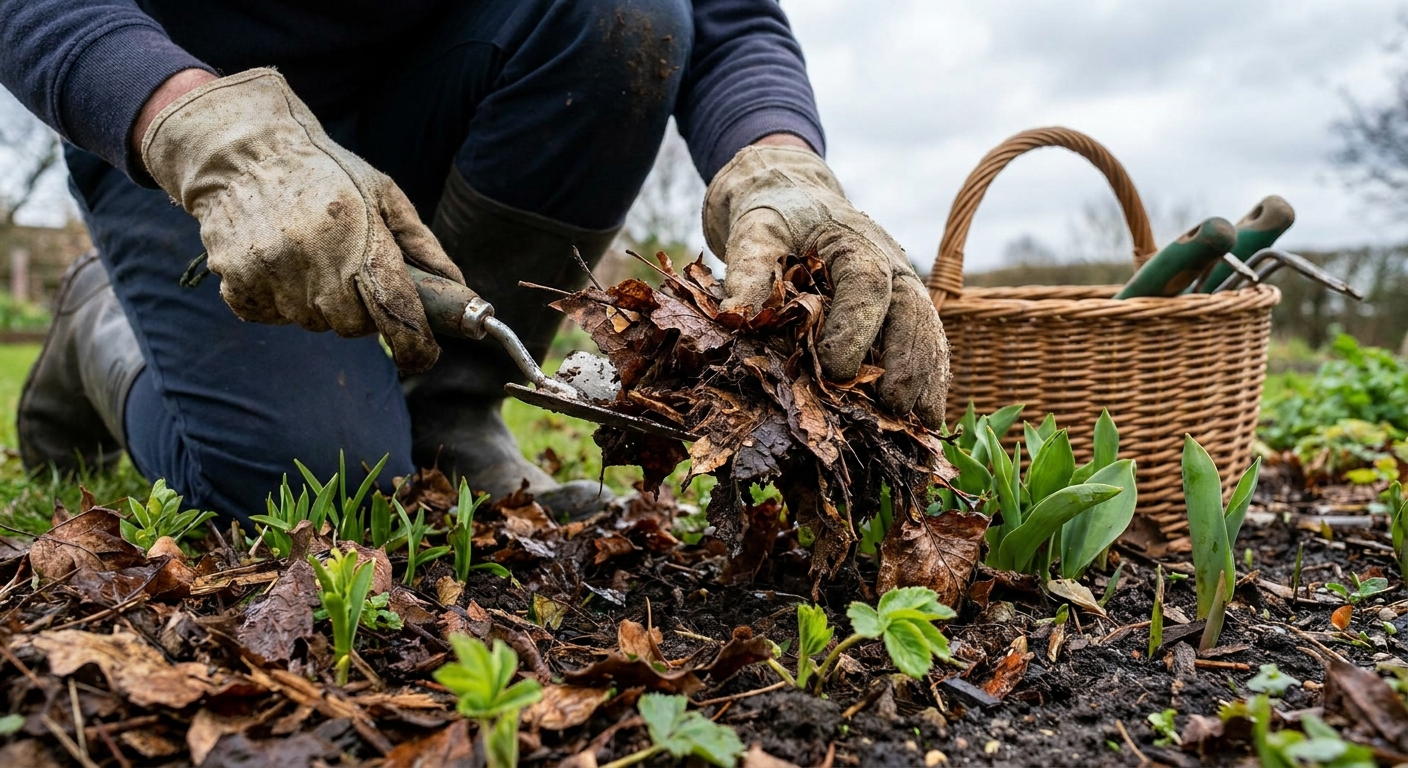
Winter leaves behind a blanket of stems, fallen foliage, and sometimes snow-molded mats of mulch. Your goal is to open the bed to light and air while protecting the tender tips that are already pushing up.
Start with the biggest pieces
Pick up sticks, broken stems, and chunky leaf piles by hand first. I like to work in small sections so I do not step on emerging shoots while reaching across the bed.
Lift, do not rake hard
Raking can be useful, but spring raking should be more like combing the surface. Use light strokes and lift matted leaves up and away from crowns. If you have creeping groundcovers (creeping phlox, ajuga, thyme), skip raking right over them and use your fingers instead.
Leave a little habitat on purpose
Not every hollow stem needs to go immediately. Many beneficial insects overwinter in plant debris. If you can, keep a small “messy corner” or a tucked-away pile of stems and leaves until nights are consistently mild. In tidy front beds, I compromise by removing the worst of the matting now and delaying the finer cleanup for a week or two.
2) Cut back last year’s growth the safe way
Spring cutting back is part cleanup, part plant health. Removing old stems improves airflow and can help reduce disease carryover for some common problems that overwinter on debris.
General rule: cut to just above the crown
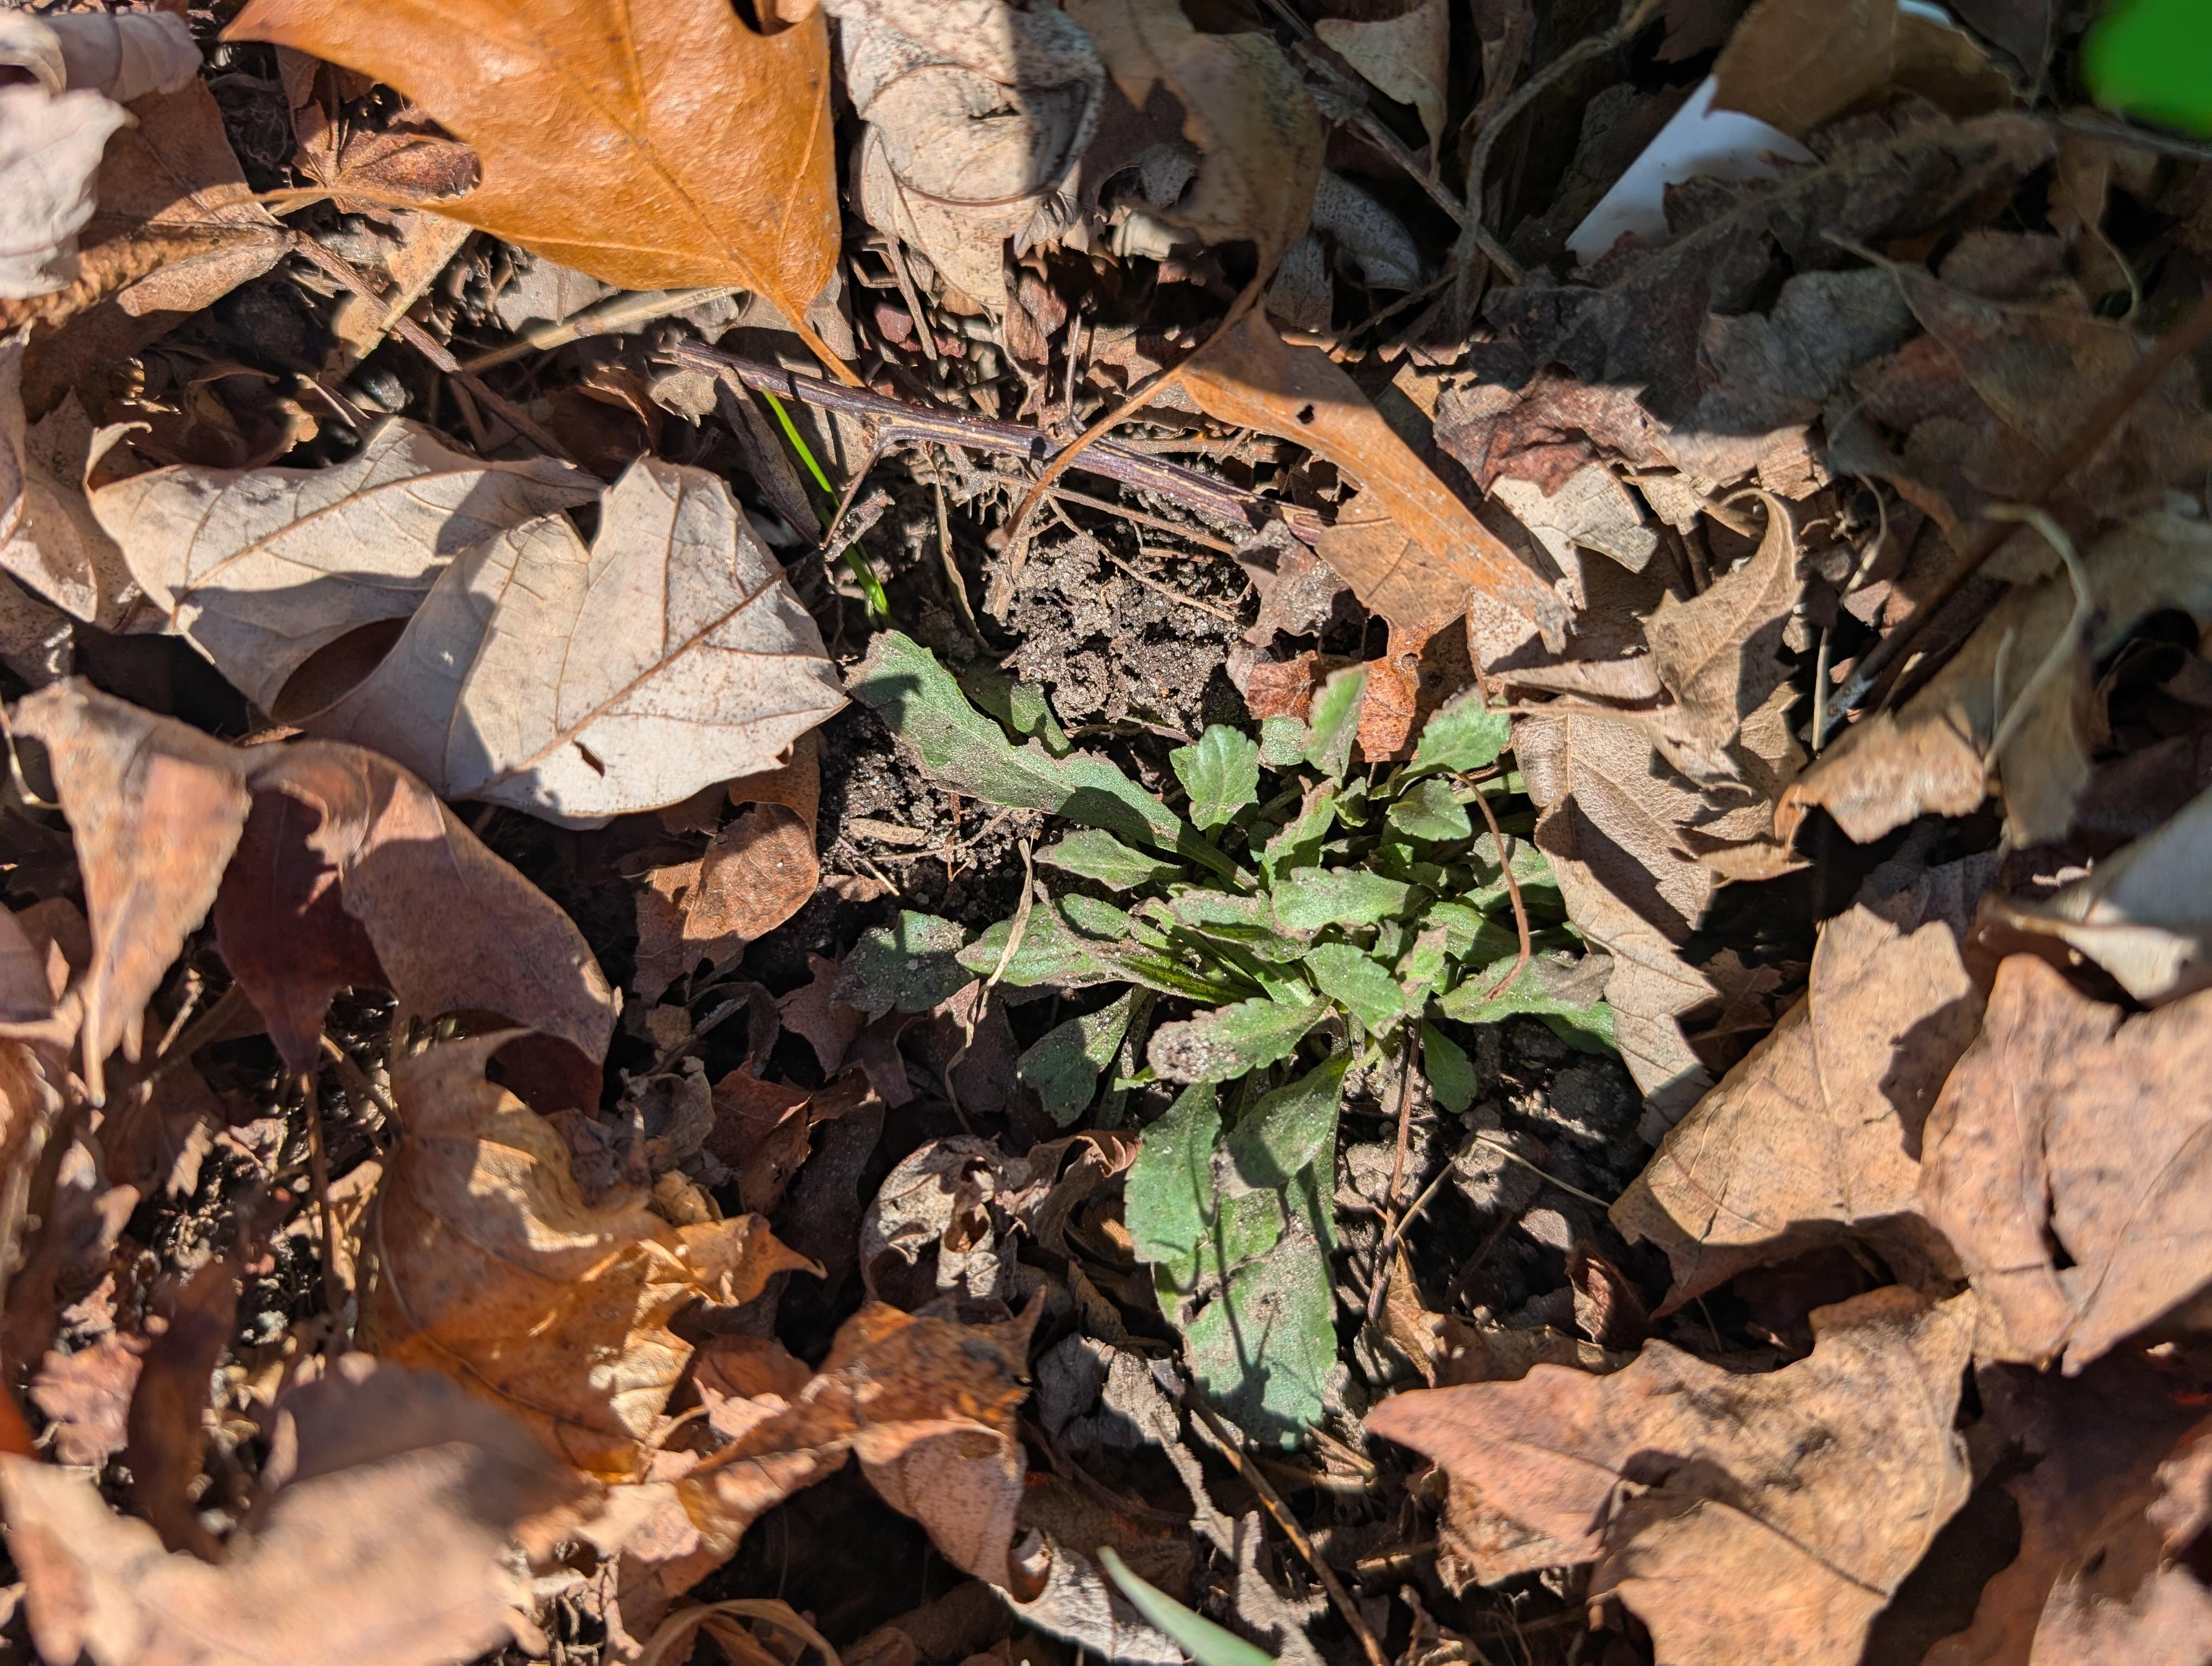
For most perennials, trim dead stems down to a few inches above the soil line, staying clear of swelling buds at the base. If you cannot easily tell what is alive, wait. A surprising number of perennials look “gone” until warmer weather arrives.
What to do with common perennial types
- Ornamental grasses: Cut back before you see lots of fresh green blades threading through. Tie the clump loosely with twine, then cut in sections for less mess.
- Woody perennials (lavender, Russian sage in colder zones): Avoid cutting into old, leafless wood unless you see green growth there. Many woody types resent hard spring pruning.
- Plants with basal rosettes (heuchera, dianthus): Skip heavy cutting. Just remove dead outer leaves by hand so you do not slice the crown.
- Evergreen perennials (hellebores, some sedums): Clean up tattered leaves and winter-burned foliage. Hellebores often benefit from removing last year’s leaves so flowers are easier to see and stay cleaner.
Sanitize when disease was a problem
If you had powdery mildew, leaf spot, or stem rot last year, do not compost the infected debris in a cool pile. Bag it for municipal yard waste or hot compost it only if your pile reliably heats up. When in doubt, keep questionable material out of the compost.
3) Gently loosen crusted soil and check drainage
After snow and rain, soil can form a crust that sheds water instead of absorbing it. You do not need to till a perennial bed, but a little surface attention helps.
Fluff, do not dig deep
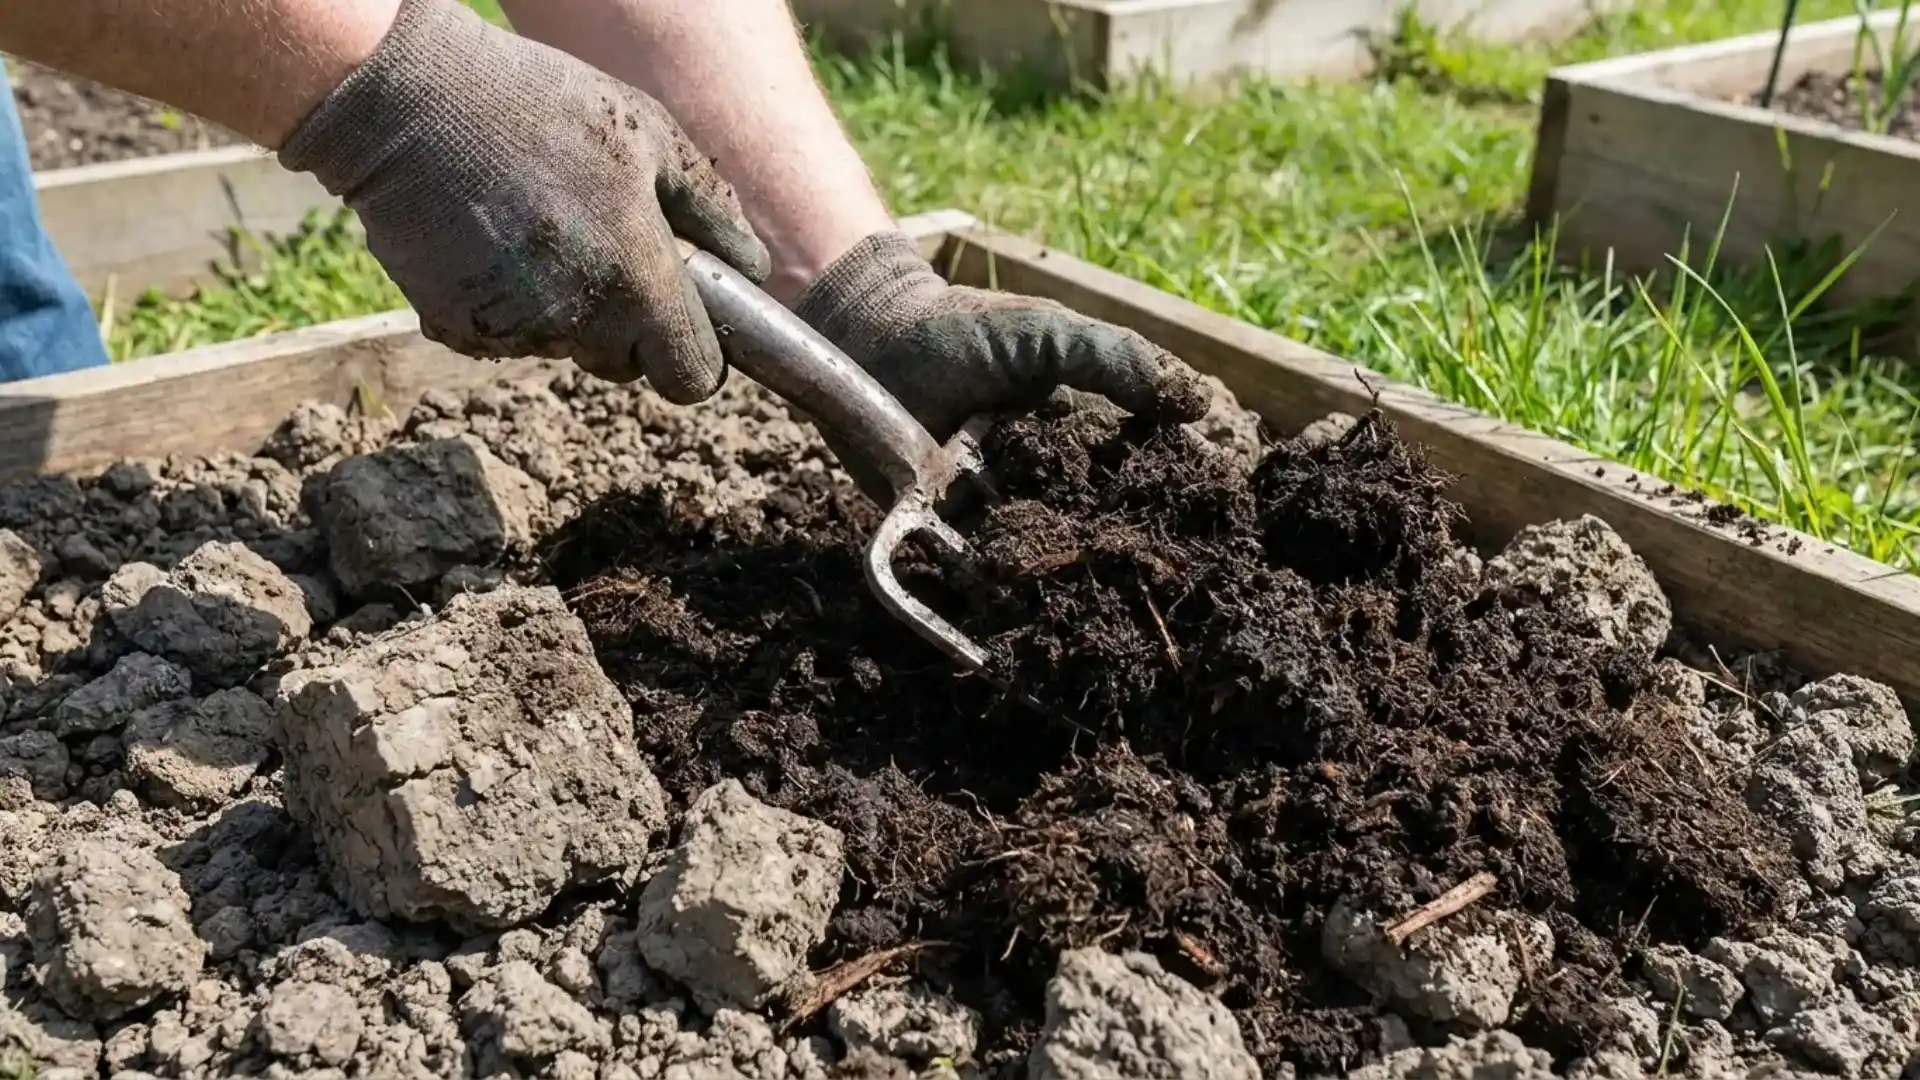
Use a hand cultivator to lightly scratch the top inch of bare soil areas, avoiding roots and emerging shoots. In established beds, most of the action you want happens on the surface: better water infiltration and easier top-dressing with compost.
Look for puddling and runoff
If water sits for hours in one spot, take note. Spring is the best time to observe drainage patterns. Sometimes the fix is as simple as adding organic matter over time and avoiding compaction. In chronically soggy pockets, consider relocating plants that hate wet feet and reserving the area for moisture-tolerant perennials (astilbe, ligularia, certain irises depending on species).
4) Feed the soil first: compost, then fertilizer if needed
I used to think spring gardening meant “feed, feed, feed.” What I have learned, after moving between very different soils and climates, is that most perennials do best with steady, soil-building care instead of heavy doses of quick nutrients.
Top-dress with compost or leaf mold
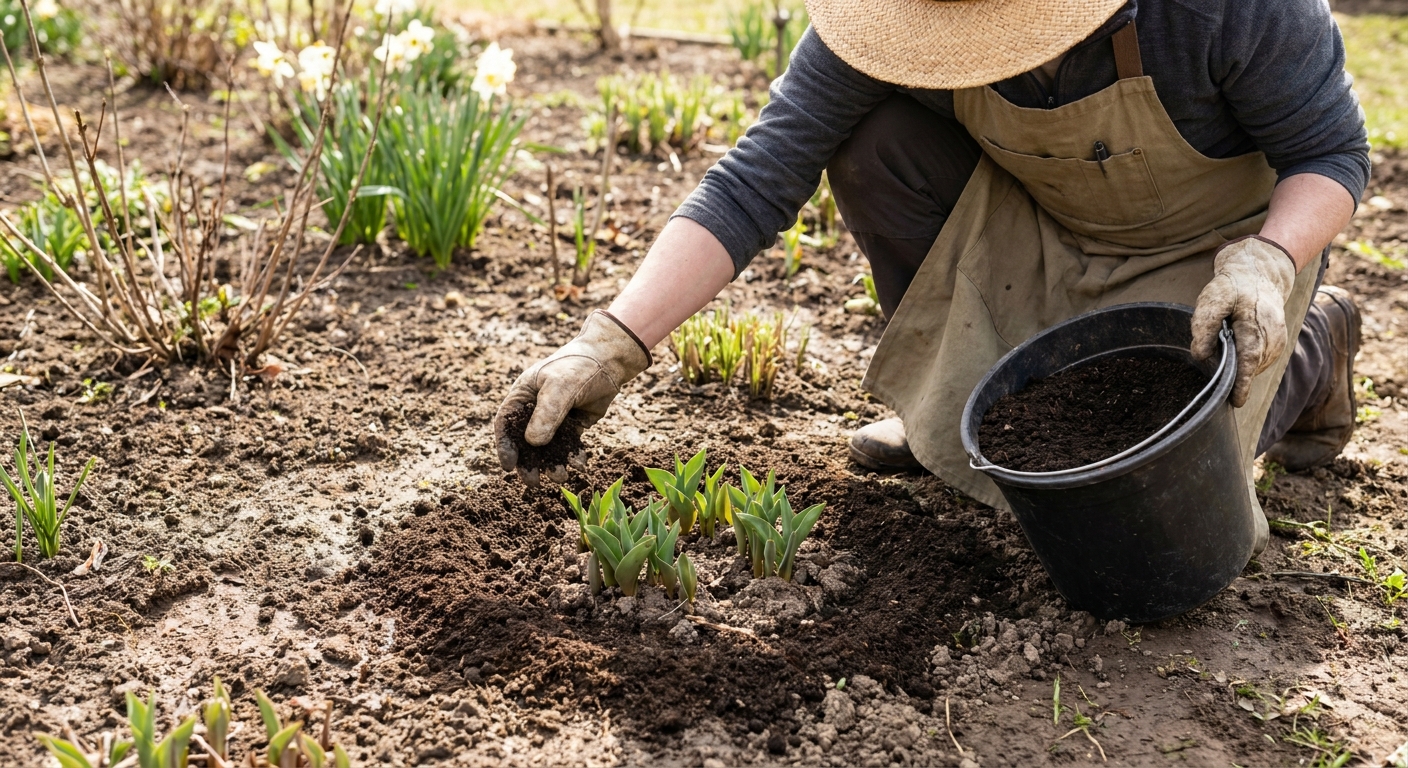
Spread 1 to 2 inches of finished compost around plants, keeping it a finger-width away from crowns to prevent rot. This is my favorite spring habit because it improves soil structure, supports beneficial microbes, and provides a gentle nutrient boost.
Do you need fertilizer?
Sometimes yes, often no. Consider fertilizer if:
- Your soil is very sandy and leaches nutrients quickly
- Plants were pale, stunted, or reluctant to bloom last year
- You have heavy feeders in the bed (some garden phlox, delphiniums, large clump-formers)
If you fertilize, choose a slow-release, balanced option and follow label rates. More is not better. Too much nitrogen can lead to floppy growth and fewer flowers, especially for sun-loving bloomers.
Skip fertilizing these situations
- Newly divided or transplanted perennials: Let roots settle in. Compost is enough.
- Right before a hard cold snap: In very swingy springs, I wait until plants are clearly growing.
- When you already mulched with manure in fall: You may already be ahead of the game.
5) Refresh mulch, but not too early and not too deep
Mulch is wonderful for moisture retention, weed suppression, and soil health. In early spring, timing matters.
Wait until the soil has warmed a bit
If you pile on mulch while the ground is still very cold, you can slow warming and keep the surface damp longer. I like to do a light tidy first, then mulch once I see several perennials actively leafing out. In very windy or erosion-prone sites, a thin layer earlier can make sense, but I still keep it light until the ground wakes up.
Mulch depth and placement
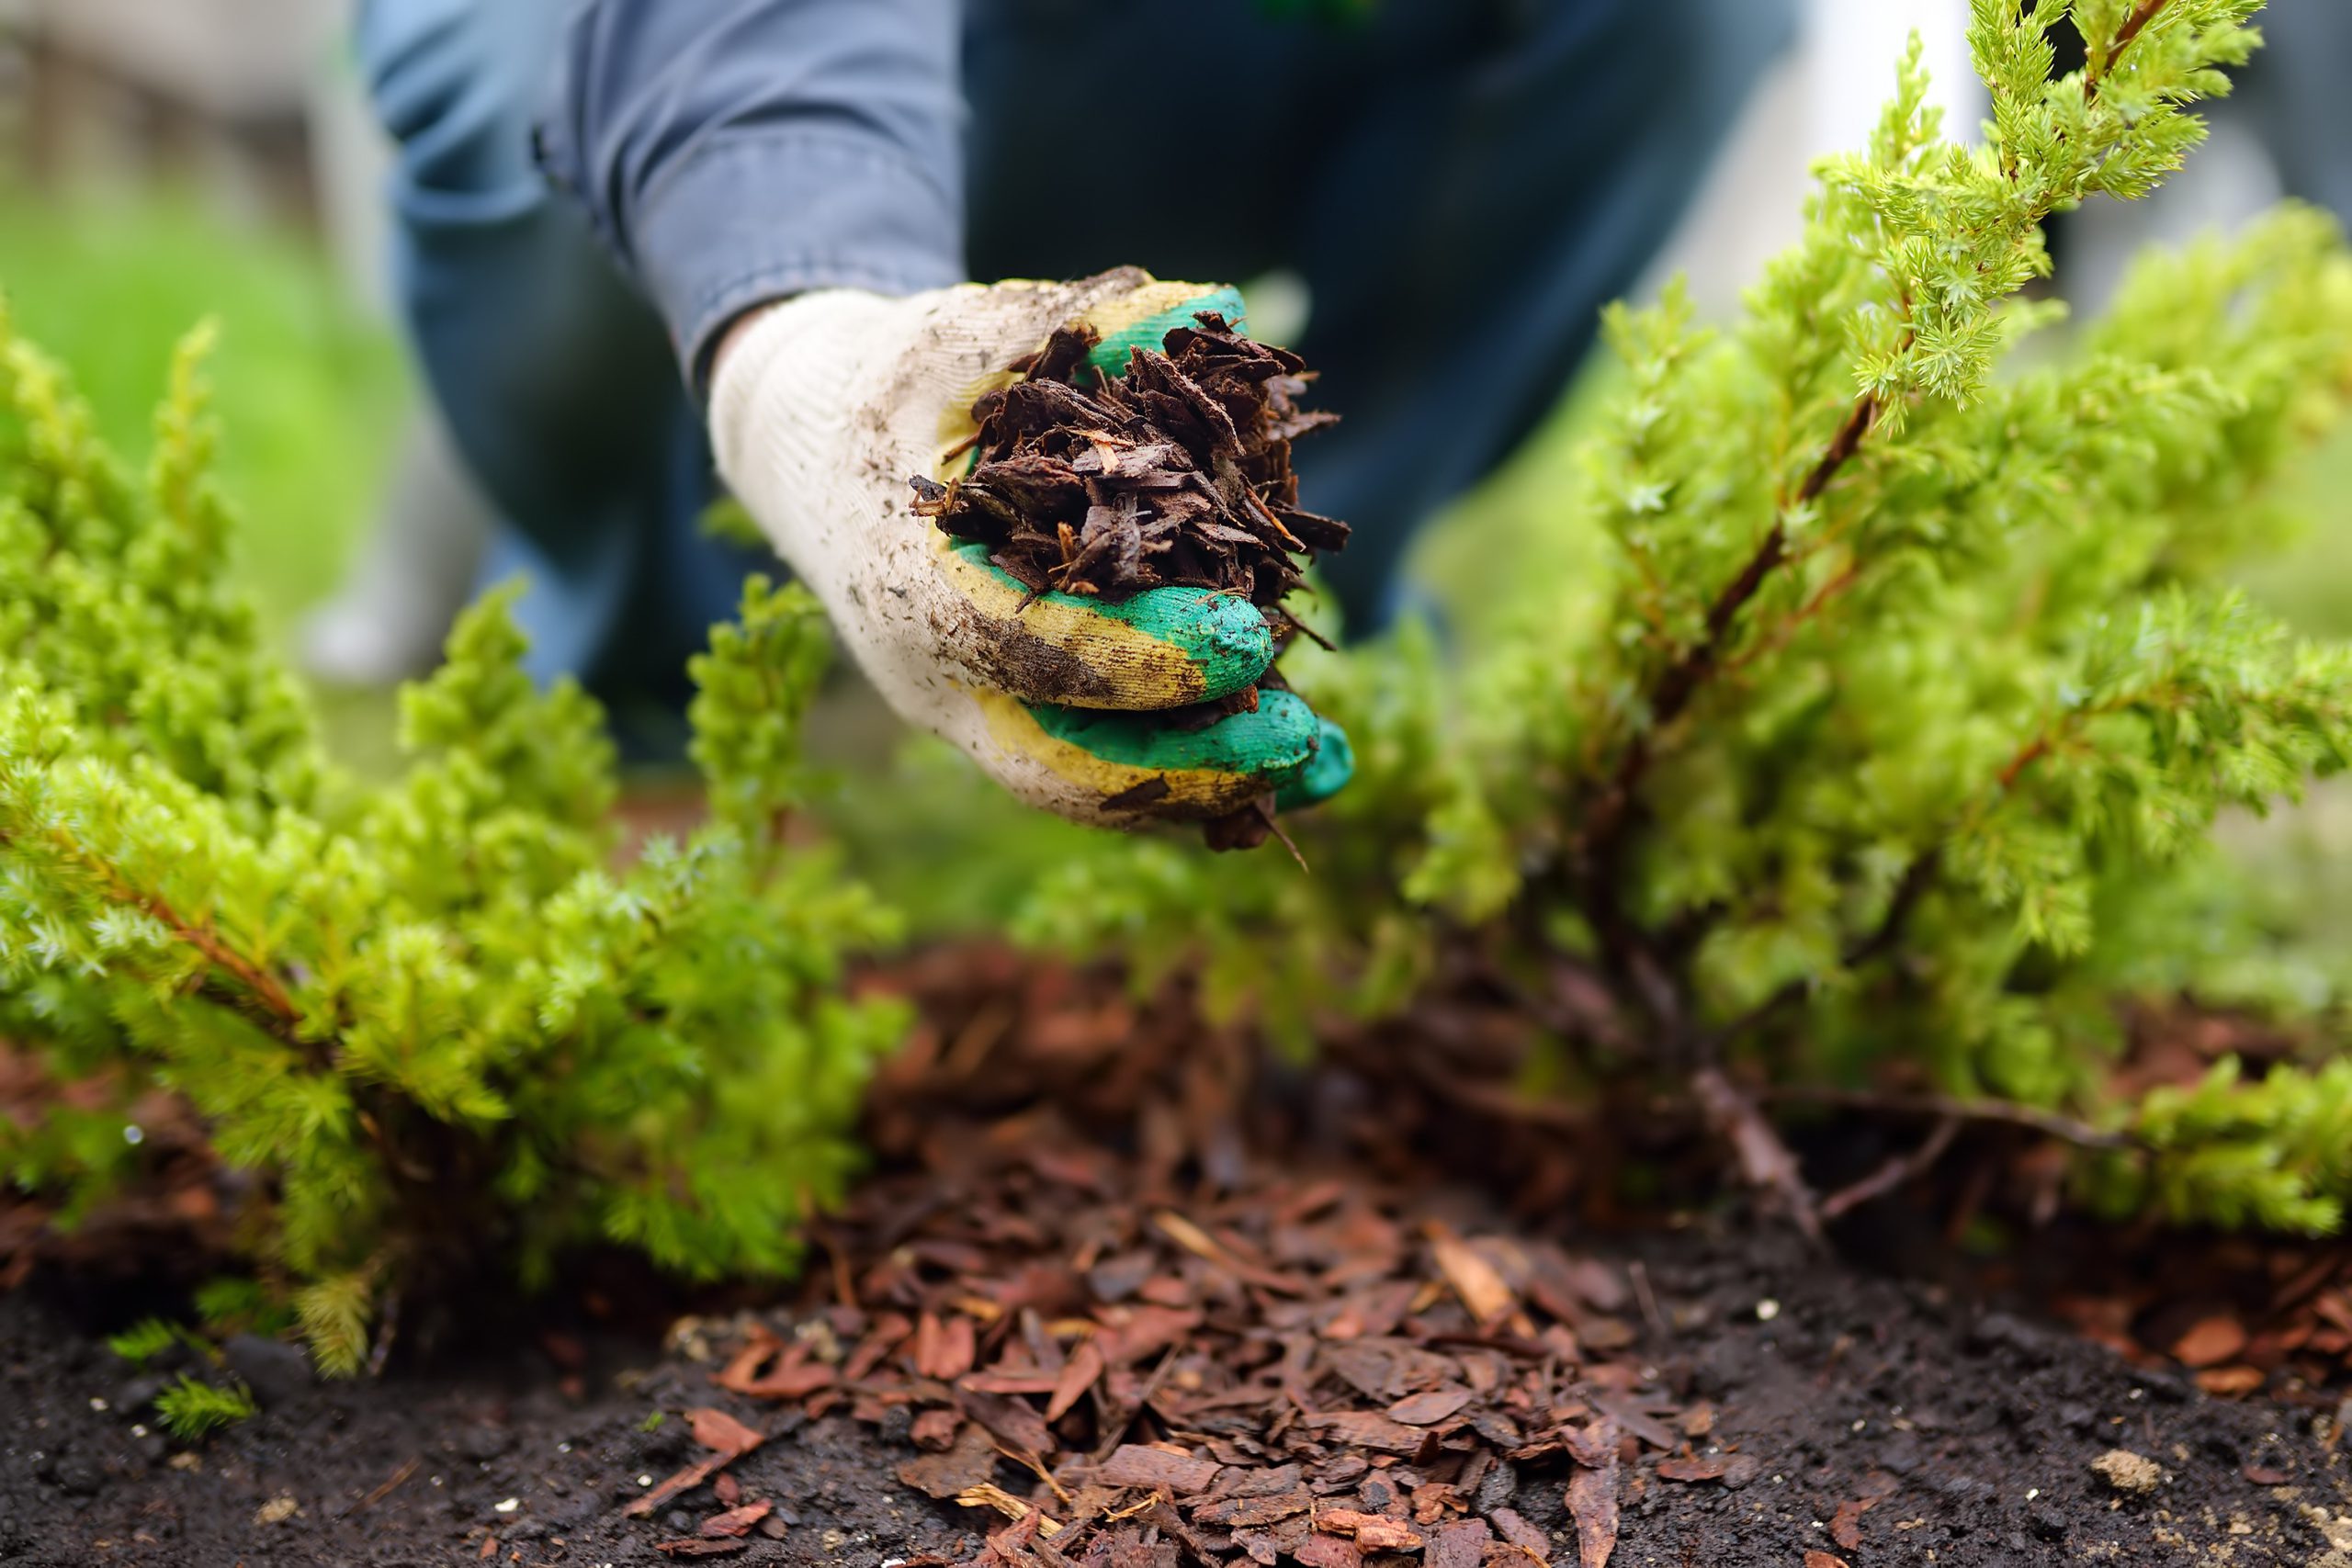
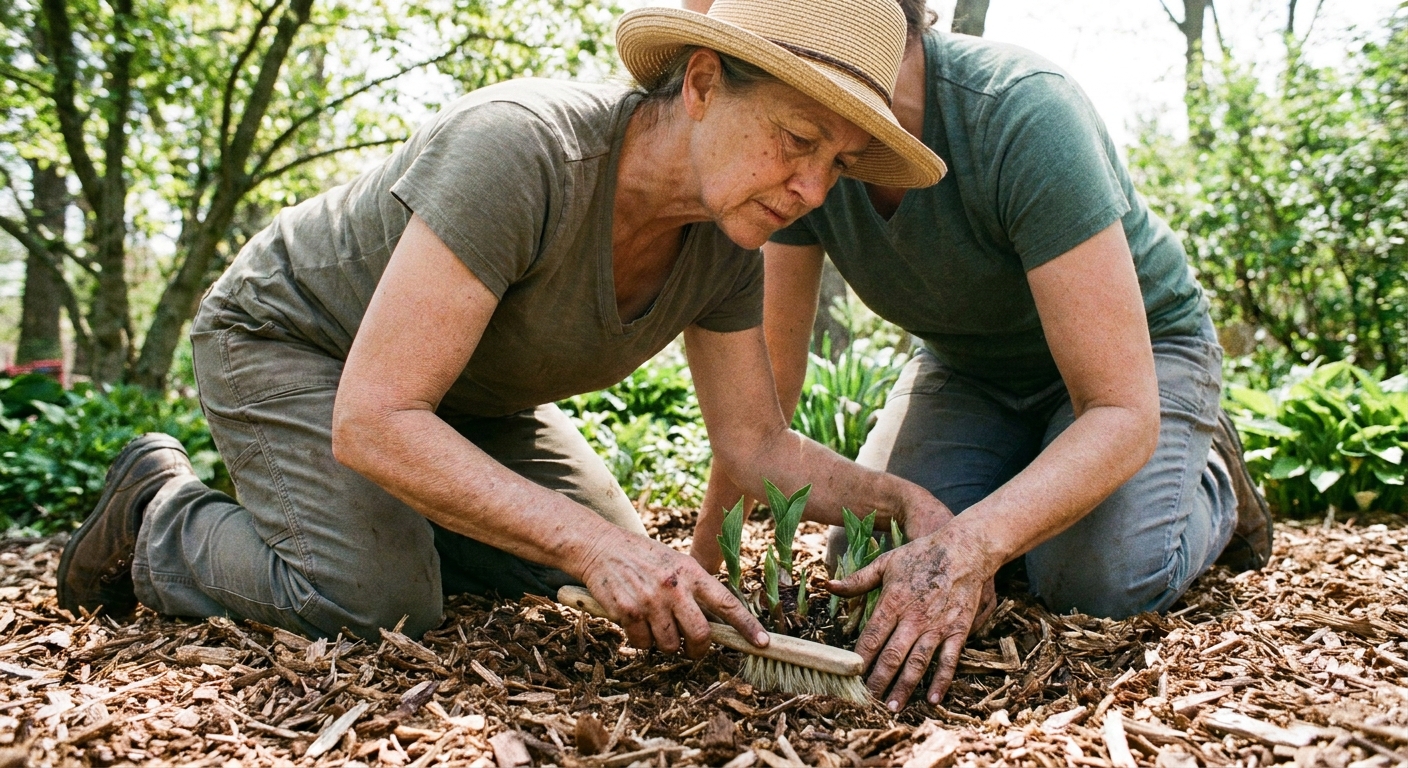
- Aim for 2 to 3 inches of mulch in most perennial beds.
- Keep mulch pulled back from crowns to prevent rot.
- If you already have mulch, you may only need a thin top-up to cover bare patches.
One small trick: if you struggle with slugs, avoid burying crowns in thick, damp mulch. Give plants breathing room and water in the morning so the surface dries by night.
6) First inspections: catch problems early
This is the part of spring care that saves the most frustration later. Five minutes of inspection now can prevent weeks of troubleshooting in June.
Check for winter heaving
Freeze-thaw cycles can push shallow-rooted perennials up out of the soil. Look for lifted crowns and exposed roots. Gently press the plant back into place and firm the soil around it. If the plant is badly loosened, add a little soil and a light mulch layer to stabilize it.
Look for crown rot and mushy spots
Healthy crowns are firm. If you find soft, smelly, or blackened tissue at the base, remove what you can with clean pruners and improve airflow around the plant. Sometimes thinning nearby growth and pulling mulch back is enough. In severe cases, it can be kinder to remove the plant and replant in better-draining soil.
Scout for pests before they multiply
- Slugs and snails: Look under boards, pots, and dense mulch. Hand-pick at dusk if you spot them early.
- Aphids: Check tender new growth. A strong spray of water often knocks them back and buys you time.
- Cutworms: If seedlings or fresh shoots are clipped at the base, consider simple collars around vulnerable plants.
Do a quick stem and bud check
On plants like peonies, daylilies, and hostas, spring is when you can spot distorted growth early. If something looks odd, take a photo and watch for a week. Many “problems” are simply weather-related hiccups that correct themselves as conditions stabilize.
7) Divide, transplant, and water wisely
Spring is also when many of us get the urge to move things around. A little timing goes a long way here.
When to divide perennials
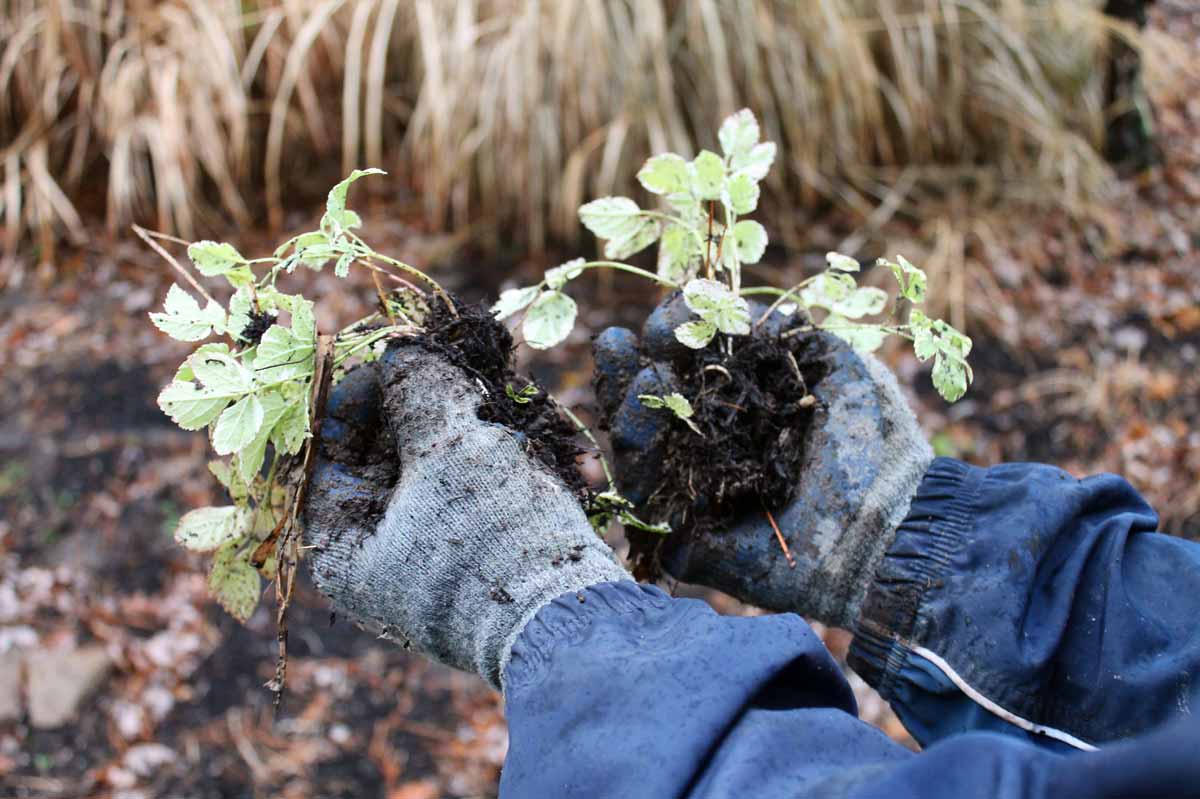
As a general rule, divide when the plant is just waking up and you can see the growth points, but it has not put on a lot of top growth yet. I aim for shoots in the 2 to 4 inch range, on a cool day with decent soil moisture.
- Spring and early-summer bloomers (iris, peony, creeping phlox): often prefer dividing after flowering, but you can still lift and reset a struggling clump in early spring if you are gentle.
- Summer and fall bloomers (coneflower, rudbeckia, asters): are usually happy to be divided in spring.
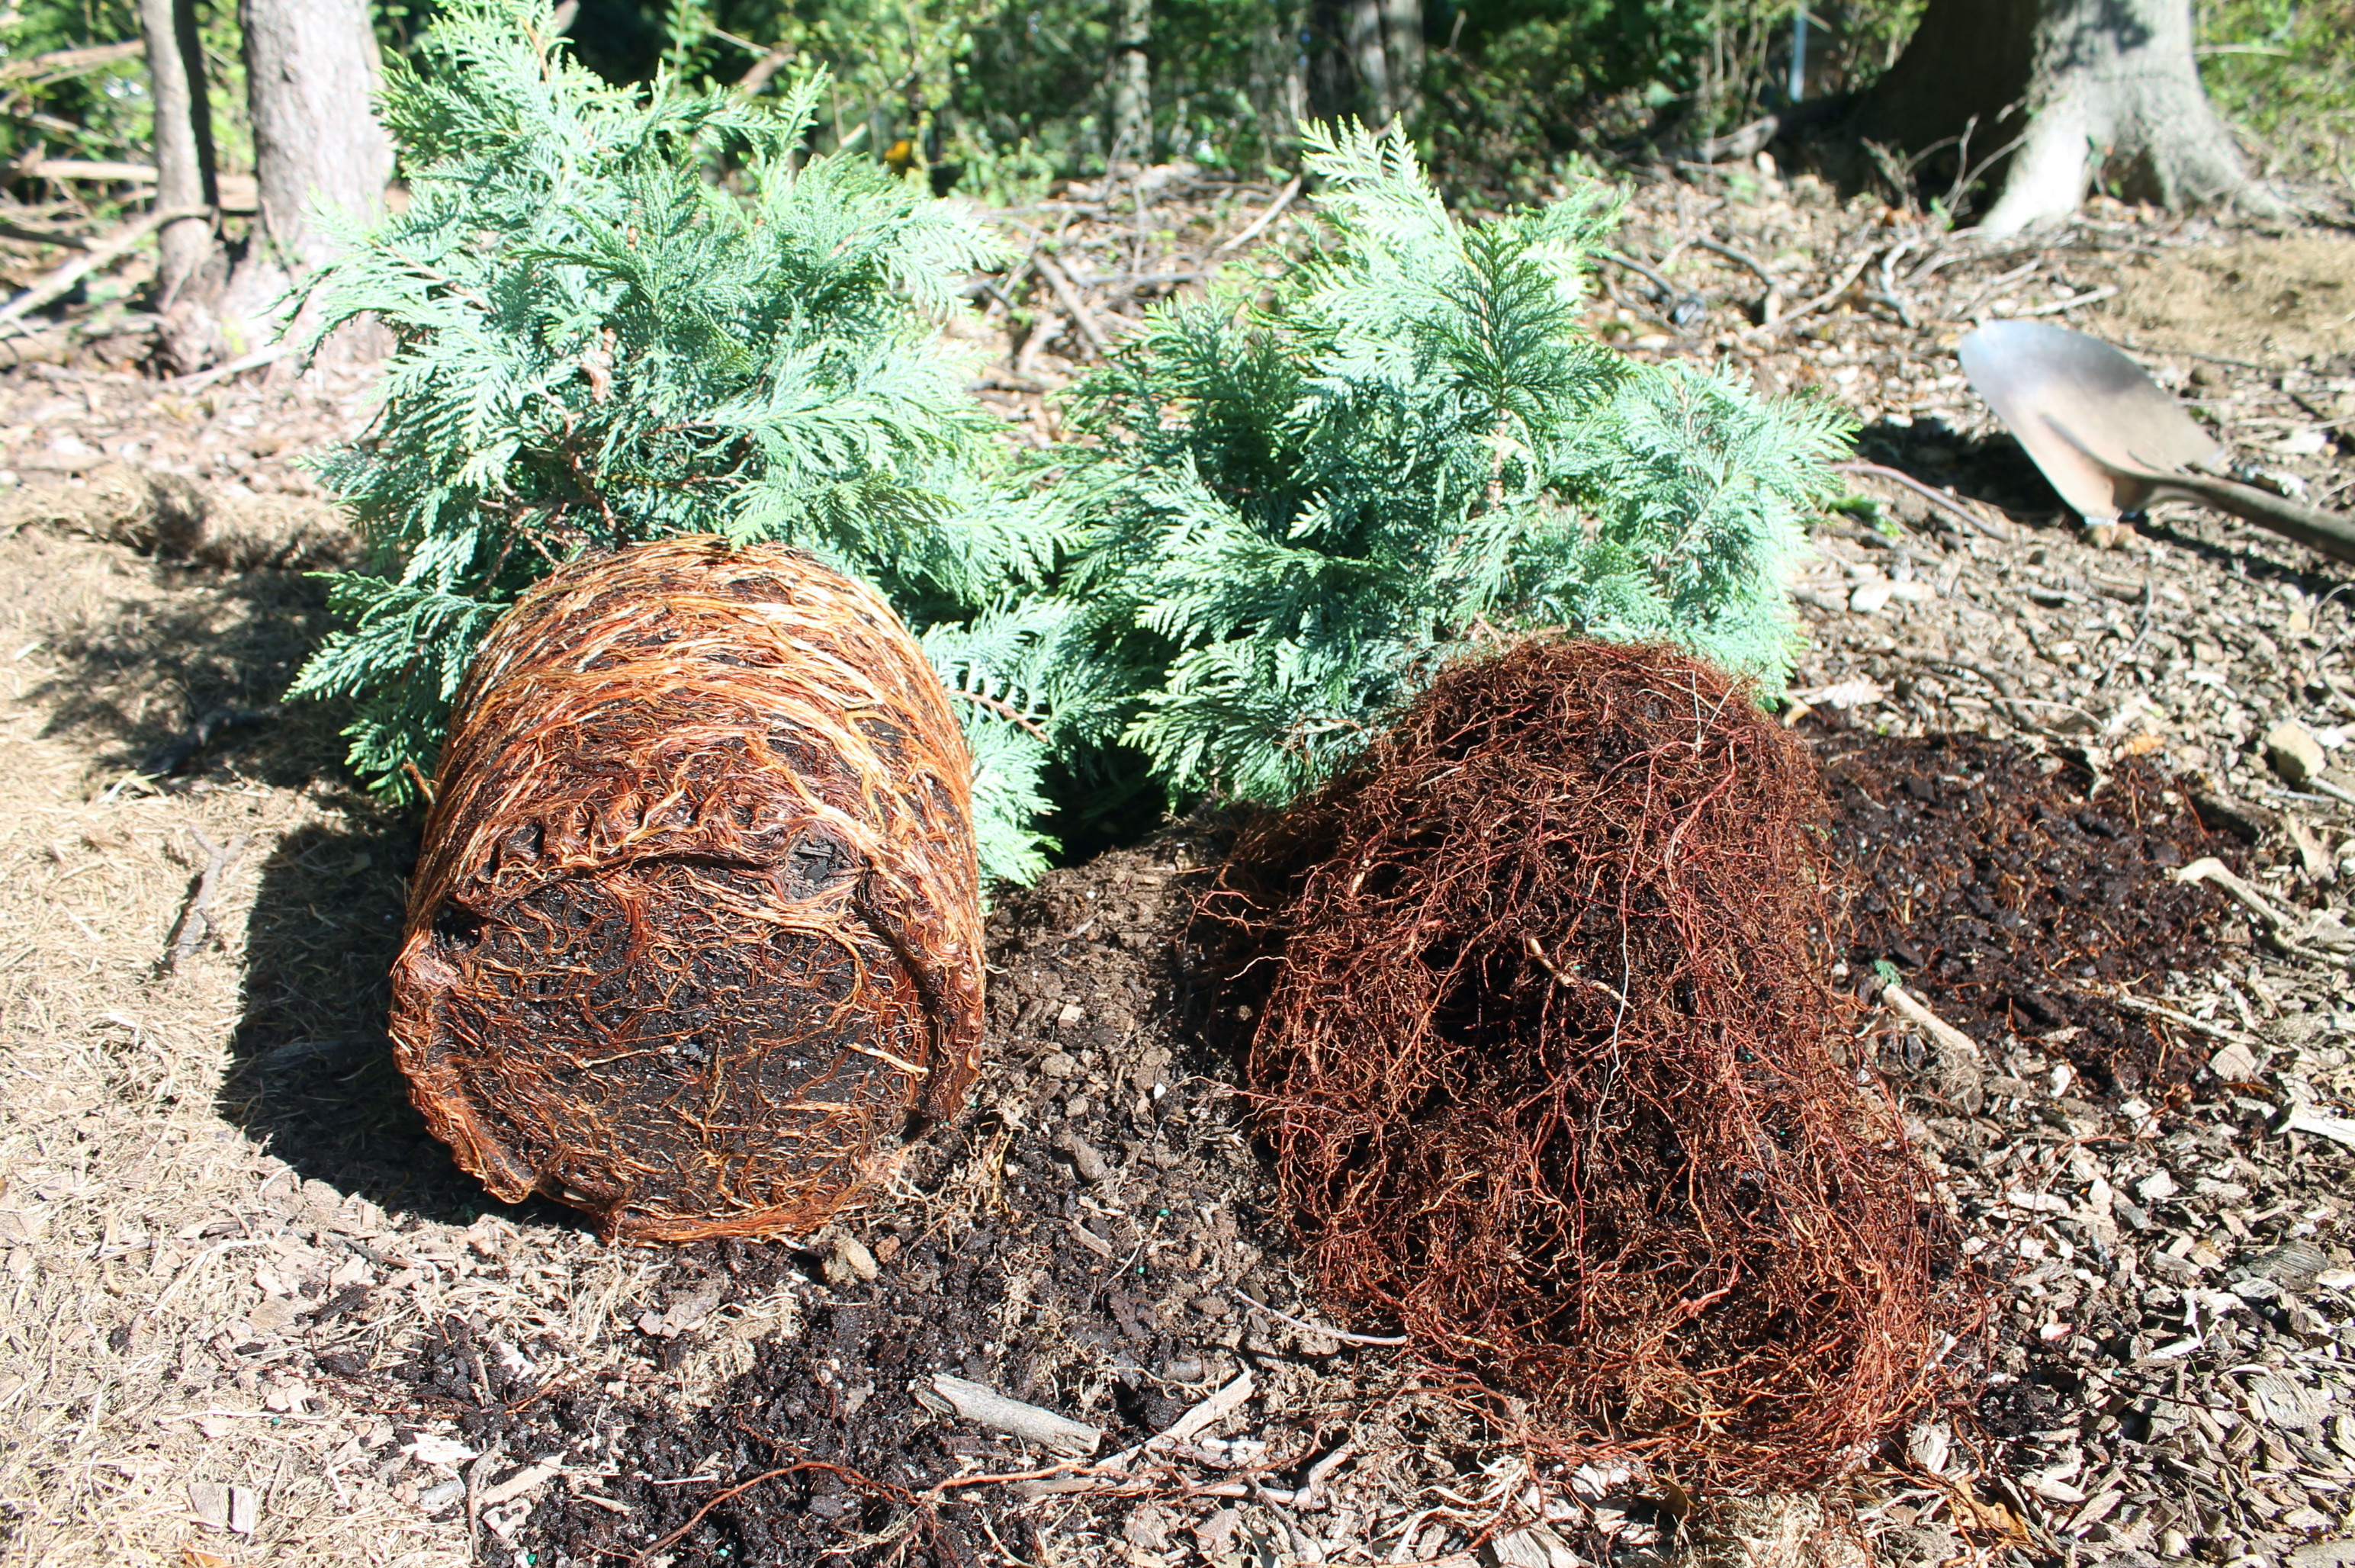
After dividing or transplanting, keep the crown at the same height it was growing before, and water to settle the soil around the roots.
Early-season watering
In many gardens, spring rain does most of the work. The main mistake I see is watering on a schedule when soil is still cold and slow to dry. Instead, check moisture with your finger. If the top couple of inches are dry, water deeply once, then let the surface dry a bit again. Newly planted and newly divided perennials need closer attention for the first few weeks, even in cool weather.
8) Early season support and small repairs
This step is easy to forget until plants are already flopping.
Put supports in early
If you use peony rings, grow-through supports, or discreet stakes for tall perennials, install them when plants are still short. It looks cleaner and prevents stem breakage later.
Edge beds and redefine paths
Spring is a nice time to tidy bed lines and refresh stepping stones. Small improvements make weeding and watering feel easier all season.
Label mystery plants
If you are like me, you will swear you will remember where you planted that new salvia. Then May arrives. A simple label now saves a lot of accidental weeding later.
A simple spring checklist
- Wait for workable soil
- Lift leaves and debris gently
- Cut back dead growth, protect crowns
- Top-dress with compost or leaf mold
- Fertilize only if needed, and go slow-release
- Mulch once growth is underway, keep it off crowns
- Inspect for heaving, rot, and early pests
- Divide or transplant at the right stage, then water in
- Add supports before plants get tall
FAQ
When is it safe to cut back perennials in spring?
When you can see what is alive and the soil is not waterlogged. If you are unsure, start by removing only loose debris and clearly dead stems. Many perennials reveal their growth points a little later than you expect.
Should I remove all the old stems for a clean garden?
You can, but it is not required all at once. Leaving some stems for a short time can support beneficial insects. If you prefer a tidy look, consider moving stems to a hidden corner for a couple of weeks before composting.
What is the best fertilizer for perennials in early spring?
If you need fertilizer, a slow-release balanced blend is a safe choice for mixed perennial beds. I prioritize compost first, then use fertilizer sparingly where plants truly need a boost.
Can I mulch as soon as the snow melts?
It is often better to wait until the soil begins to warm and you see active growth. Mulching very early can keep soil cooler and wetter longer, though a thin layer may be useful in windy, erosion-prone spots.
When should I divide perennials in spring?
When the plant is just starting to grow, but before it is tall and leafy. I look for shoots around 2 to 4 inches tall, then choose a cool day and replant promptly, keeping divisions watered as they re-root.