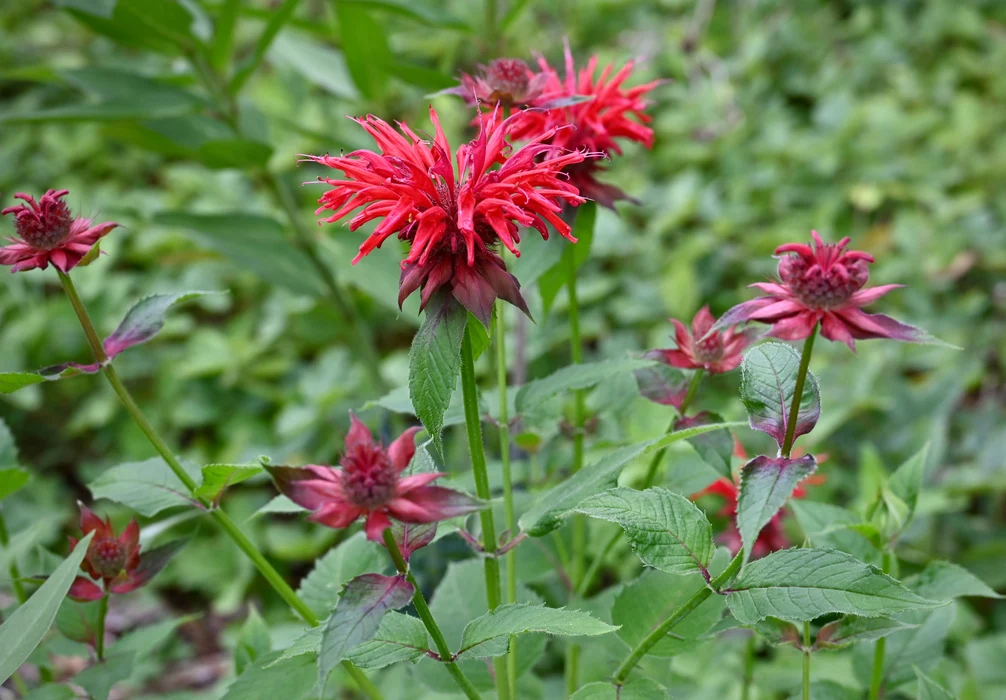

There is a particular moment every perennial gardener runs into: a plant that used to bloom like clockwork starts looking a little tired. The center goes bare, the flowers shrink, or the whole clump seems to heave itself out of the soil. Most of the time, it is not a mystery problem. It is simply an overgrown perennial asking for a reset.
Dividing sounds intimidating until you do it once. After that, it becomes one of the most satisfying ways to get healthier plants and free new ones for filling gaps, sharing with neighbors, or expanding a bed without spending a dime.
What dividing does
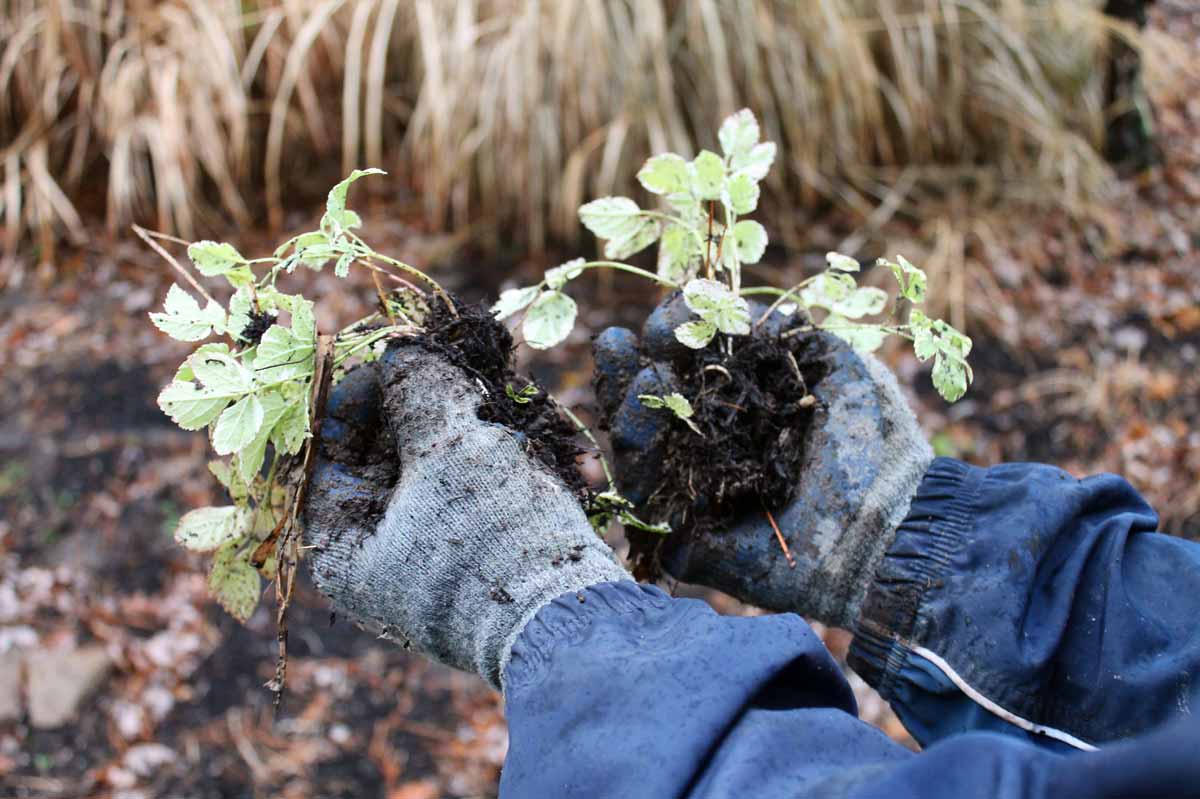
Dividing is separating one mature plant clump into smaller sections, each with roots and growing points (buds or shoots), then replanting those sections. For many perennials, this:
- Restores vigor by removing old, woody, crowded centers
- Improves blooming because new divisions have room and energy to flower
- Reduces disease pressure by increasing airflow and removing declining tissue
- Multiplies plants for a fuller, more continuous-bloom garden
Not every perennial wants this treatment, but many classic garden favorites truly thrive on it.
Signs it needs dividing
You do not need a calendar reminder. Your plants will show you when they are ready. Here are the signs I watch for in my own beds.
Clear signs
- Bald or thinning center: the middle of the clump has little growth while the outer ring looks fine (that classic “donut” look)
- Smaller blooms or fewer flowers than in previous years
- Flopping: stems fall outward because the crown is crowded and weak
- Slow spring wake-up compared to nearby plants
- Overcrowding neighbors: a clump has expanded enough to shade or squeeze nearby perennials
How often is typical?
Most perennials fall into a loose rhythm for dividing, but cultivar, soil, irrigation, and climate can speed this up or slow it down:
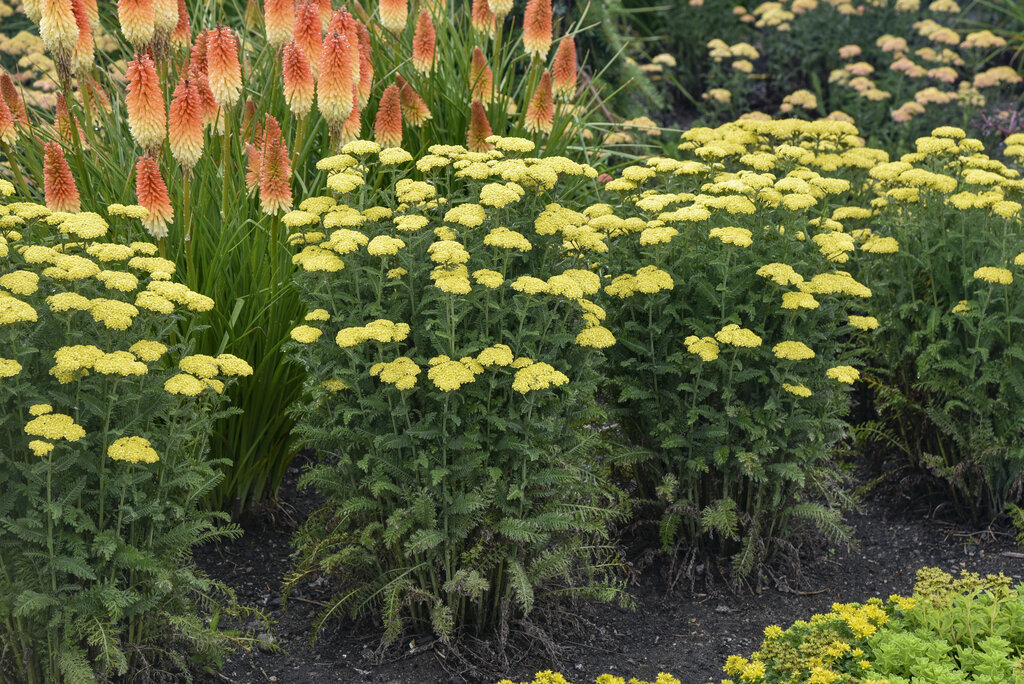
- Fast spreaders (often every 2 to 3 years): bee balm, yarrow, some asters
- Moderate growers (commonly every 3 to 5 years): daylilies, hostas, coreopsis
- Slow growers (5+ years or rarely): peonies (usually), some ornamental grasses
Treat these as a starting point, not a rule.
Good candidates and not
Before you dig, make sure your plant is a good candidate.
Usually happy to be divided
- Daylilies (Hemerocallis)
- Hostas
- Bearded iris (rhizomes, but the idea is similar)
- Black-eyed Susan (Rudbeckia)
- Shasta daisy (Leucanthemum)
- Phlox (garden phlox)
- Bee balm (Monarda)
- Sedum and hardy stonecrops (many types)
- Yarrow (Achillea)
- Asters
- Coreopsis
Use extra care or skip dividing
- Woody-based perennials (like mature lavender): often do better with replacement than division
- Taprooted plants (like mature baptisia): can resent disturbance once established
- Peonies: can be divided, but they dislike being moved and may take a year or two to bloom again
If you are not sure what you have, a quick plant ID and a look at its root type goes a long way. Fibrous roots and clumping crowns are usually friendly. Thick taproots and woody crowns are the “think twice” category.
Tools to grab
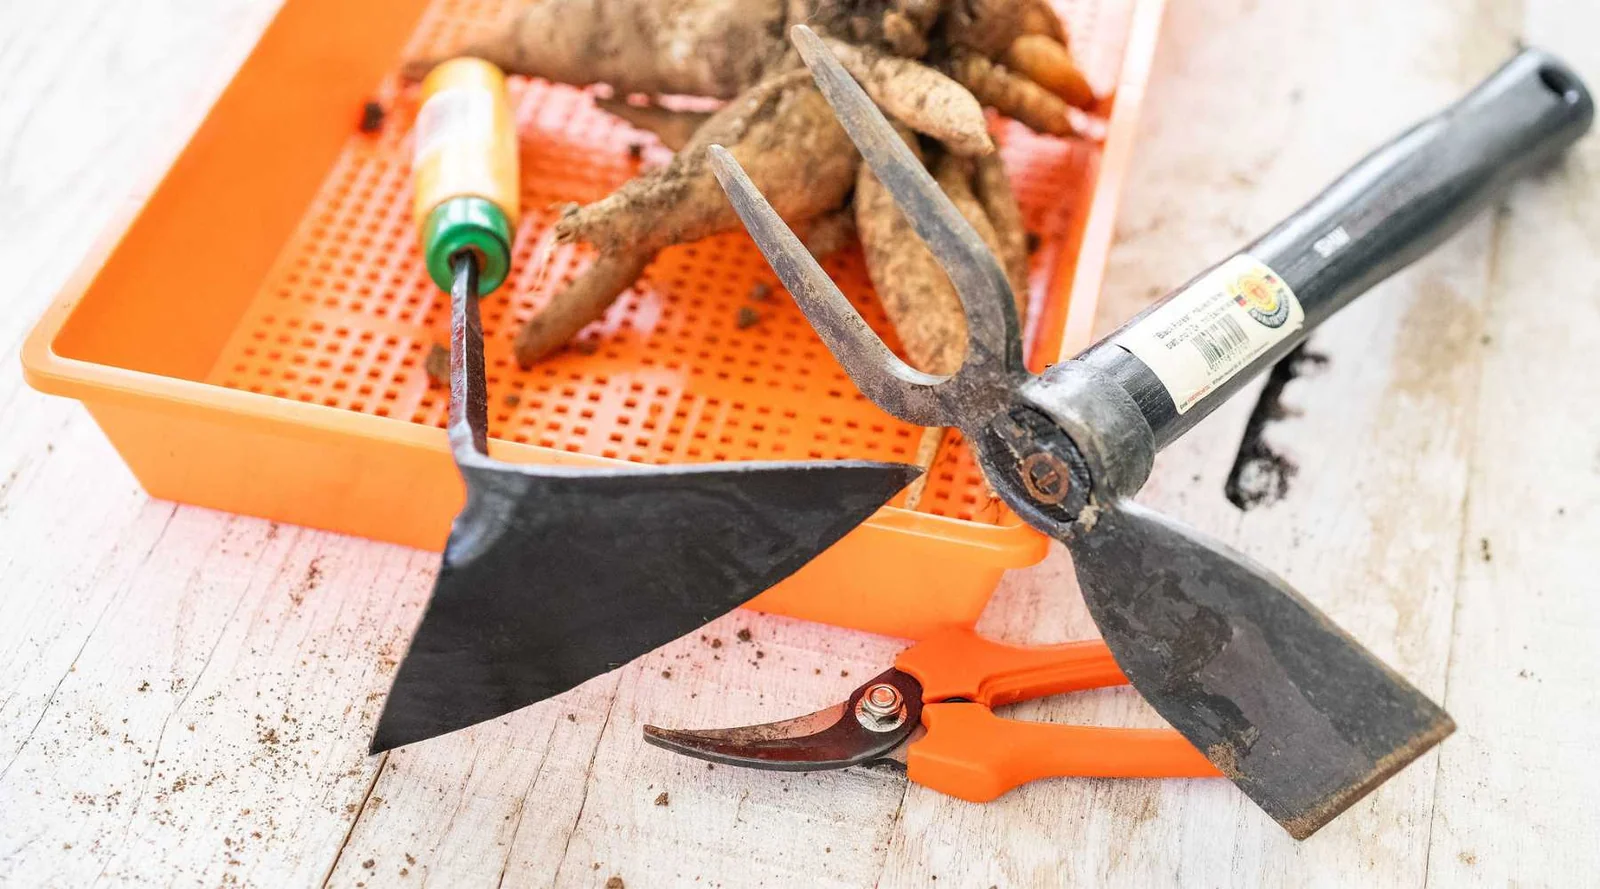
You can divide a surprising number of perennials with nothing but a sharp spade and your hands, but a few tools make the job cleaner and kinder to the plant.
- Sharp spade for lifting and slicing dense clumps
- Garden fork for teasing roots apart with less damage
- Hori hori or soil knife for smaller crowns and precision cuts
- Hand pruners for trimming foliage and snipping tough roots
- Bucket or tarp to keep roots shaded and contained while you work
- Gloves, especially for iris or anything with scratchy foliage
My best advice: sharpen your spade before you start. In practice, clean cuts tend to recover more smoothly than torn ones.
Spring or fall?
The safest timing depends on how the plant grows and when it blooms. I use a simple guideline: divide when the plant is not busy flowering, and when the next few weeks will help it re-root (cooler air, workable soil, and steady moisture).
Spring
Best for: summer and fall bloomers, and plants that rebound quickly as new growth kicks in.
- Divide when you see fresh growth starting, usually when shoots are 1 to 4 inches tall.
- Cool spring weather helps reduce stress, but avoid working in soggy soil that compacts easily.
- After spring division, expect a brief pause while roots settle in, then normal growth.
Good spring candidates: asters, bee balm, yarrow, coneflowers, black-eyed Susan, hardy geranium.
Fall
Best for: many spring bloomers and foliage plants, as long as you divide early enough for roots to settle before hard freezes.
- Divide after the worst heat has passed and the plant is done flowering.
- Aim for 4 to 6 weeks before your ground typically freezes. In mild climates you may have a wider window.
- Fall soil is often warm while the air is cooler, which is a wonderful combination for root growth.
Good fall candidates: hostas, daylilies, bearded iris, and many spring bloomers after flowering.
If you garden where summers stay hot and dry well into fall, do not force a fall division through drought. In very cold climates, spring can be the safer choice for anything borderline hardy.
If you are torn between spring and fall, choose the season with the gentlest conditions in your yard. In my windiest, driest gardens, spring was kinder. In my humid garden with warm autumn soil, fall divisions rooted like champions.
How to divide perennials
This is the basic approach I use for most clumping perennials.
1) Water the day before
Moist soil holds together better, and hydrated roots handle disturbance more easily. If the weather is hot or dry, this step matters even more.
2) Prep holes first
Before you dig up the plant, decide where the divisions will go. Dig holes and set aside soil. If you want to amend, mix compost into the backfill now. This keeps roots from sitting out longer than necessary.
Quick spacing note: replant like you are starting fresh. Use the plant’s typical spacing (or what you can realistically maintain) so you are not recreating the crowding you are trying to fix.
3) Cut back just enough top growth
For spring division, I usually leave new shoots alone or trim only what flops. For fall division, cut tall tops down by about one third to one half so the plant loses less moisture while it re-roots.
4) Lift the clump
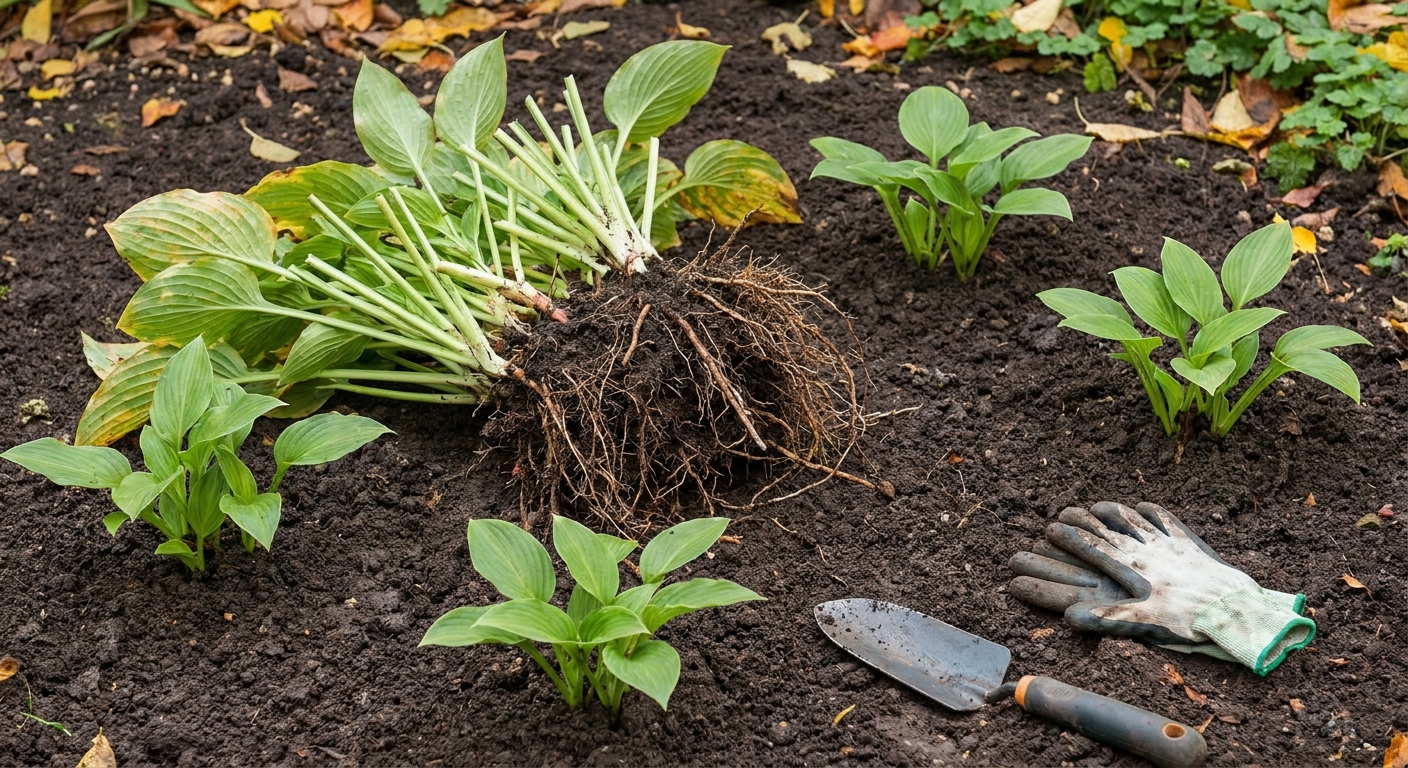
Use your spade to cut a circle around the plant, a few inches beyond the crown. Then slide the spade under and lift. For large clumps, lift one side at a time.
5) Clear soil so you can see the crown
Seeing the root structure makes cleaner divisions. I often gently knock soil off on a tarp. For very dense roots, a light rinse with a hose helps reveal natural separation points.
Root-drying caution: do this in shade, out of wind, and replant promptly. Rinsed roots dry faster than you think.
6) Separate into divisions
Choose a method based on the root type:
- Fibrous roots (hostas, daylilies): tease apart with two garden forks back-to-back, or pull apart by hand when possible
- Dense crowns (daisies, phlox): slice with a sharp spade or soil knife
- Rhizomes (bearded iris): snap or cut into sections with a healthy rhizome and at least one fan or growth point
Each division should have several healthy roots and at least one strong growing point. Bigger divisions establish faster; smaller divisions multiply your plants but need more attentive care.
7) Toss the tired center when needed
If the middle is woody, hollow, nearly rootless, or clearly declining, composting it is fine.
If the center is mushy, smelly, or rotting, do not compost it. Bag it and put it in the trash so you are not spreading pathogens around your garden.
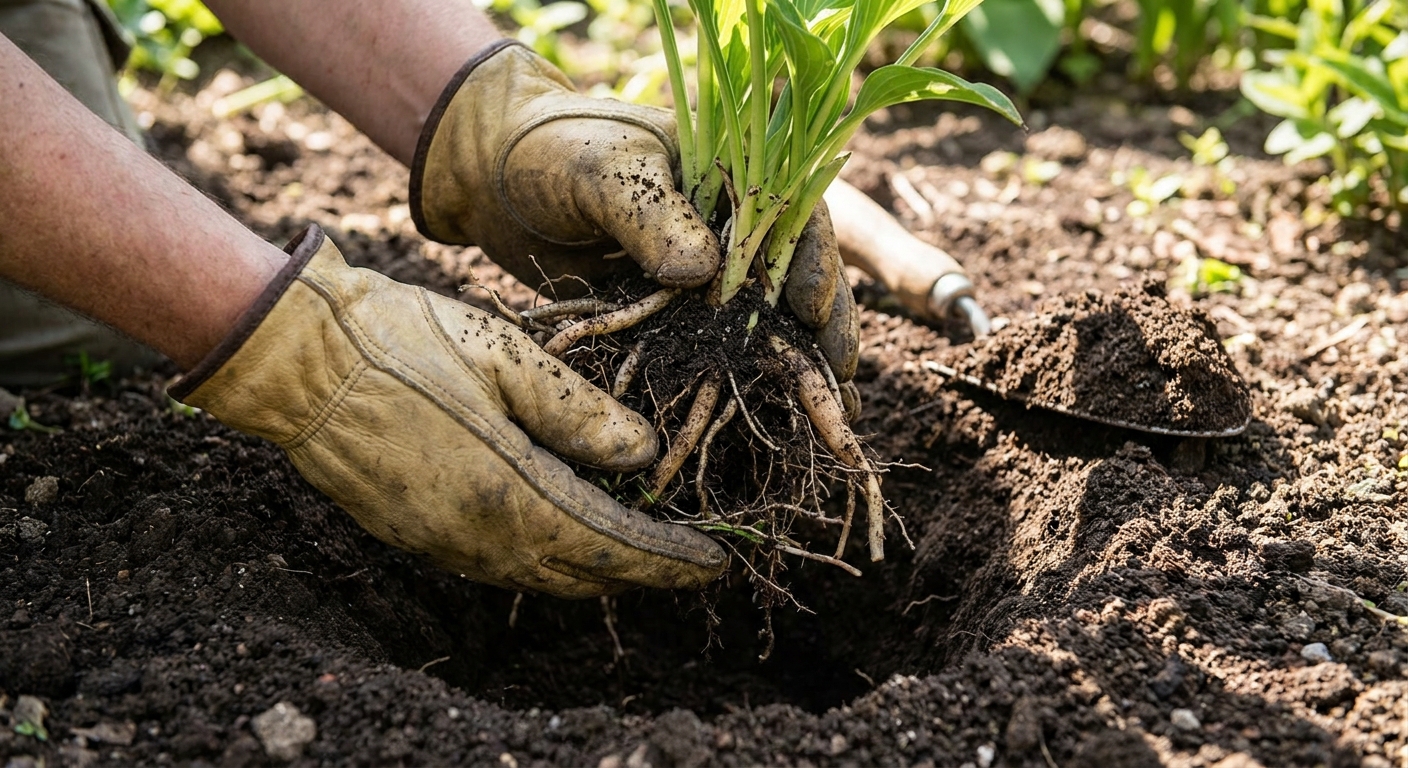
8) Replant at the right depth
Plant divisions at the same depth they were growing before. Too deep is a common reason divisions sulk.
9) Water in and mulch lightly
Give a deep soak right after planting to settle soil around roots. Add a light mulch layer, keeping it off the crown to prevent rot.
Season tips
Spring
- Work on a cloudy day if you can. Bright sun and wind dry exposed roots fast.
- Keep divisions shaded on a tarp or in a bucket while you plant.
- Pinch blooms the first year for a few plants if they try to flower immediately and look stressed. I do this for weaker divisions so they invest in roots first.
- Watch watering during that first month. Spring rains help, but a dry spell can set divisions back quickly.
Fall
- Divide early enough so roots can regrow before freezing weather.
- Water until the ground freezes if rainfall is light. Fall divisions fail more from dryness than cold.
- Mulch after the first hard frost in colder zones, especially for borderline-hardy perennials. This stabilizes soil temperatures and reduces freeze-thaw heaving.
- Label divisions if you cut back foliage. A surprising number of plants look the same as little stubs.
Iris note
Bearded iris are easiest to divide in late summer to early fall, after flowering. After you cut rhizomes into healthy sections, many gardeners trim the leaf fan down to about 4 to 6 inches. It looks severe, but it reduces moisture loss while the rhizome re-roots.
Aftercare
If you do nothing else, do this: keep the soil evenly moist for the first two weeks. Not soggy, not bone dry. Even moisture is what encourages new feeder roots.
What to expect
- A little droop on day one is normal, especially in warm weather.
- New growth within 1 to 3 weeks is a good sign.
- Full size may take a season. Many perennials look better the following year once divisions mature.
Should you fertilize right away?
I usually skip strong fertilizer at planting time and use compost instead. Too much nitrogen can push soft top growth before roots are ready. If your soil is poor, a gentle slow-release fertilizer in spring is fine once you see active new growth.
Troubleshooting
My divisions wilted and never bounced back
- Roots dried out while you worked
- Divisions were too small for the conditions
- Not enough watering the first two weeks
- Replanted too deep or crown covered with mulch
The plant looks fine but did not bloom
- Some perennials need a season to recover, especially if divided heavily
- Too much shade after replanting
- Excess nitrogen encouraging leaves over flowers
- For peonies, deep planting is a classic bloom-stopper
The center was mushy or smelly
That is usually rot. Discard affected sections (do not compost them) and replant only firm, healthy crowns. Improve drainage before replanting, and avoid piling mulch against the crown.
Quick timing chart
| Plant type | Best season | Notes |
|---|---|---|
| Spring bloomers (many) | Fall (after bloom) | Divide once foliage has recovered from flowering |
| Summer and fall bloomers | Spring | Divide as new growth starts, before summer stress |
| Hostas | Spring or fall | Spring is easiest to handle; fall is fine with time to root |
| Daylilies | Spring or early fall | Very forgiving, a great first plant to practice on |
| Bearded iris | Late summer to early fall | Classic timing is after flowering when rhizomes are active |
| Peonies | Fall | Divide only if necessary; replant shallow for blooms |
FAQ
Can I divide perennials while they are flowering?
You can, but it is not ideal. Flowering takes energy, and division is already stressful. If you must move a plant mid-bloom, cut the flowers and buds back so it can focus on roots.
How small can I make each division?
As a rule, aim for a piece that has a healthy chunk of roots and multiple growth points. Tiny divisions can work, but they need steadier moisture and more time to look good.
Do I need to sterilize tools between plants?
If you are dividing healthy plants, basic cleanliness is fine. If you suspect disease or rot, wipe blades with rubbing alcohol (or a disinfectant) between plants to avoid spreading problems.
What should I do with extra divisions?
Pot them up, water well, and keep them in bright shade for a week or two. They also make wonderful gifts, especially with the plant name and bloom color noted.
Before you dig
If you are nervous, start with a forgiving plant like a daylily or hosta. Once you see how resilient perennials are, dividing stops feeling like “hurting” the plant and starts feeling like helping it breathe again. And honestly, the first time a divided clump comes back fuller and bloomier than before, you will wonder why you waited.