
If you garden in clay, you already know the two moods it comes with: brick-hard when it is dry, and sticky enough to steal your shoe when it is wet. I have gardened in more than one yard where a trowel felt like a joke in spring, and then by July the bed cracked like pottery.
The good news is that clay is not “bad soil.” Clay is fertile soil that needs help with structure. Once you open it up and feed it with the right organic matter, it can grow gorgeous, long-lived perennials with deep roots and fewer drought tantrums.
This guide walks you through improving drainage and root health before you plant, with options that work whether you are building a new bed or rescuing an old one.
What clay does to roots
Perennials are loyal, but they are picky about one thing: oxygen at the roots. In dense clay, water fills the tiny spaces between particles and pushes oxygen out. Roots sit cold and wet, and that is when rot sneaks in.
- Slow drainage keeps crowns soggy, especially in winter and early spring.
- Compaction makes it hard for roots to explore. Plants stay shallow-rooted and topple or scorch in summer.
- Crusting on the surface blocks water infiltration. You can get puddles during rain, then later the area around the plant dries and hardens.
The fix is not “getting rid of clay.” The fix is building crumbly structure so water can drain and air can return, while the soil still holds nutrients and moisture.
Quick soil test first
Before you add a pile of compost year after year, consider a basic soil test. It helps you understand pH and nutrient levels, and it can flag uncommon issues like high sodium that change what “best amendment” looks like. I still reach for compost first in most gardens, but I like knowing what I am building on.
Two fast DIY tests
The squeeze test
Grab a handful of soil from 4 to 6 inches down. If it forms a smooth ball that holds together, you have a lot of clay. If it also feels slick like modeling clay, that confirms it.
Now pay attention to timing: if the soil smears or shines when you rub it, it is too wet to work. Working wet clay is how you create concrete-like clods that linger for years.
The drainage test
- Dig a hole about 12 inches wide and 12 inches deep.
- Fill it with water and let it drain completely (this pre-wets the surrounding soil).
- Fill it again and time how long it takes to drain.
As a general guide:
- Good: roughly 1 to 3 inches per hour.
- Borderline: around 1 inch per hour.
- Poor: less than about 1 inch per hour, or water still standing after 6 hours.
If drainage is poor, you can still grow perennials, but you will want to prioritize raised beds, crown-friendly planting, and plants that tolerate periodic wet feet.
The one thing to remember
If you do only one thing, do this: do not dig clay when it is wet enough to shine. Add compost, keep the surface mulched, and let time and soil life do some of the heavy lifting. That simple trio prevents a lot of frustration.
Sand: be careful
This one is so tempting. You look at sticky clay and think, “I need grit.” The problem is that small, casual additions of sand, especially fine sand, can make clay harder to work and more brick-like.
Sand is only helpful when the particle size and the ratio are right, which usually means a large amount of coarse material blended thoroughly, often alongside organic matter. For most perennial beds, it is simpler and safer to skip the sand and focus on compost and bed design. If you want sharp drainage for plants like lavender, use a raised, gritty area or a mound where you control the mix.
Compost is your best tool
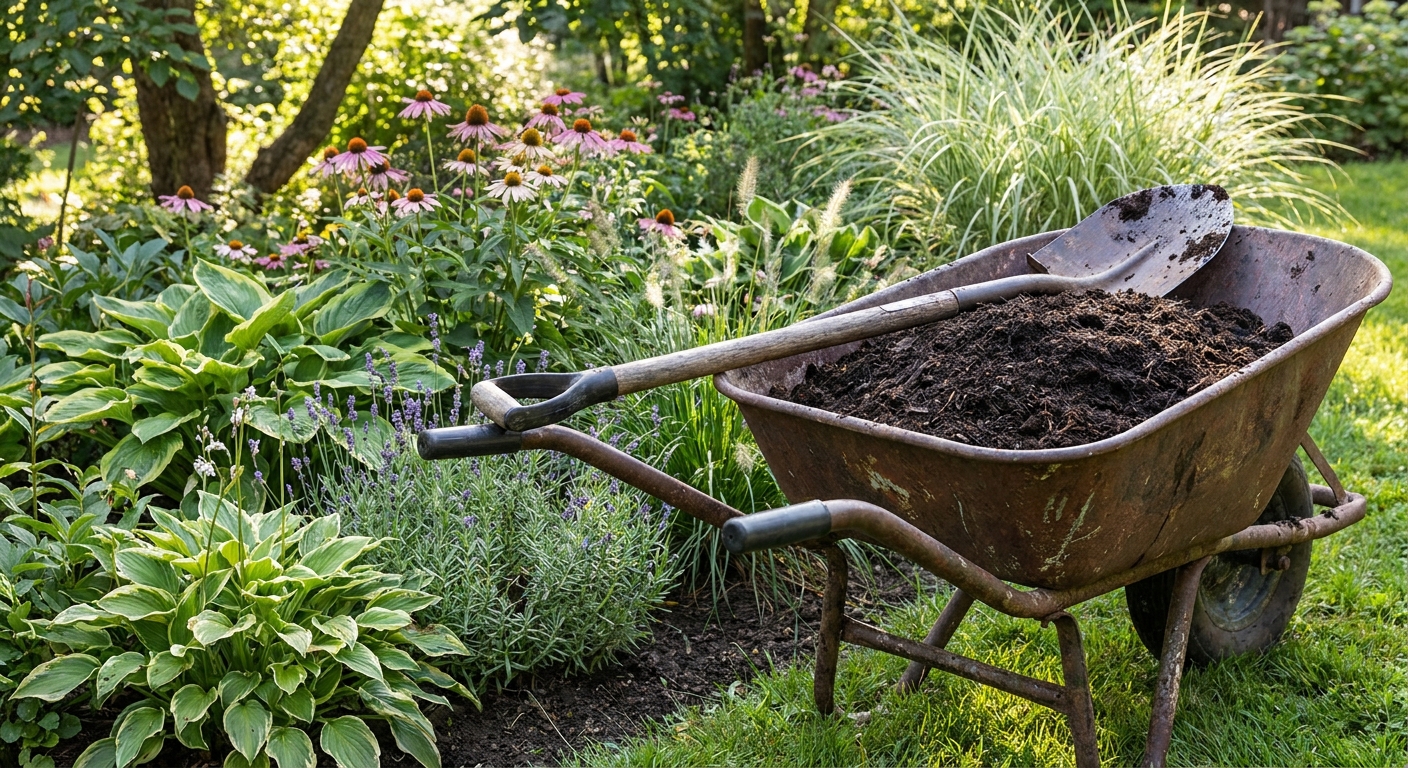
Compost is the steady, reliable friend of clay soil. It improves structure by encouraging aggregates, those little crumbs that create air pockets and better drainage. It also feeds soil life, and soil life is what keeps clay from settling back into a brick.
Pick good compost
Use finished, earthy-smelling compost that looks like dark crumbs, not raw chunks. If you are buying compost in bulk, ask what it is made from and how it was cured. Some municipal composts can be high in salts or inconsistent, which is not what tender perennials need in the root zone.
How much to add
- New bed over clay: 2 to 4 inches of compost spread over the surface.
- Established bed (topdressing): 1 to 2 inches of compost once or twice a year.
If your clay is extreme, start with 3 to 4 inches the first season, then maintain with 1 to 2 inches annually. If you are applying heavy compost every year, a soil test every so often is a good idea, especially to keep an eye on phosphorus levels.
How to incorporate without wrecking structure
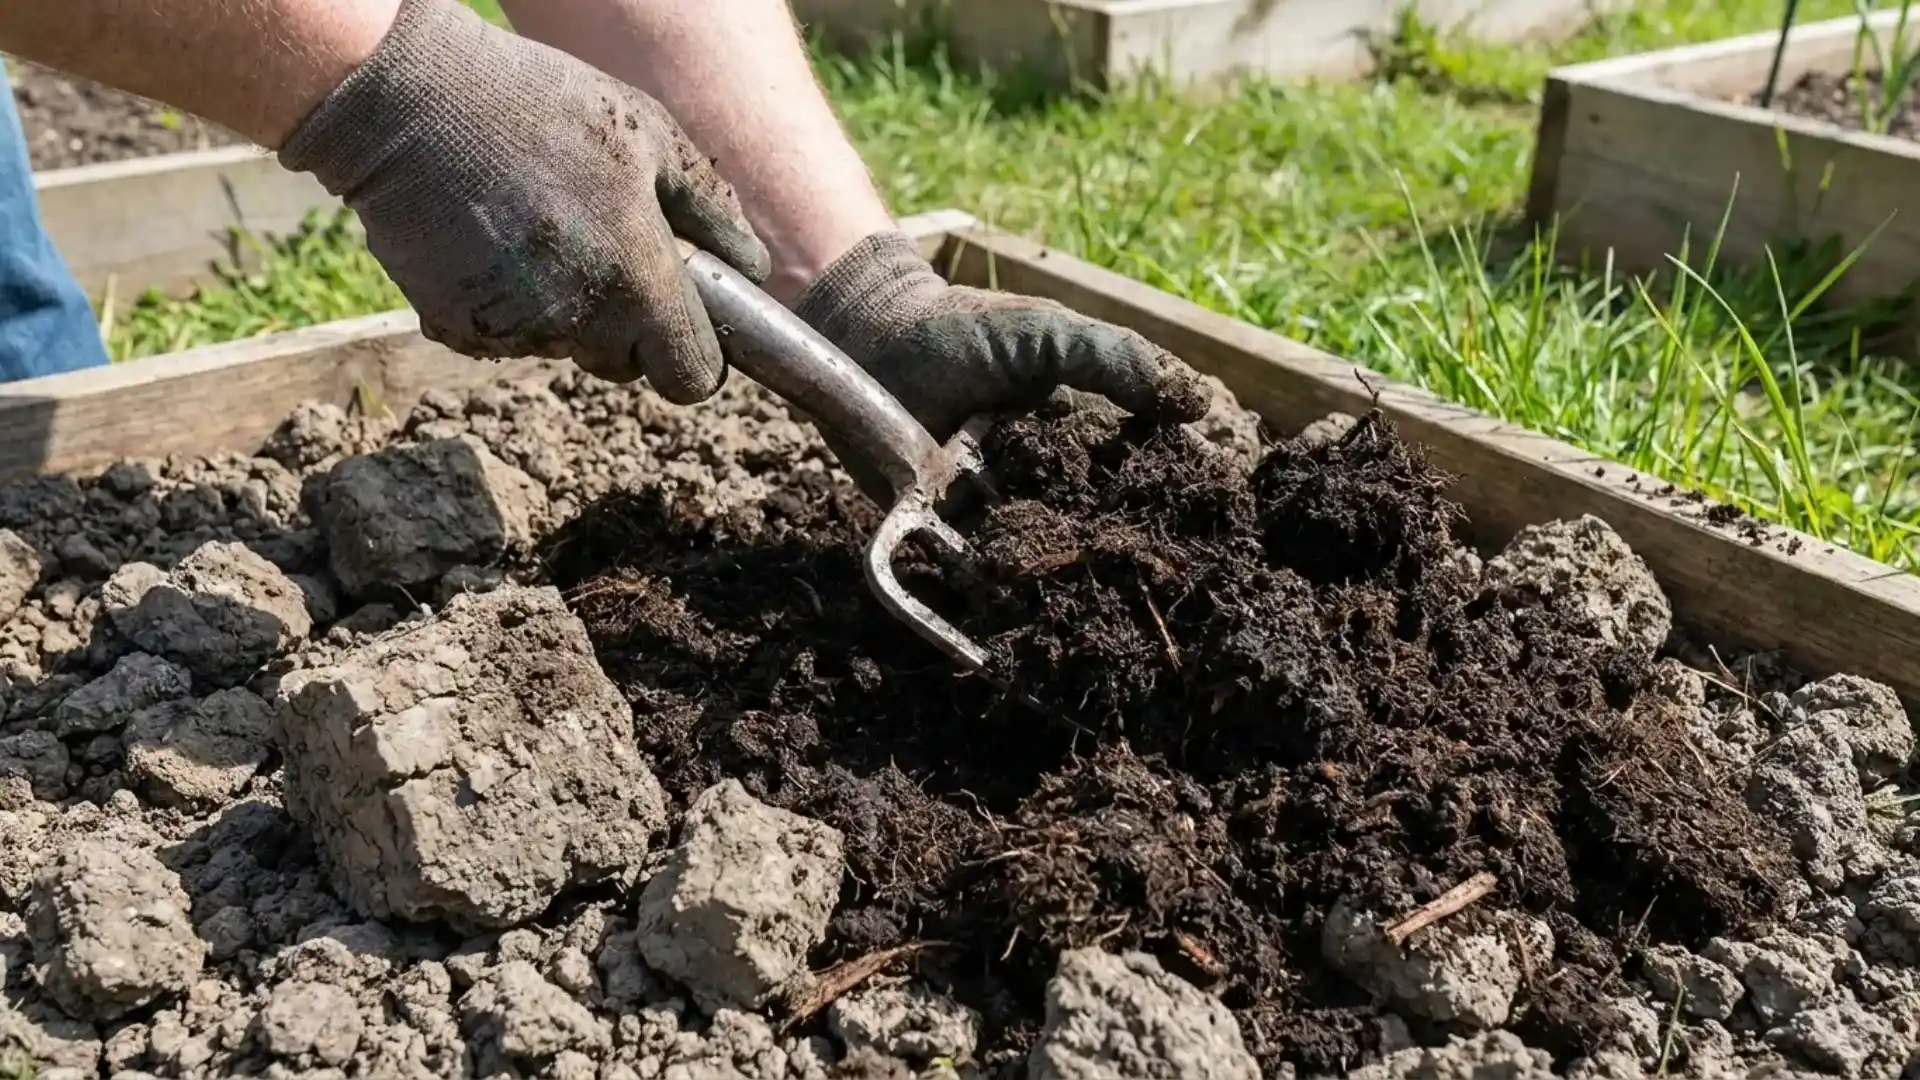
I am a fan of “loosen, then blend.” You want to open channels for roots and water, but you do not need to pulverize the soil into powder.
- Wait until soil is moist like a wrung-out sponge, not sticky.
- Use a garden fork or broadfork to loosen 8 to 12 inches deep, rocking back gently to lift and crack the soil.
- Spread compost on top.
- Mix it into the top 6 to 8 inches with a fork, stopping once the soil starts to crumble.
In heavy clay, rototilling can create a fluffy layer that later collapses into compaction. If you do till, keep it shallow and do not work wet soil.
Other organic helpers
Compost is the foundation, but a few other organic materials can be especially helpful in clay depending on what you are trying to fix.
Leaf mold
Leaf mold is partially decomposed leaves. It is wonderful in clay because it holds moisture without turning gummy, and it improves that fluffy, root-friendly texture over time.
- Use: 2 to 3 inches worked into the top layer, or 2 inches as mulch.
- Best for: shade perennials, woodland beds, and anyone with a lot of fall leaves.
Fine bark
Composted pine bark (small pieces, not big nuggets) helps create pore space. It breaks down slowly, so you get longer-lasting structure improvement.
- Use: 1 to 2 inches mixed in, plus an additional bark mulch layer on top if desired.
- Best for: sunny borders, mixed perennial beds, and slopes where you want stability.
Worm castings
Castings are potent. They are not your main amendment, but they are a lovely boost when planting.
- Use: a handful or two per planting hole, blended with native soil and compost.
- Best for: new plantings and stressed transplants.
Manure
Well-aged, fully composted manure can be excellent in clay, but it must be finished. Fresh manure can be too hot and may carry pathogens, excess ammonia, or salts. It can also introduce weed seeds depending on how it was handled.
- Use: like compost, 1 to 2 inches incorporated or topdressed.
- Tip: if you grow a lot of flowers for cutting, manure-based compost can be a bloom booster.
Aeration that helps
Organic matter builds structure, but clay often needs a physical nudge first. Think of aeration as creating doorways that compost and roots can take advantage of.
Tools that work
- Broadfork: my favorite for larger beds. It loosens deeply with minimal mixing.
- Garden fork: perfect for smaller areas and around existing plants.
- Core aerator: useful on lawn-to-bed transitions if you are converting turf.
When to do it
Early fall is dreamy for clay work in many climates: soil is still warm, moisture is more predictable, and you are not rushing to plant. Spring is fine too, as long as you avoid that soggy window where clay smears.
If you work beds a lot, compaction sneaks in. I try not to step in beds at all, and when I have to, I lay down a board so my weight is spread out instead of punching footprints into the root zone.
Bed options for clay
Raised beds
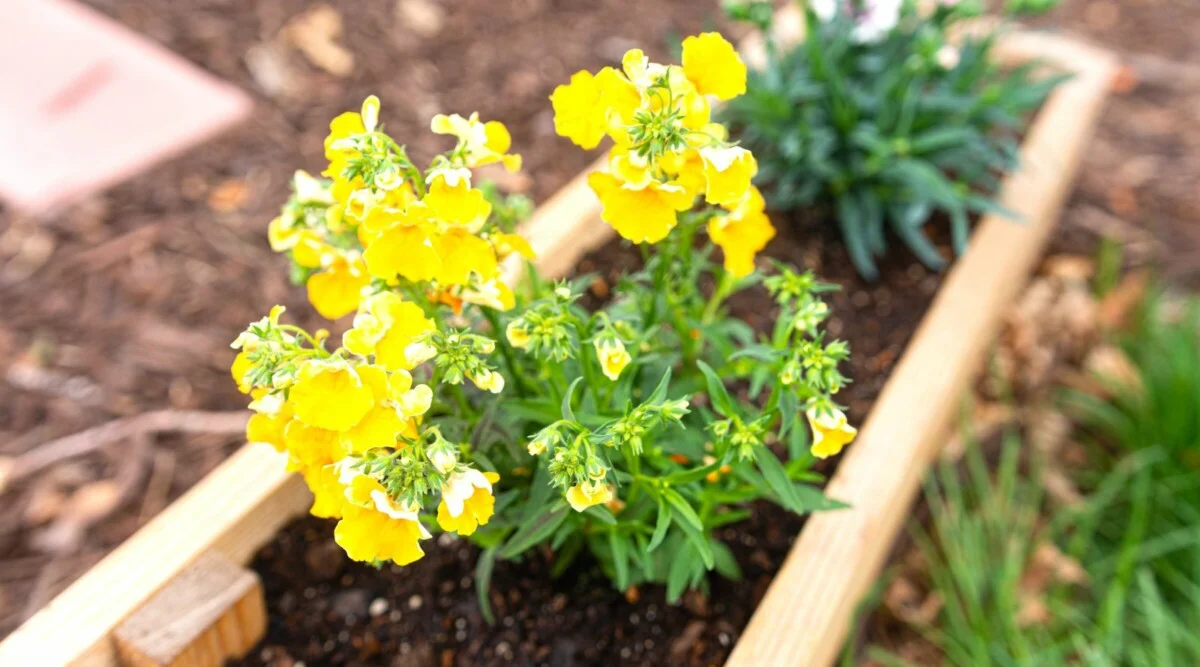
If your drainage test was truly poor, raised beds are not “cheating.” They are smart. Even 8 to 12 inches of height can make the difference between winter rot and thriving crowns.
- Fill with a blend heavy on compost and topsoil, with some bark fines for structure.
- Keep the bed open to the ground underneath if possible so roots can eventually travel down.
- Mulch the top to soften temperature swings and prevent crusting.
Mounded rows
For perennials that hate wet crowns, a gentle mound is a simple fix. Build the planting area 3 to 6 inches above the surrounding grade using your amended soil. Water will naturally move away from the crown.
This is especially helpful for plants like lavender, Russian sage, and some salvias that sulk in winter wet.
Lasagna layering
If your soil is so dense you dread the thought of turning it, you can build new structure from the top down.
- Mow the area short.
- Lay plain cardboard (remove tape and glossy coatings).
- Add 3 to 4 inches of compost.
- Top with shredded leaves or fine bark, then mulch.
By planting time, you will have a softer top layer and a healthier soil food web. For immediate planting, cut holes through the cardboard and plant into compost mixed with some native soil.
Planting in amended clay
Clay prep matters, but planting technique matters too. The goal is to encourage roots to move out into the improved soil instead of circling in a cozy pocket.
Dig wide, not deep
Aim for a hole about 2 times as wide as the pot, and only as deep as the root ball. Planting too deep in clay is a common cause of crown rot.
Use native-plus backfill
Instead of filling the hole with pure compost or bagged mix, blend what you removed with compost.
- Good blend: about 2 parts native soil to 1 part compost.
- In extreme clay: 1:1 native soil and compost can be helpful for the top portion of the hole, especially if you are also amending the whole bed.
Rough up the sides
In clay, a smooth-sided hole can behave like a pot. Scratch and notch the sides with your shovel so roots can find pathways out.
Mulch collar
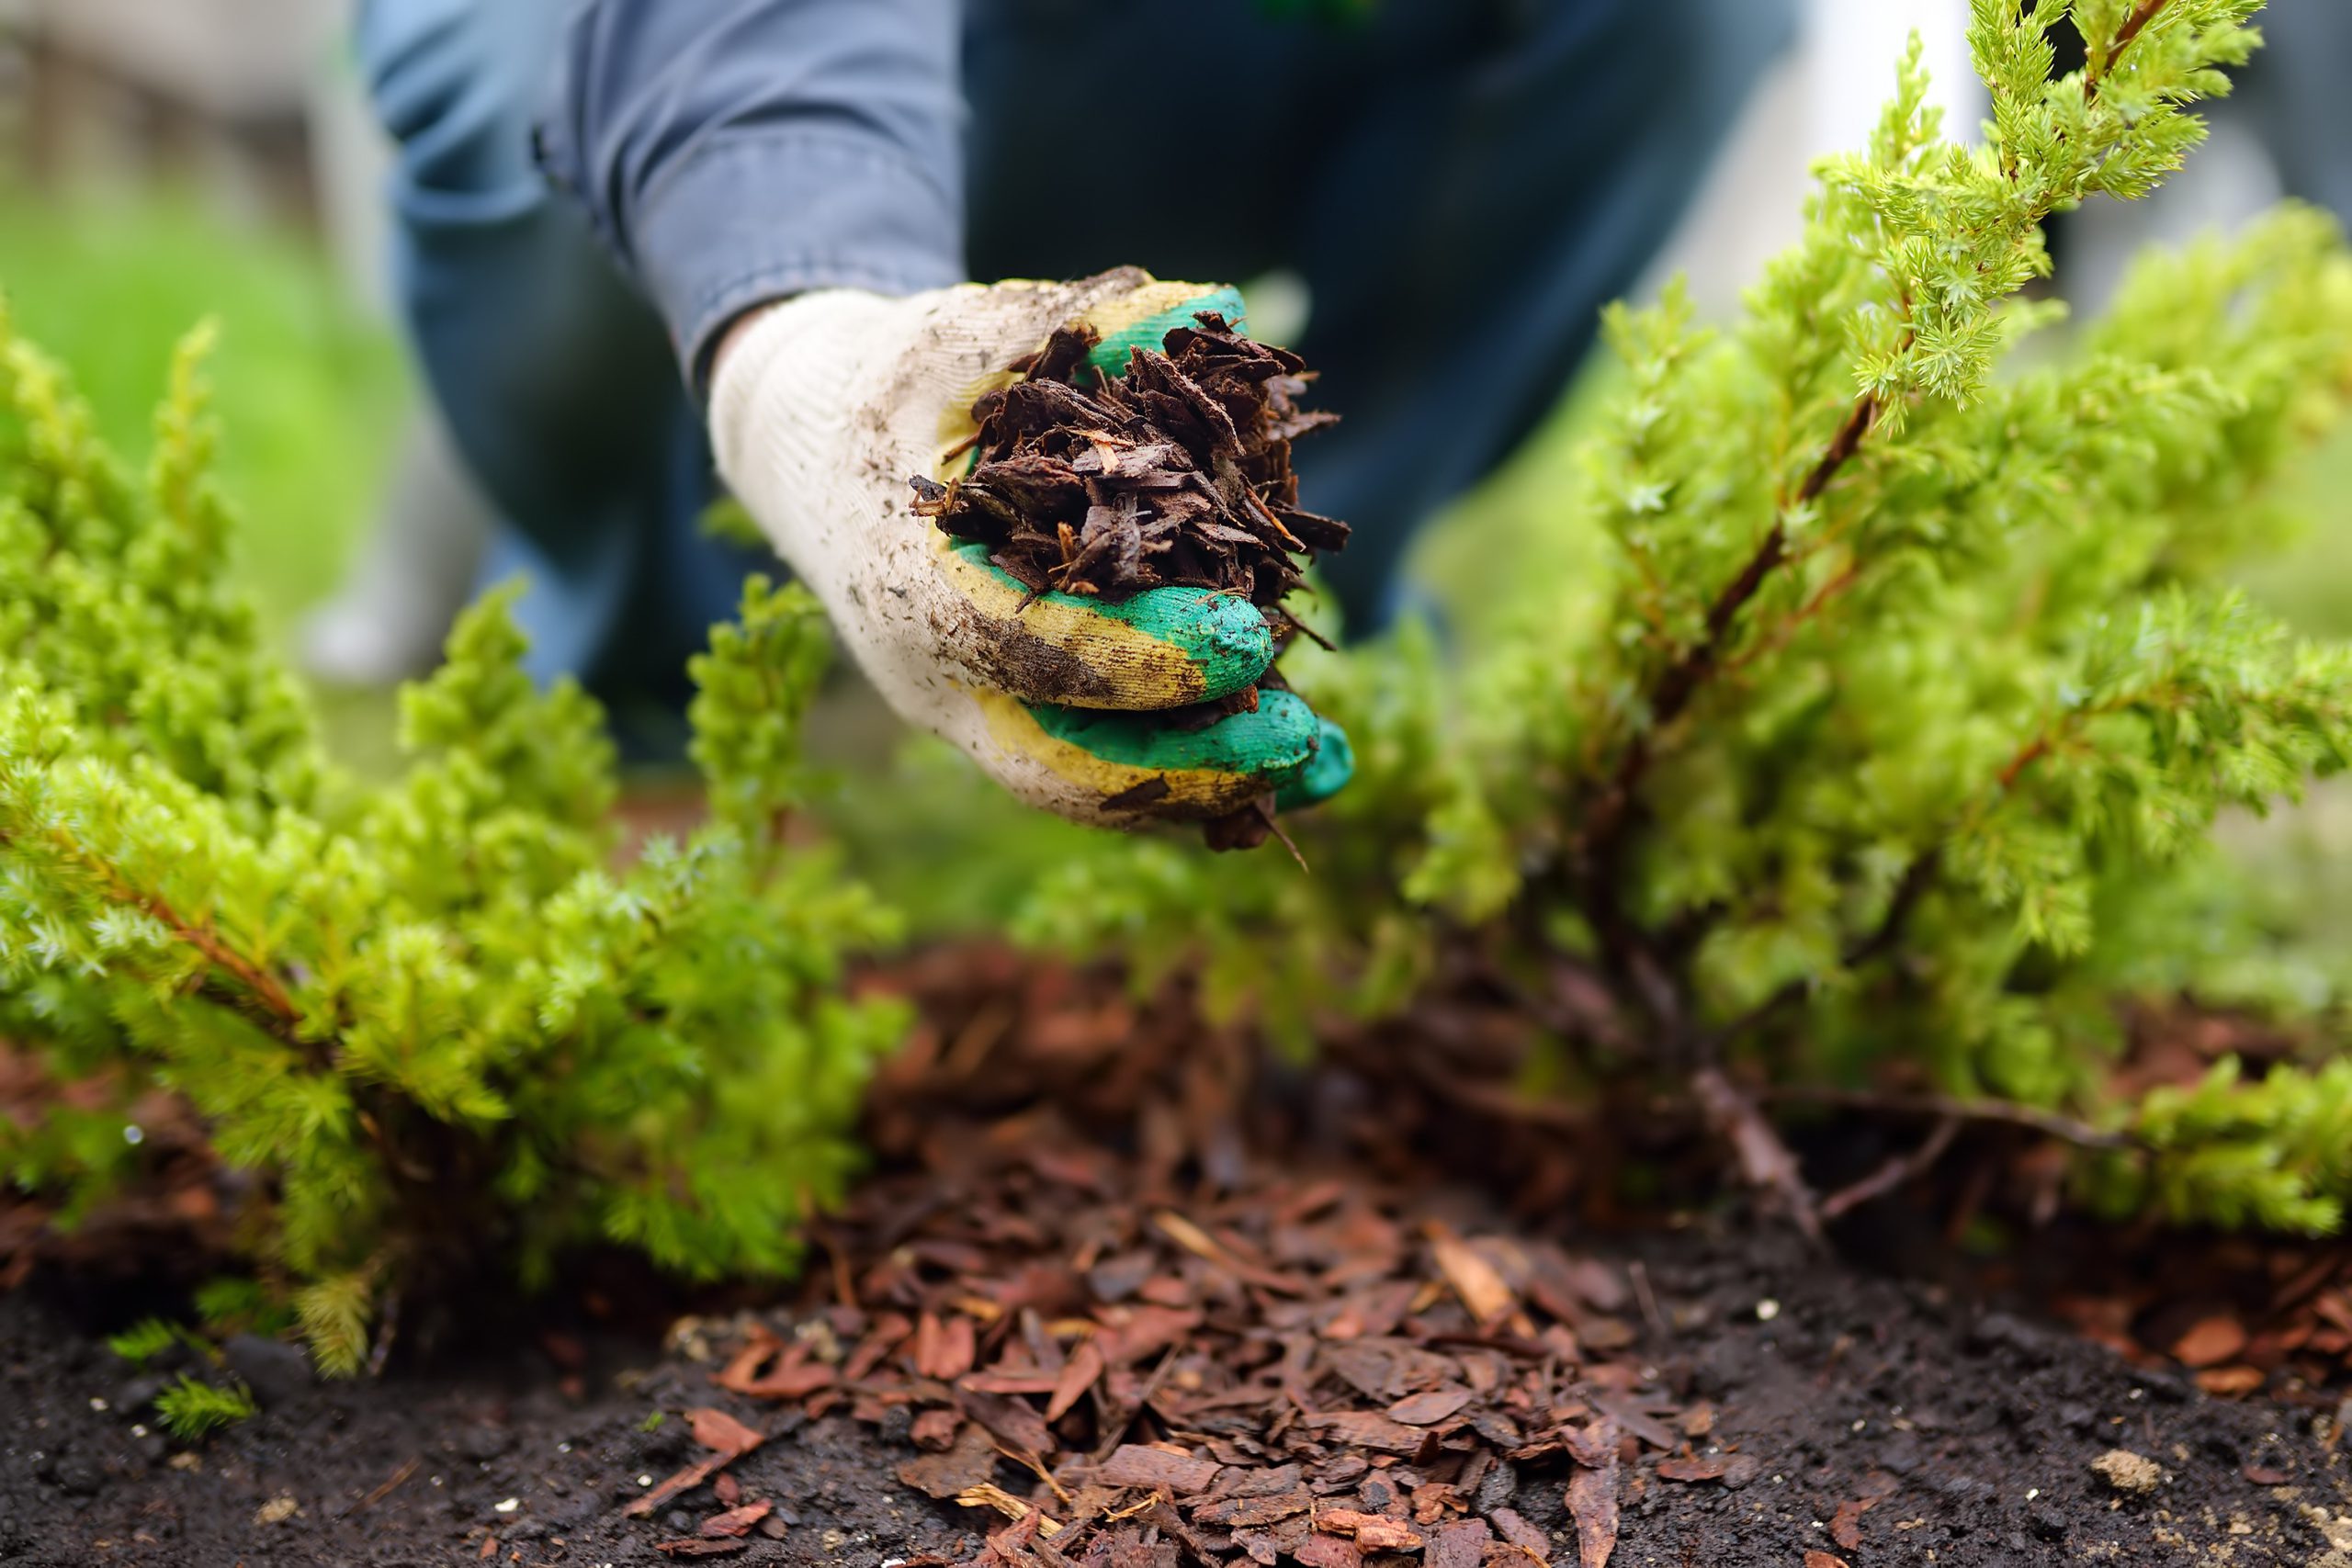
Mulch is your friend in clay because it prevents crusting and moderates moisture. Just keep mulch pulled back an inch or two from the plant crown.
Drainage beyond amendments
If you have standing water after storms, you may need to address water movement across the yard, not just the bed.
Check grade and downspouts
- Make sure downspouts are not dumping right into your perennial border.
- Look for low spots where water collects. Sometimes moving a bed just a few feet makes a huge difference.
Try a swale or rain garden
A shallow swale can redirect excess water away from crowns. If you have the space, a rain garden planted with moisture-tolerant perennials can capture runoff so your main border stays healthier.
Skip gravel in planting holes
Gravel at the bottom of a hole in clay often creates a perched water table, meaning water collects right above the gravel layer. It looks logical, but it can keep roots wetter.
Perennials that tolerate clay
Even after you amend, clay-heavy gardens tend to stay on the moist side in spring. If you are still building your soil, these perennials are often more forgiving, assuming you are not dealing with chronically waterlogged conditions.
- Daylily (Hemerocallis)
- Bee balm (Monarda) (happiest with sun and airflow)
- Black-eyed Susan (Rudbeckia) (good in clay with decent drainage)
- Joe Pye weed (Eutrochium)
- Asters (Symphyotrichum) (species and cultivars vary, but many handle clay well)
- Switchgrass (Panicum virgatum) and other prairie grasses
- Hosta and ferns suited to your light
As drainage improves, you can branch out into fussier plants. I like to think of it as earning your “clay garden wings” one season at a time.
A simple seasonal plan
Fall
- Loosen with a fork or broadfork.
- Add 2 to 4 inches compost and incorporate lightly.
- Top with shredded leaves or bark as mulch.
Spring
- Test drainage again in one spot.
- Topdress with 1 to 2 inches compost.
- Plant with native-plus backfill and mulch.
Summer
- Mulch maintenance: keep 2 to 3 inches on the soil surface.
- Water deeply but less often to encourage deeper roots.
- Avoid frequent shallow watering, which can keep clay sticky at the top.
Year 2 and beyond
- Repeat compost topdressing yearly.
- Minimize walking in beds to prevent compaction. Use boards or stepping stones when you need access.
- Add organic mulches that slowly break down and feed structure.
Troubleshooting
“It still puddles.”
If water is coming from elsewhere (a slope, downspout, or compacted path), soil amendments alone may not solve it. Redirect runoff, raise the bed, or both.
“I get big hard clods.”
This usually happens after working clay too wet or too aggressively. Break clods gradually with a fork when soil is slightly moist, then keep the surface mulched and add compost again.
“The soil settles.”
Normal. Organic matter continues decomposing and the soil food web rearranges the structure. Topdress with compost each year and you will keep building that loamy texture.
“Can I fill with bagged soil?”
You can, but it often creates a sharp boundary where water behaves oddly and roots hesitate. If you bring in soil, blend it with your native clay and compost, and consider raising the bed for better control.
Clay can be a superpower
I have come to appreciate clay because once it is amended, it holds moisture through heat waves and hangs onto nutrients that sandy gardens lose overnight. The transformation is not instant, but it is steady and satisfying.
Start with compost, loosen instead of pulverizing, protect the surface with mulch, and plant in a way that keeps crowns high and roots adventurous. Give it a season or two, and you will be amazed what your “impossible” soil becomes.
Quick FAQ
How long does it take?
You can see better drainage and easier digging after the first big compost addition, but the real, crumbly structure usually builds over 1 to 3 years of annual topdressing and mulching.
Is gypsum worth it?
Gypsum can help in specific situations, especially certain sodic soils, but for most home perennial beds the biggest, most reliable improvement comes from organic matter and reducing compaction. A soil test can tell you whether gypsum makes sense for your site.
Whole bed or just holes?
For clay, amend the whole bed whenever you can. Amending only holes can create a bathtub effect where water collects around the root ball. Even improving the top 6 to 8 inches across the bed makes a big difference.
Best mulch for clay?
Shredded leaves, fine bark, and composted wood chips all work well. The best mulch is the one you can keep replenishing, because consistent coverage prevents crusting and keeps soil life active.