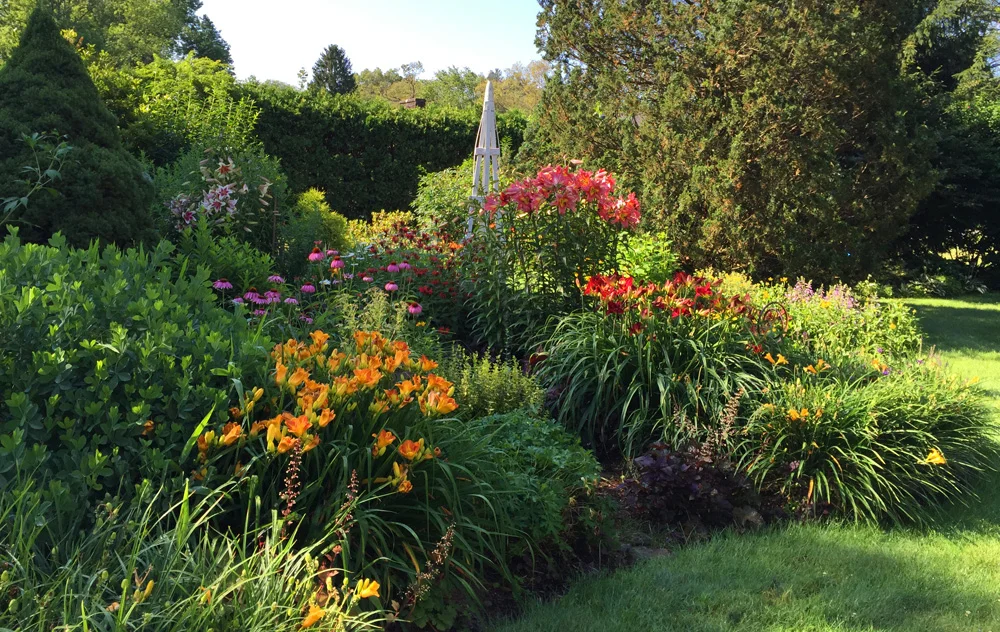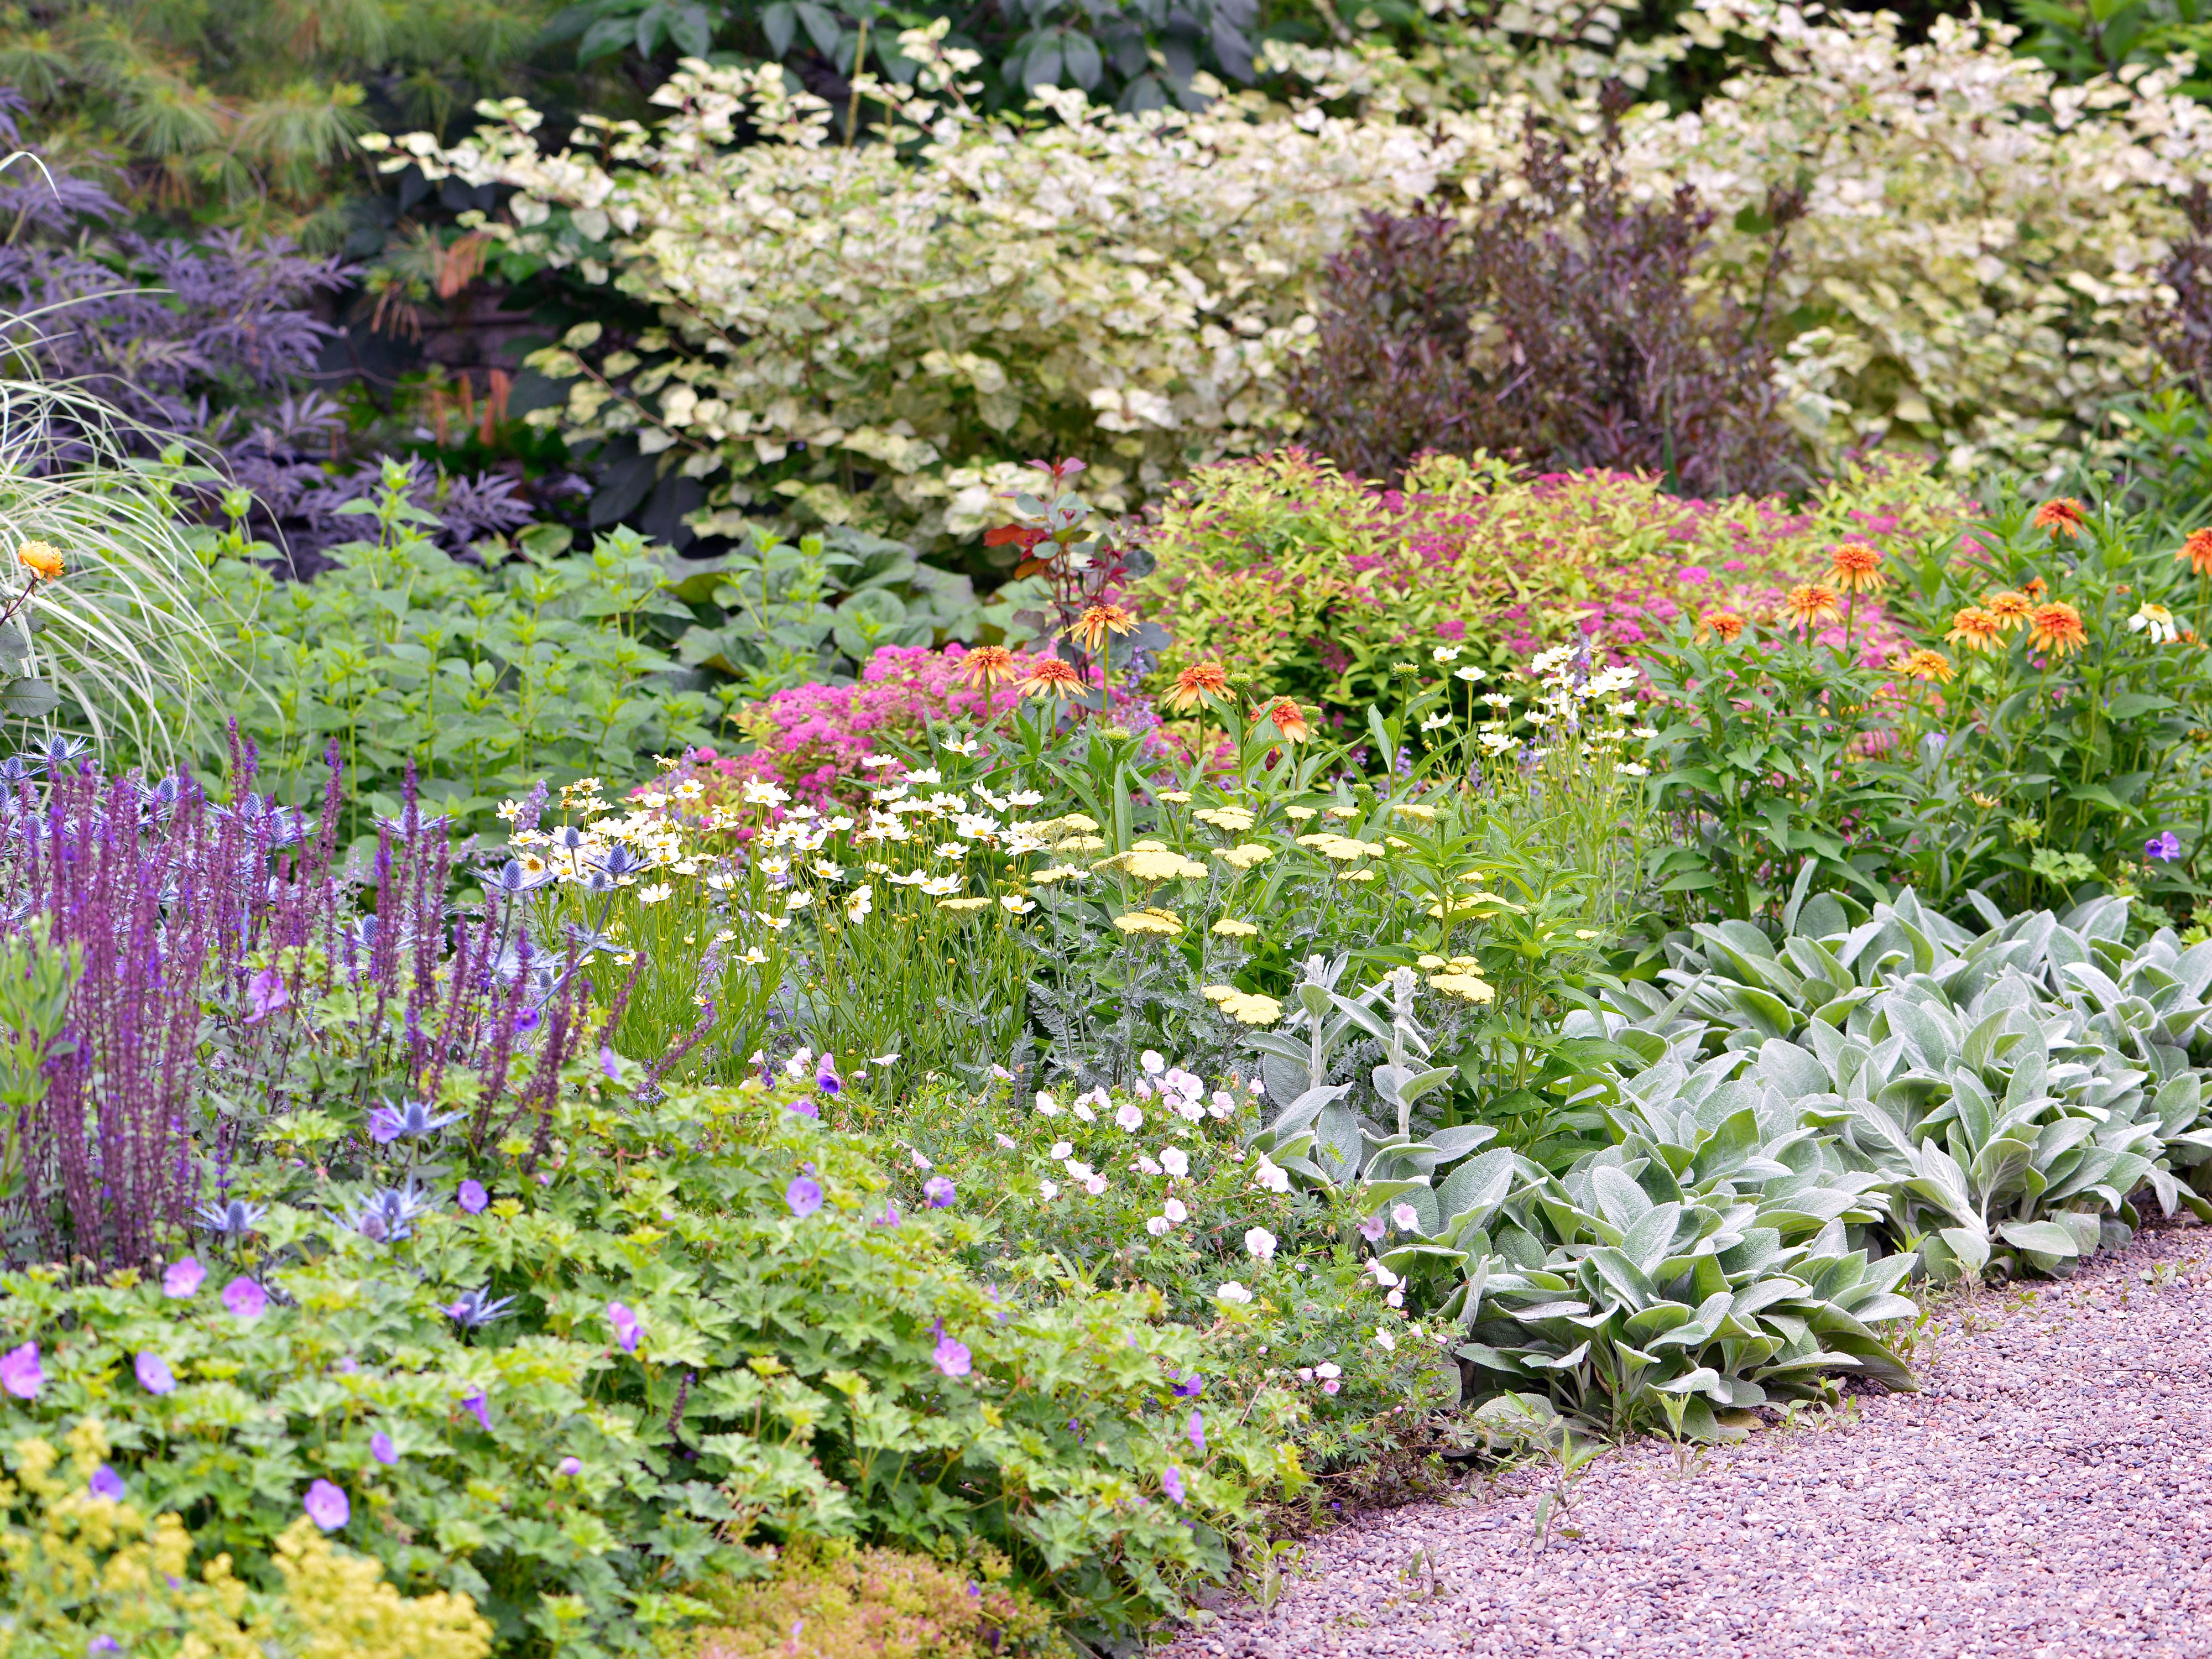

A cottage garden is my favorite kind of beautiful mess. The secret is that it is not actually messy. It is densely planted, yes, but it is also repeating, layered, and edited so it reads as charming instead of chaotic.
I learned that the hard way after my first attempt turned into a tangle of flopping stems and bare patches. Once I started designing like my grandmother did, with a simple structure underneath and then a generous hand with the plants, everything clicked. Let’s build that same kind of layout for your yard, step by step.
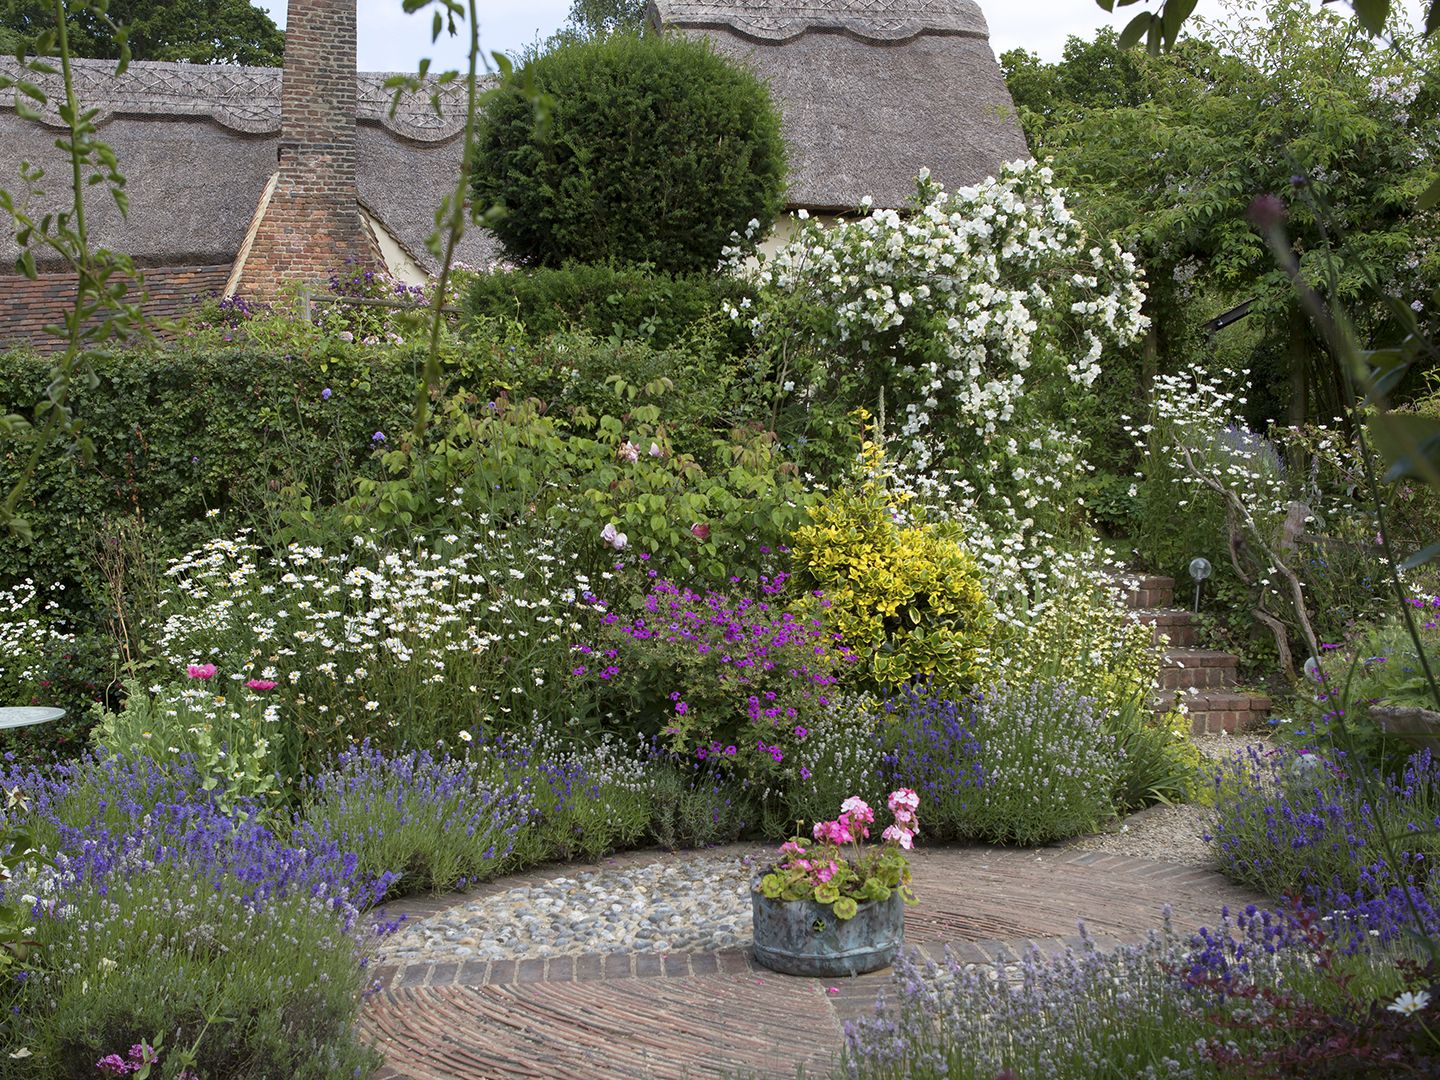
What makes a cottage garden feel right
Traditional cottage style has a few telltale traits. You can absolutely bend the rules, but having these anchors makes the whole bed feel intentional.
- Informal structure: Curves, soft edges, and plants that mingle.
- Dense planting: Fewer mulch gaps, more living green.
- Layered heights: Tall in back, medium in the middle, low along the edge, plus a few “see-through” plants woven throughout.
- Repetition: The same key plants appear in several places, which calms the eye.
- Seasonal rhythm: Something is always coming in as something else fades.
If you only remember one thing: cottage gardens look free-spirited because the planting is exuberant, but the layout is quietly organized.
Step 1: Pick the site and your watering reality
Before you sketch a single curve, walk the space with a cup of coffee and answer two questions:
- How many hours of sun do you get? As a rule of thumb, full sun is about 6+ hours. Part sun or part shade is often in the 3 to 6 hour range, depending on your region and the strength of the afternoon sun. Most classic cottage perennials want sun, but many do beautifully with a little afternoon shade.
- Will you water deeply the first season? Perennials settle in best with consistent moisture their first year. If hauling a hose feels like misery, plan a smaller bed or choose tougher plants.
My rule: Start with a bed size you can maintain joyfully. You can always expand next spring. Cottage gardens love to grow outward.
One more sanity saver: Plant choices are local. A delphinium that looks effortless in one climate can sulk in another. Choose cultivars suited to your hardiness zone and humidity, and ask a trusted local nursery what thrives in your area.
Step 2: Prep the soil before you plant
This is the unglamorous part that makes everything else easier. A cottage border is a lot of plants in one place, so your soil needs to do some heavy lifting.
- Remove turf and persistent weeds. Start clean, or you will be weeding forever.
- Check drainage. If water sits for hours after rain, consider raising the bed or loosening compacted soil.
- Add organic matter. A couple inches of compost mixed into the top layer goes a long way in both clay and sandy soils.
- Consider a quick soil test. It is hard to design “effortless” if your soil is quietly sabotaging you.
If you do nothing else, do the compost. Your plants will forgive a lot if their roots are happy.
Step 3: Choose your bones first
Even a flower-filled cottage garden needs a few steady shapes to keep it from looking like your potting bench tipped over. Your bones can be any of these:
- Compact shrubs: Dwarf hydrangea, spirea, potentilla, boxwood alternatives like inkberry holly in suitable climates.
- Structural perennials: Peonies, Siberian iris, daylilies, baptisia, ornamental grasses.
- Evergreen or semi-evergreen clumps: Some sedges, hellebores in milder regions.
Place these first, like you’re setting large stones in a stream. They create dependable shape even when the rest of the bed is between blooms.
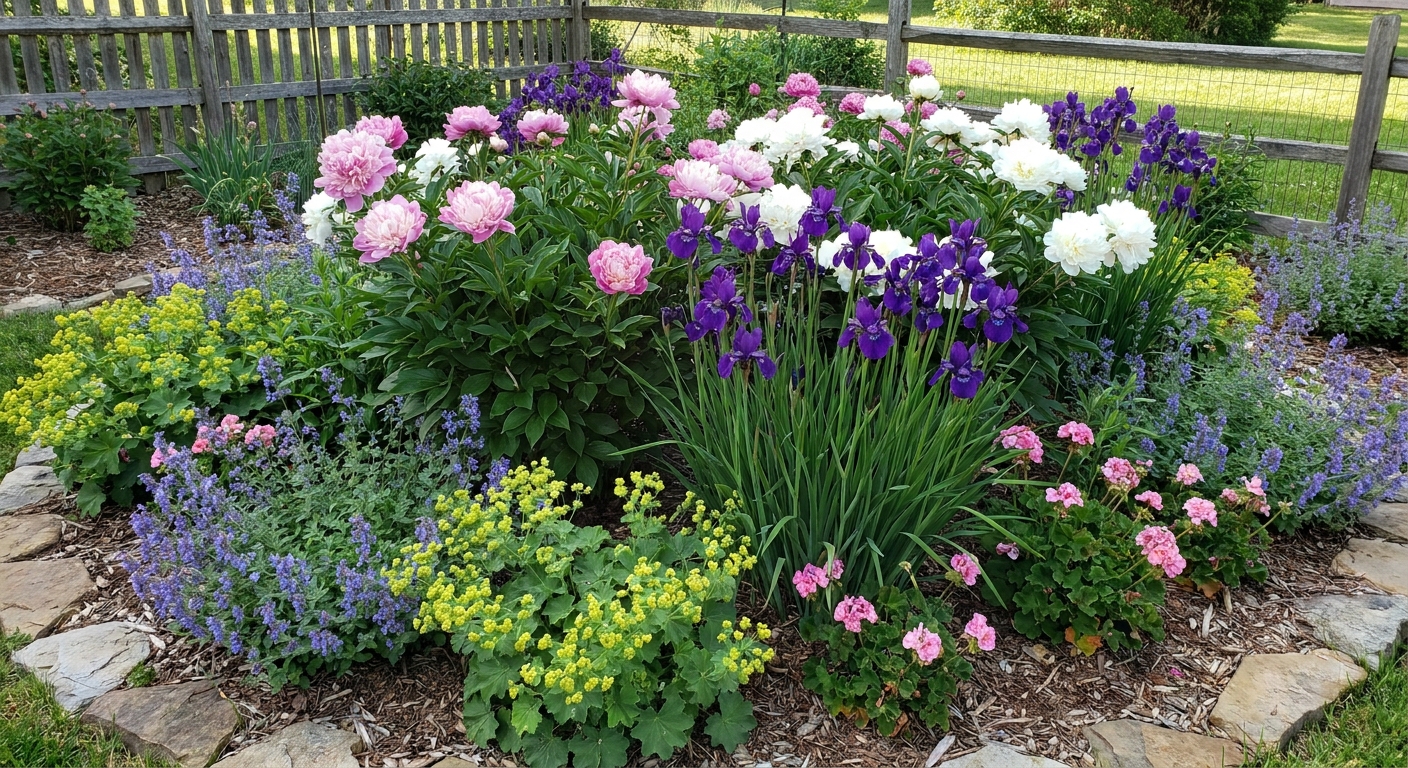
Step 4: Sketch a simple layout
You do not need fancy software. You need a tape measure, a few stakes, and something to draw on.
Start with the outline
- Curves beat zigzags. A gentle curve is easier to mow around and feels more cottage than a choppy edge.
- Give the bed breathing room. A 4 to 6 foot deep border is a sweet spot for layering without it becoming a wall of plants.
- Decide where you will stand. If the bed is along a fence, view it from one side. If it is an island bed, design for all sides.
Add an access point
Cottage planting is dense. That means you need a way to get in for weeding, staking, and cutting back.
- A narrow footpath: 18 to 24 inches wide through or alongside the bed.
- Stepping stones: Tucked into the bed for “secret” access.
- Open pockets: Small landing zones where you can kneel without crushing things.
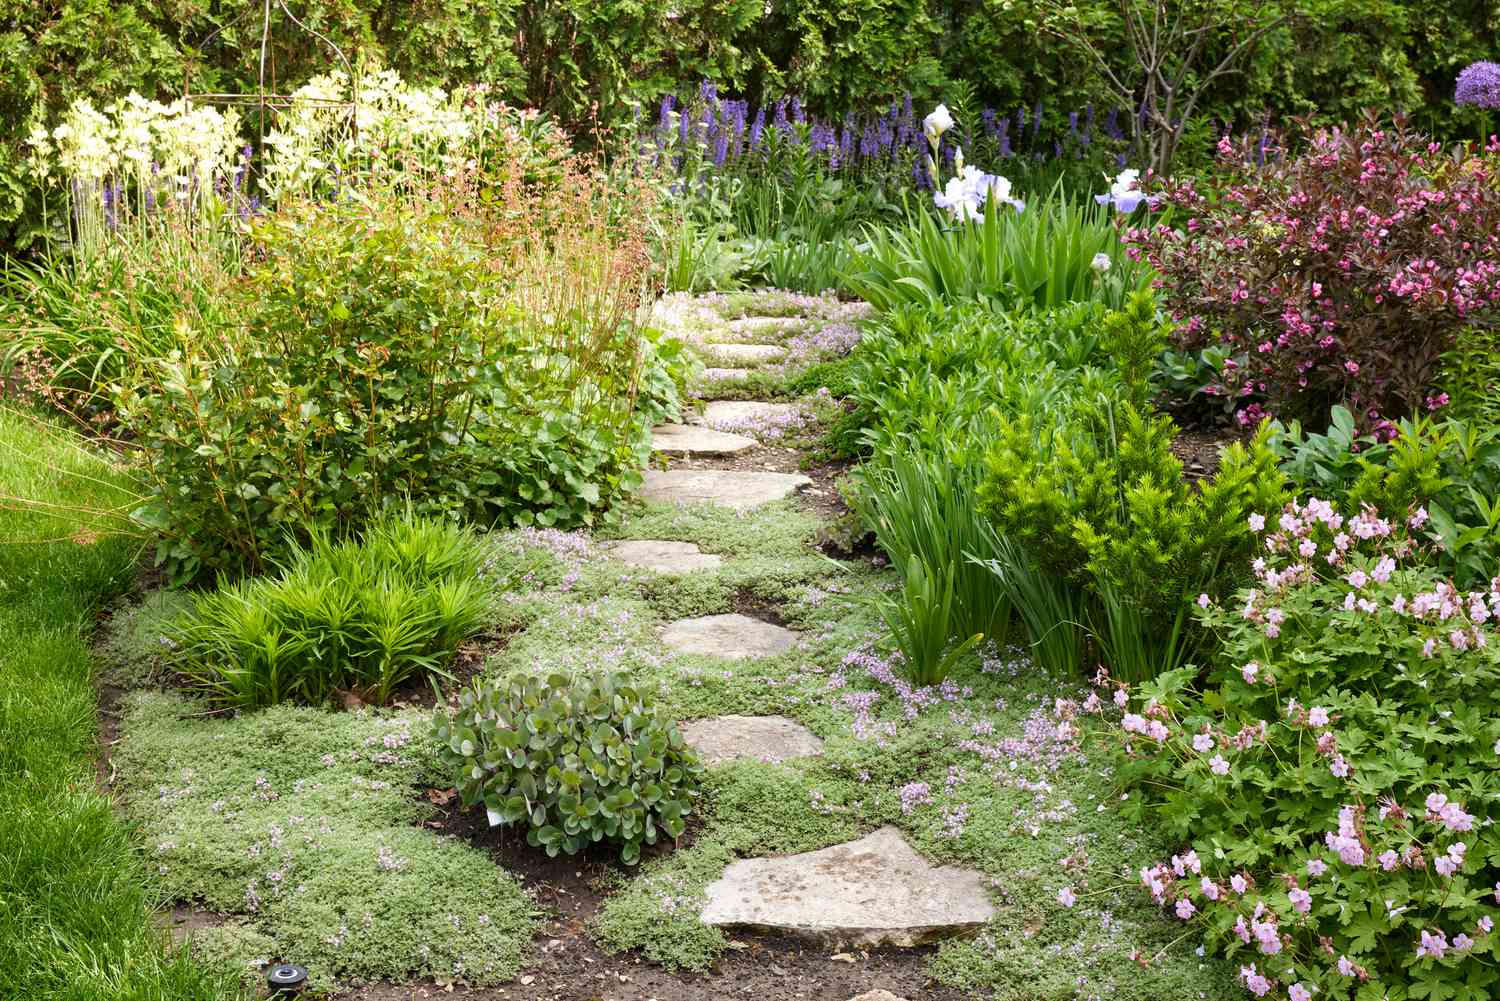
Step 5: Build layers by height and texture
Layering is how you get that full, storybook look without everything fighting for attention.
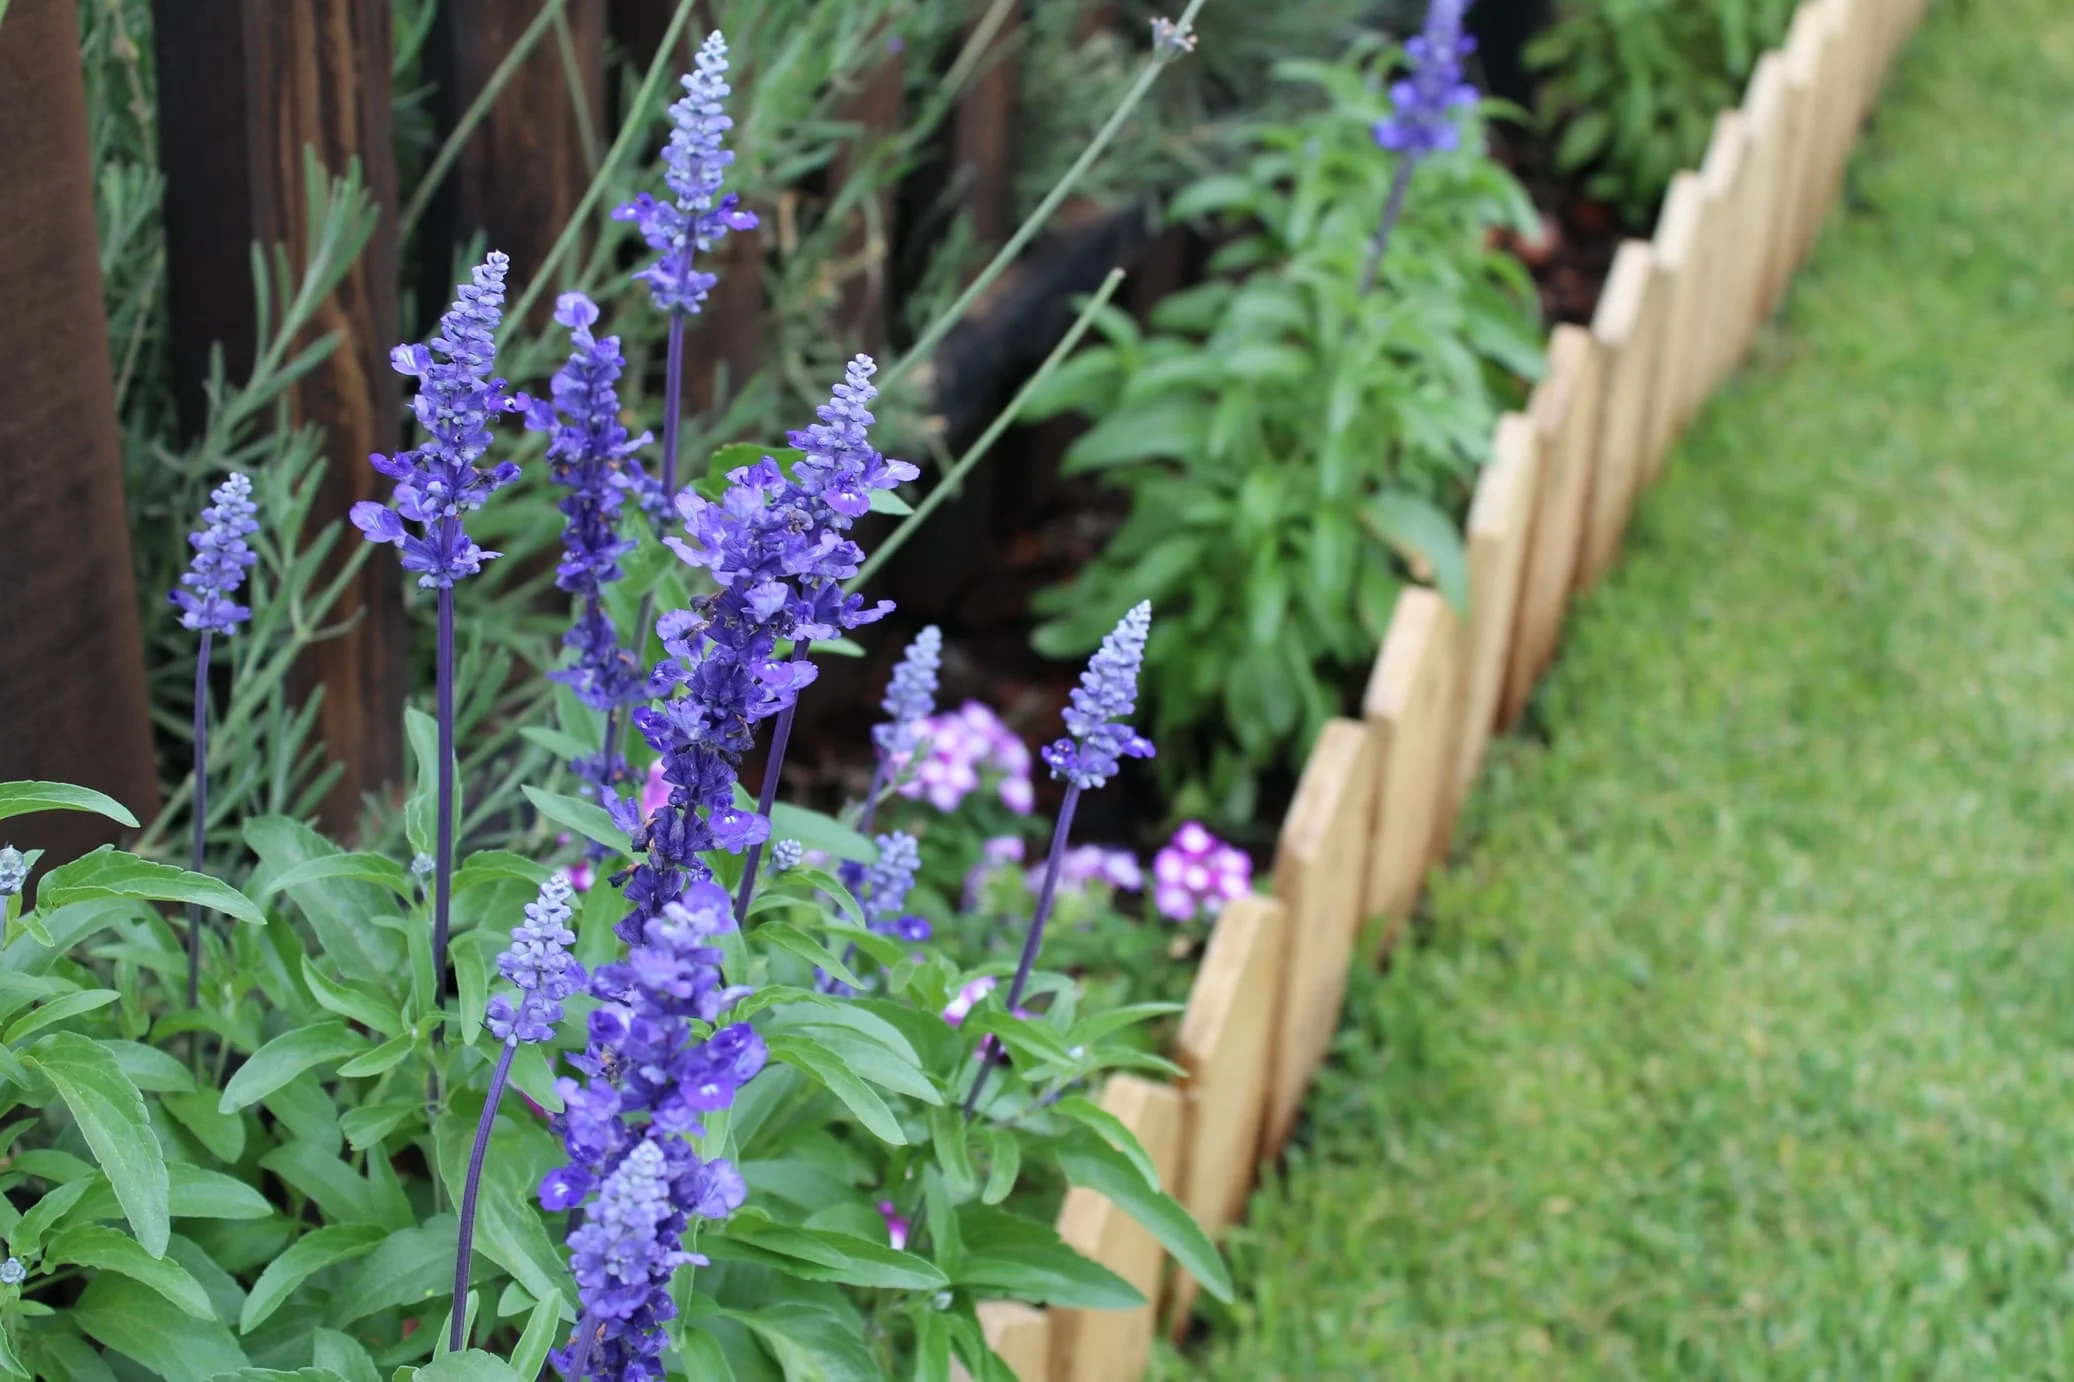
Texture is the quiet hero: Mix spiky flowers (salvia, veronica), mounded forms (catmint, hardy geranium), bold leaves (hosta in shade, some heuchera), and airy, see-through bloomers (verbena, gaura) so the bed has contrast even when not everything is in flower.
Back layer: tall performers
These create a backdrop and give your eye something to follow.
- Delphinium (staking often needed, and it can struggle in heat and humidity)
- Hollyhock (short-lived perennial or biennial in many areas, but worth it)
- Joe Pye weed (big presence, choose compact varieties for smaller borders)
- Garden phlox (watch for mildew, give air flow)
Middle layer: main characters
This is where most of your bloom power lives.
- Coneflower (Echinacea)
- Salvia (especially long-blooming types)
- Shasta daisy
- Yarrow
- Coreopsis
- Catmint (Nepeta)
- Daylilies (especially as repeating clumps)
- Veronica spicata (often middle height, or use taller cultivars toward the back)
Front edge: tidy softeners
Edges make the difference between cottage charm and a bed that looks like it is creeping into the lawn.
- Hardy geranium (cranesbill)
- Lady’s mantle
- Creeping thyme (sunny, lean soil)
- Heuchera (excellent for part shade)
- Dwarf sedum (sun, well-drained soil)
Weavers: the stitchers
These are my not-so-secret weapon. They add movement and make the planting look naturally blended.
- Verbena bonariensis (airy purple dots, can self-seed; deadhead if you want to limit spread)
- Gaura (often sold as Oenothera lindheimeri) (wand-like bloom, long season)
- Ammi or dill (often grown as annuals, but fantastic for the cottage feel)
- Japanese anemone (can be slow to establish, then spread; choose placement carefully)
Step 6: Choose a relaxed color plan
Color is where many cottage gardens go off the rails. When everything is loud, nothing is special. If you want that painted look, pick a simple palette and repeat it.
Three easy cottage palettes
- Classic pastel: Blush pink, lavender, creamy white, soft blue.
- Hot cottage: Magenta, orange, yellow, deep purple with a few white breathers.
- Moonlight: White and green with touches of pale yellow, plus silver foliage.
Quick trick: Choose 1 or 2 anchor colors and one neutral (white or soft green). Then let a few plants break the rules. That tiny bit of surprise is what keeps cottage style from feeling too planned.
Step 7: Plan for bloom handoffs
Continuous bloom is not about having everything flowering at once. It is about having a handoff from season to season. I plan it like a relay race.
Spring
- Bulbs tucked everywhere: Daffodils, tulips, alliums, species crocus
- Hellebores (part shade)
- Bleeding heart (part shade)
- Brunnera and pulmonaria for early color in shade
Early summer
- Peonies
- Iris
- Catmint
- Salvia
Mid to late summer
- Coneflower
- Coreopsis
- Garden phlox
- Daylilies
- Rudbeckia (black-eyed Susan)
Fall
- Asters
- Stonecrop (Hylotelephium)
- Japanese anemone
- Ornamental grasses for seedheads and movement
If you are planting from scratch, add bulbs in fall after the perennials are in. It is the easiest way to get that early-season fullness.
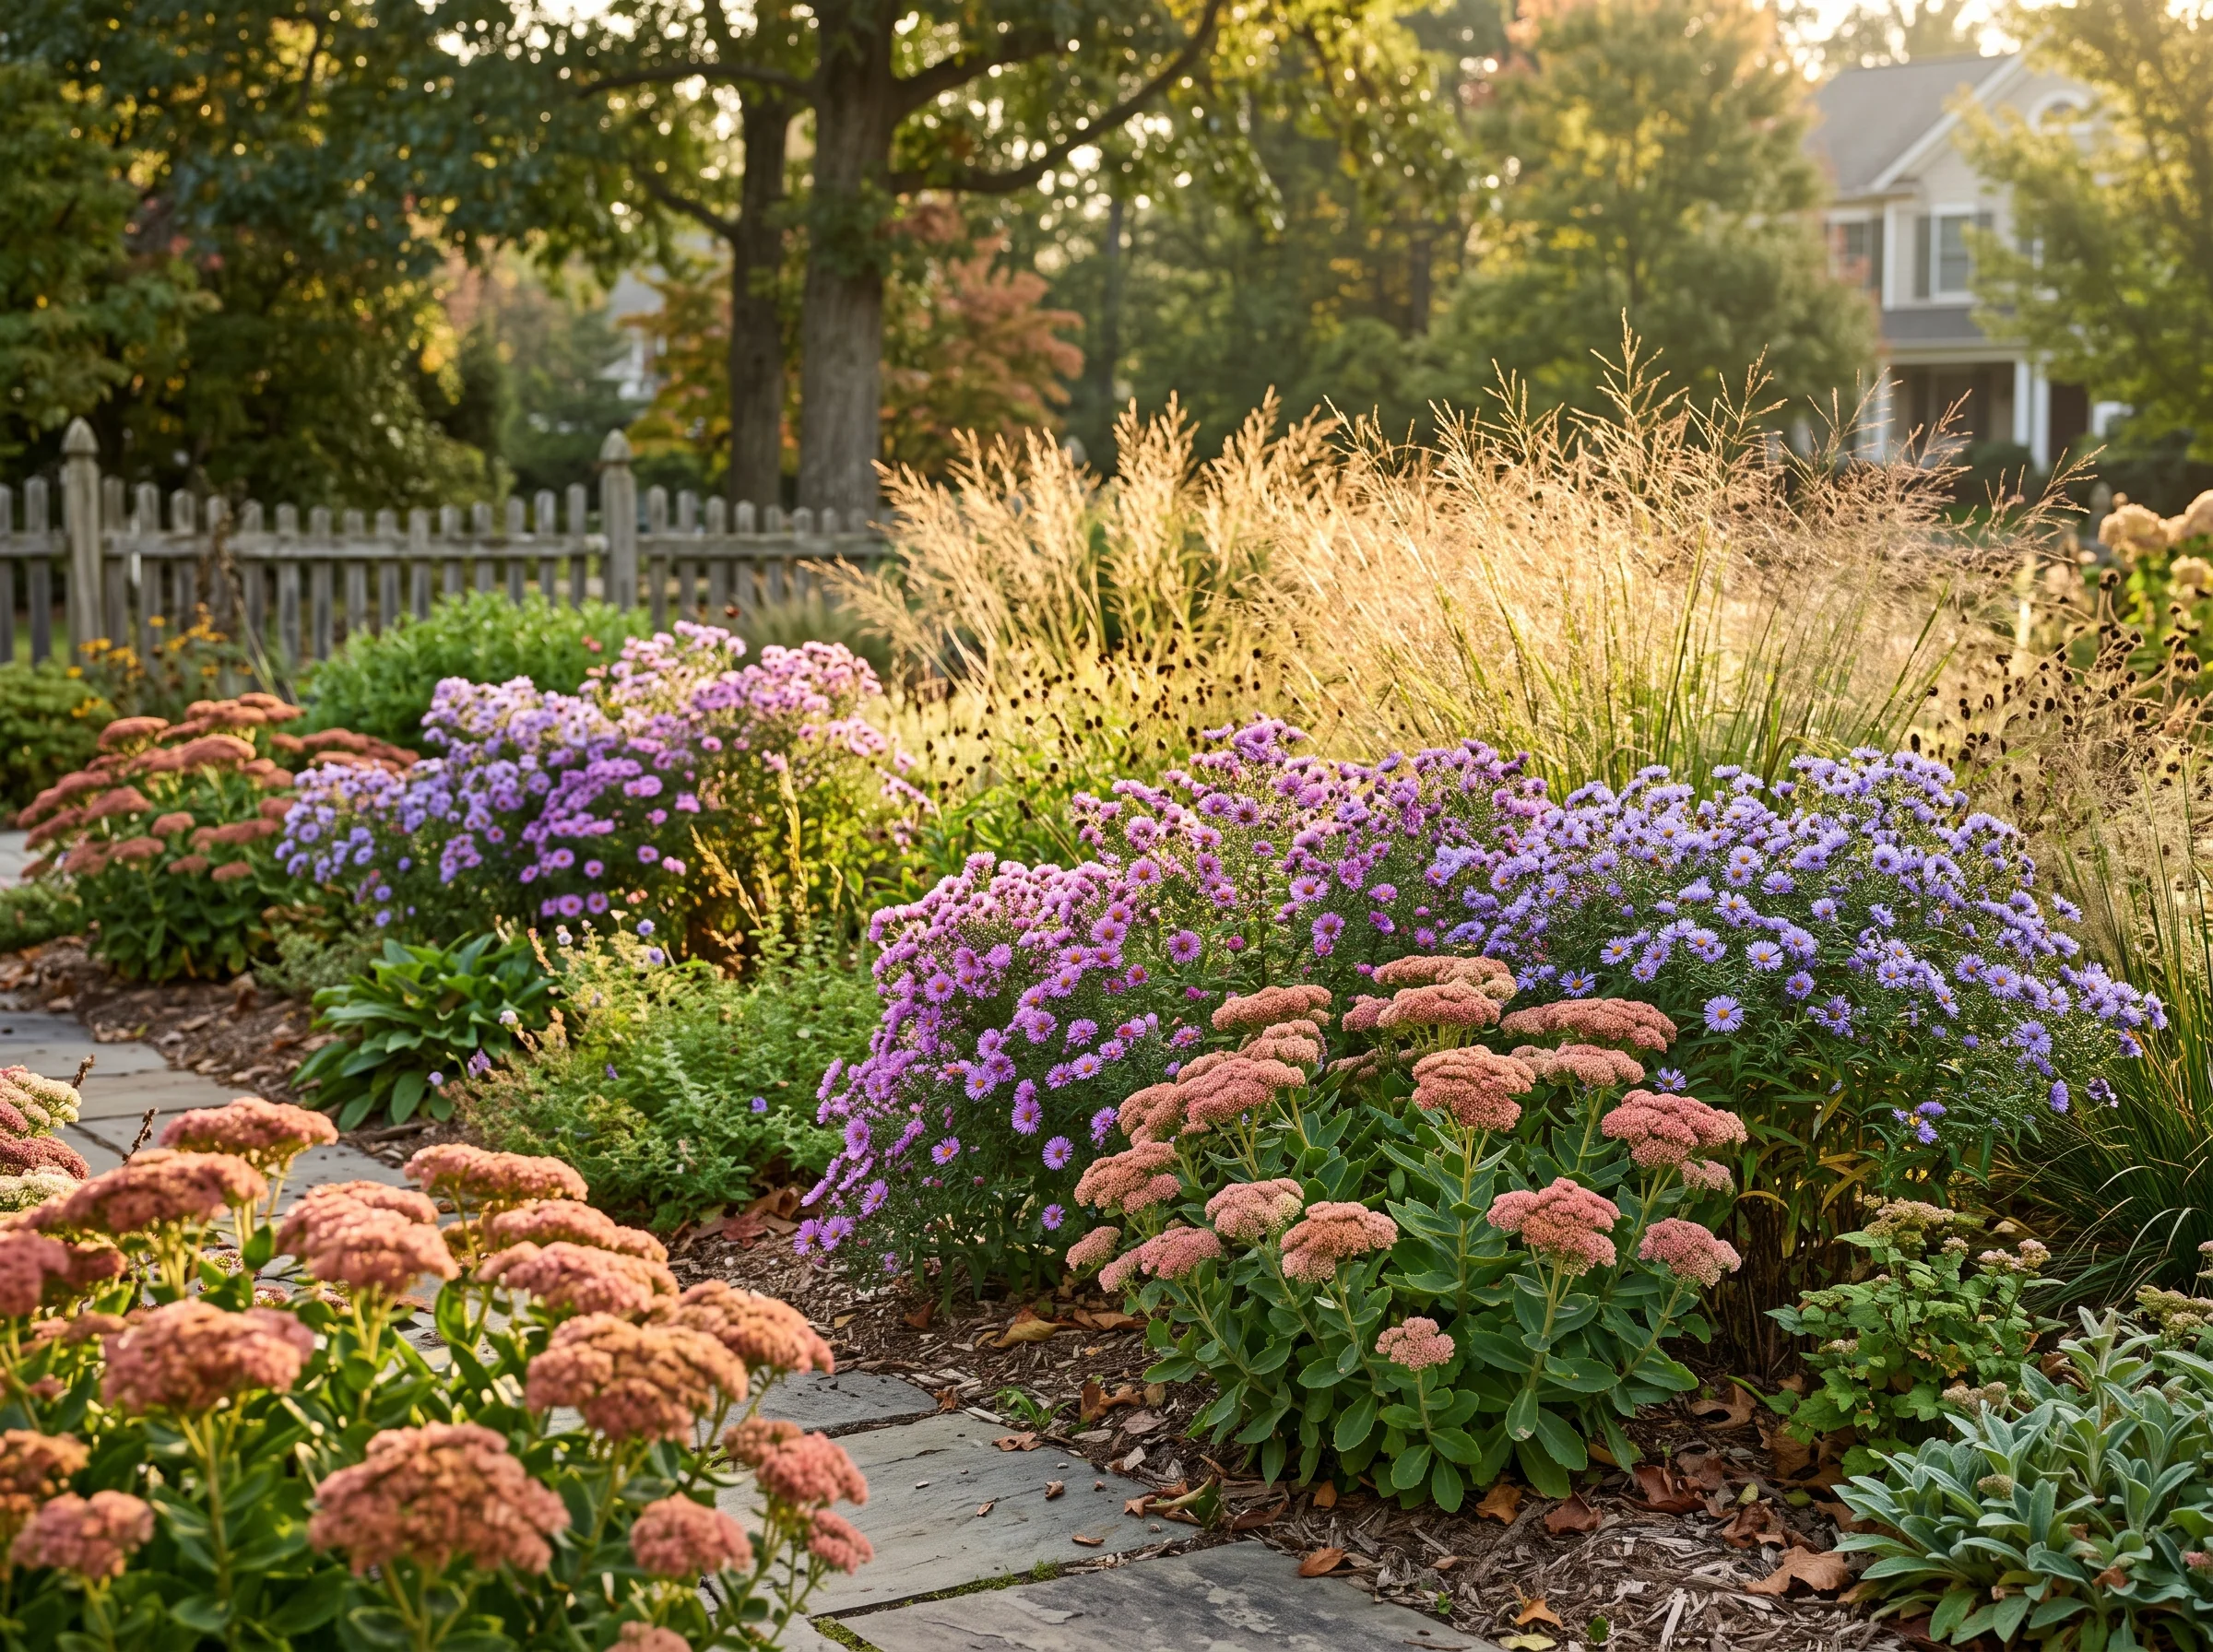
Step 8: Space like a cottage gardener
One reason cottage gardens look full is that plants are spaced closer than in a minimalist landscape. The risk is airflow issues and more disease pressure if your summers are humid.
A practical spacing approach
- Start with plant tag spacing, then shave off a little if conditions allow. If a tag says 18 inches, I often plant 14 to 16 inches apart in rich soil with decent airflow. In humid climates, or anywhere powdery mildew is a yearly event, stick closer to tag spacing and choose resistant cultivars.
- Give mildew-prone plants more room. Phlox, bee balm, and many monardas appreciate airflow.
- Plan for grow-in fillers. Use short-lived fillers (like annuals) the first year rather than stuffing the bed with too many perennials.
My favorite first-year fillers: Cosmos, calendula, zinnias, sweet alyssum, and basil tucked near the front. They give you that lush look while the perennials settle in.
Step 9: Repeat on purpose
If you want your bed to feel cottage and cohesive, repeat your key plants in groups of 3, 5, or 7 throughout the border.
For example, you might repeat:
- A clump of catmint every 4 to 6 feet along the front.
- Coneflowers in three separate drifts in the middle.
- A couple of upright ornamental grasses spaced like punctuation marks.
Those repeats create a rhythm, and then you can sprinkle in your collector plants without the whole thing feeling random.
Step 10: Add cottage details
This is the part that makes people linger.
- An arbor, obelisk, or trellis: For clematis, climbing roses (where hardy), or annual vines.
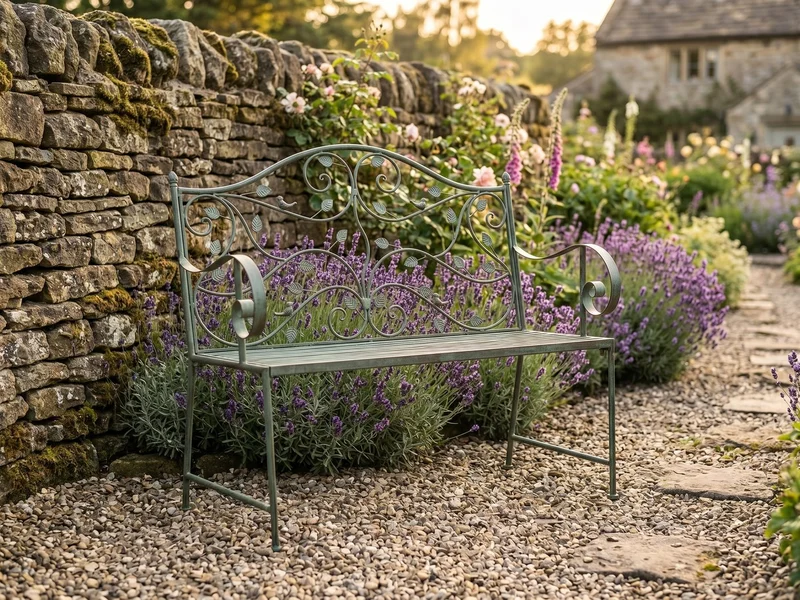
- A simple bench: Even a small one turns a border into a destination.
- Edging that disappears: A clean spade-cut edge, brick, or stone. Cottage gardens love old materials, but they do not need to be fussy.
- A birdbath or pot: One focal point is plenty.
Planting day order
When you are ready to plant, a little sequence keeps the whole thing from becoming a puzzle.
- Lay out all plants in their pots on top of the soil. Stand back. Adjust. Take a photo. Adjust again.
- Plant the bones first (shrubs and big clumping perennials).
- Plant the middle layer in drifts or loose triangles.
- Fill the edges with lower growers.
- Weave in your airy plants as finishing touches.
- Water deeply and mulch lightly, keeping mulch away from crowns.
That set-everything-out-first step seems slow, but it saves so much backtracking.
Two sample layout recipes
Use these as a starting point, then swap plants for your sun, soil, and climate. (And yes, this is where your local nursery advice really shines.)
Sunny 6x12 border
- Back: 2 garden phlox, 2 compact Joe Pye weed varieties, 3 tall salvias
- Middle: 5 coneflowers, 5 coreopsis, 3 daylilies, 3 yarrow
- Front: 7 catmint, 5 hardy geranium, 3 lady’s mantle
- Weavers: 3 verbena bonariensis tucked through the middle (deadhead if you want fewer volunteers)
Bright shade 6x10 border
- Back: 2 compact hydrangeas, 3 Japanese anemone (placed where you can manage spread)
- Middle: 5 astilbe, 5 heuchera, 3 Siberian iris
- Front: 7 brunnera or pulmonaria, 5 hardy geranium
- Weavers: 3 gaura if you have enough light, or swap to airy ferns in deeper shade
These counts assume typical 1 gallon to 2 gallon starter plants. If you are using larger sizes, reduce quantities.
Care that keeps it charming
Stake early
I know it is tempting to wait. Try to place supports when plants are 8 to 12 inches tall. By the time they lean, you are wrestling a full-grown octopus.
Deadhead selectively
Deadheading extends bloom for many perennials, but you do not have to obsess. I focus on the front edge and the paths where you notice it most.
Divide on a schedule
Dense planting means clumps will eventually compete.
- Fast growers like some salvias and hardy geraniums may need dividing every 2 to 3 years.
- Slow, long-lived clumps like peonies prefer to be left alone for years.
Leave some seedheads
Seedheads add winter structure and feed birds. I often leave coneflowers and ornamental grasses standing until late winter, then cut back before spring growth surges.
Plan for hungry visitors
Cottage gardens are basically a welcome sign for pollinators, and sometimes for deer and rabbits too. If browsing is common in your area, consider a simple fence, repellents you can keep up with, or a backbone of more resistant plants mixed in with your favorites.
Fix common layout problems
It looks messy, not charming
Add a clearer edge, repeat one plant more often, and reduce your color palette by removing or relocating one clashing bloom color.
My tall plants fall forward
Either stake earlier, move tall plants back farther, or replace a few with sturdier upright types (baptisia, upright grasses, or stronger-stemmed phlox cultivars).
I have gaps in spring
Tuck bulbs in this fall and add 2 to 3 early perennials (hellebores, brunnera, bleeding heart, or spring geraniums depending on sun).
Everything blooms at once, then nothing
Add at least one reliable fall bloomer (asters, sedum, anemone) and one long-season performer (catmint, salvia, coreopsis).
FAQ
Do cottage gardens have to include roses?
No. Roses are classic, but a perennial cottage garden can be all herbaceous plants and still feel perfectly cottage. If you do want roses, pick disease-resistant varieties suited to your climate and give them airflow.
How do I keep it low maintenance?
Use sturdy, long-lived perennials as your backbone, repeat them, and limit the number of fussy plants that need staking or frequent dividing. Also, include ground-covering front-edge plants to reduce weeds.
Can I do a cottage layout in a small yard?
Absolutely. In small spaces, go heavier on repetition, keep your tallest plants truly narrow, and use vertical elements like an obelisk to get height without sacrificing width.
A gentle first step
If you are staring at a blank bed and thinking, “I need a whole plan before I start,” here is my neighborly advice: choose three dependable perennials, plant them in repeating clumps, and then fill around them slowly over a season or two.
Cottage gardens are allowed to evolve. In fact, the best ones always do.