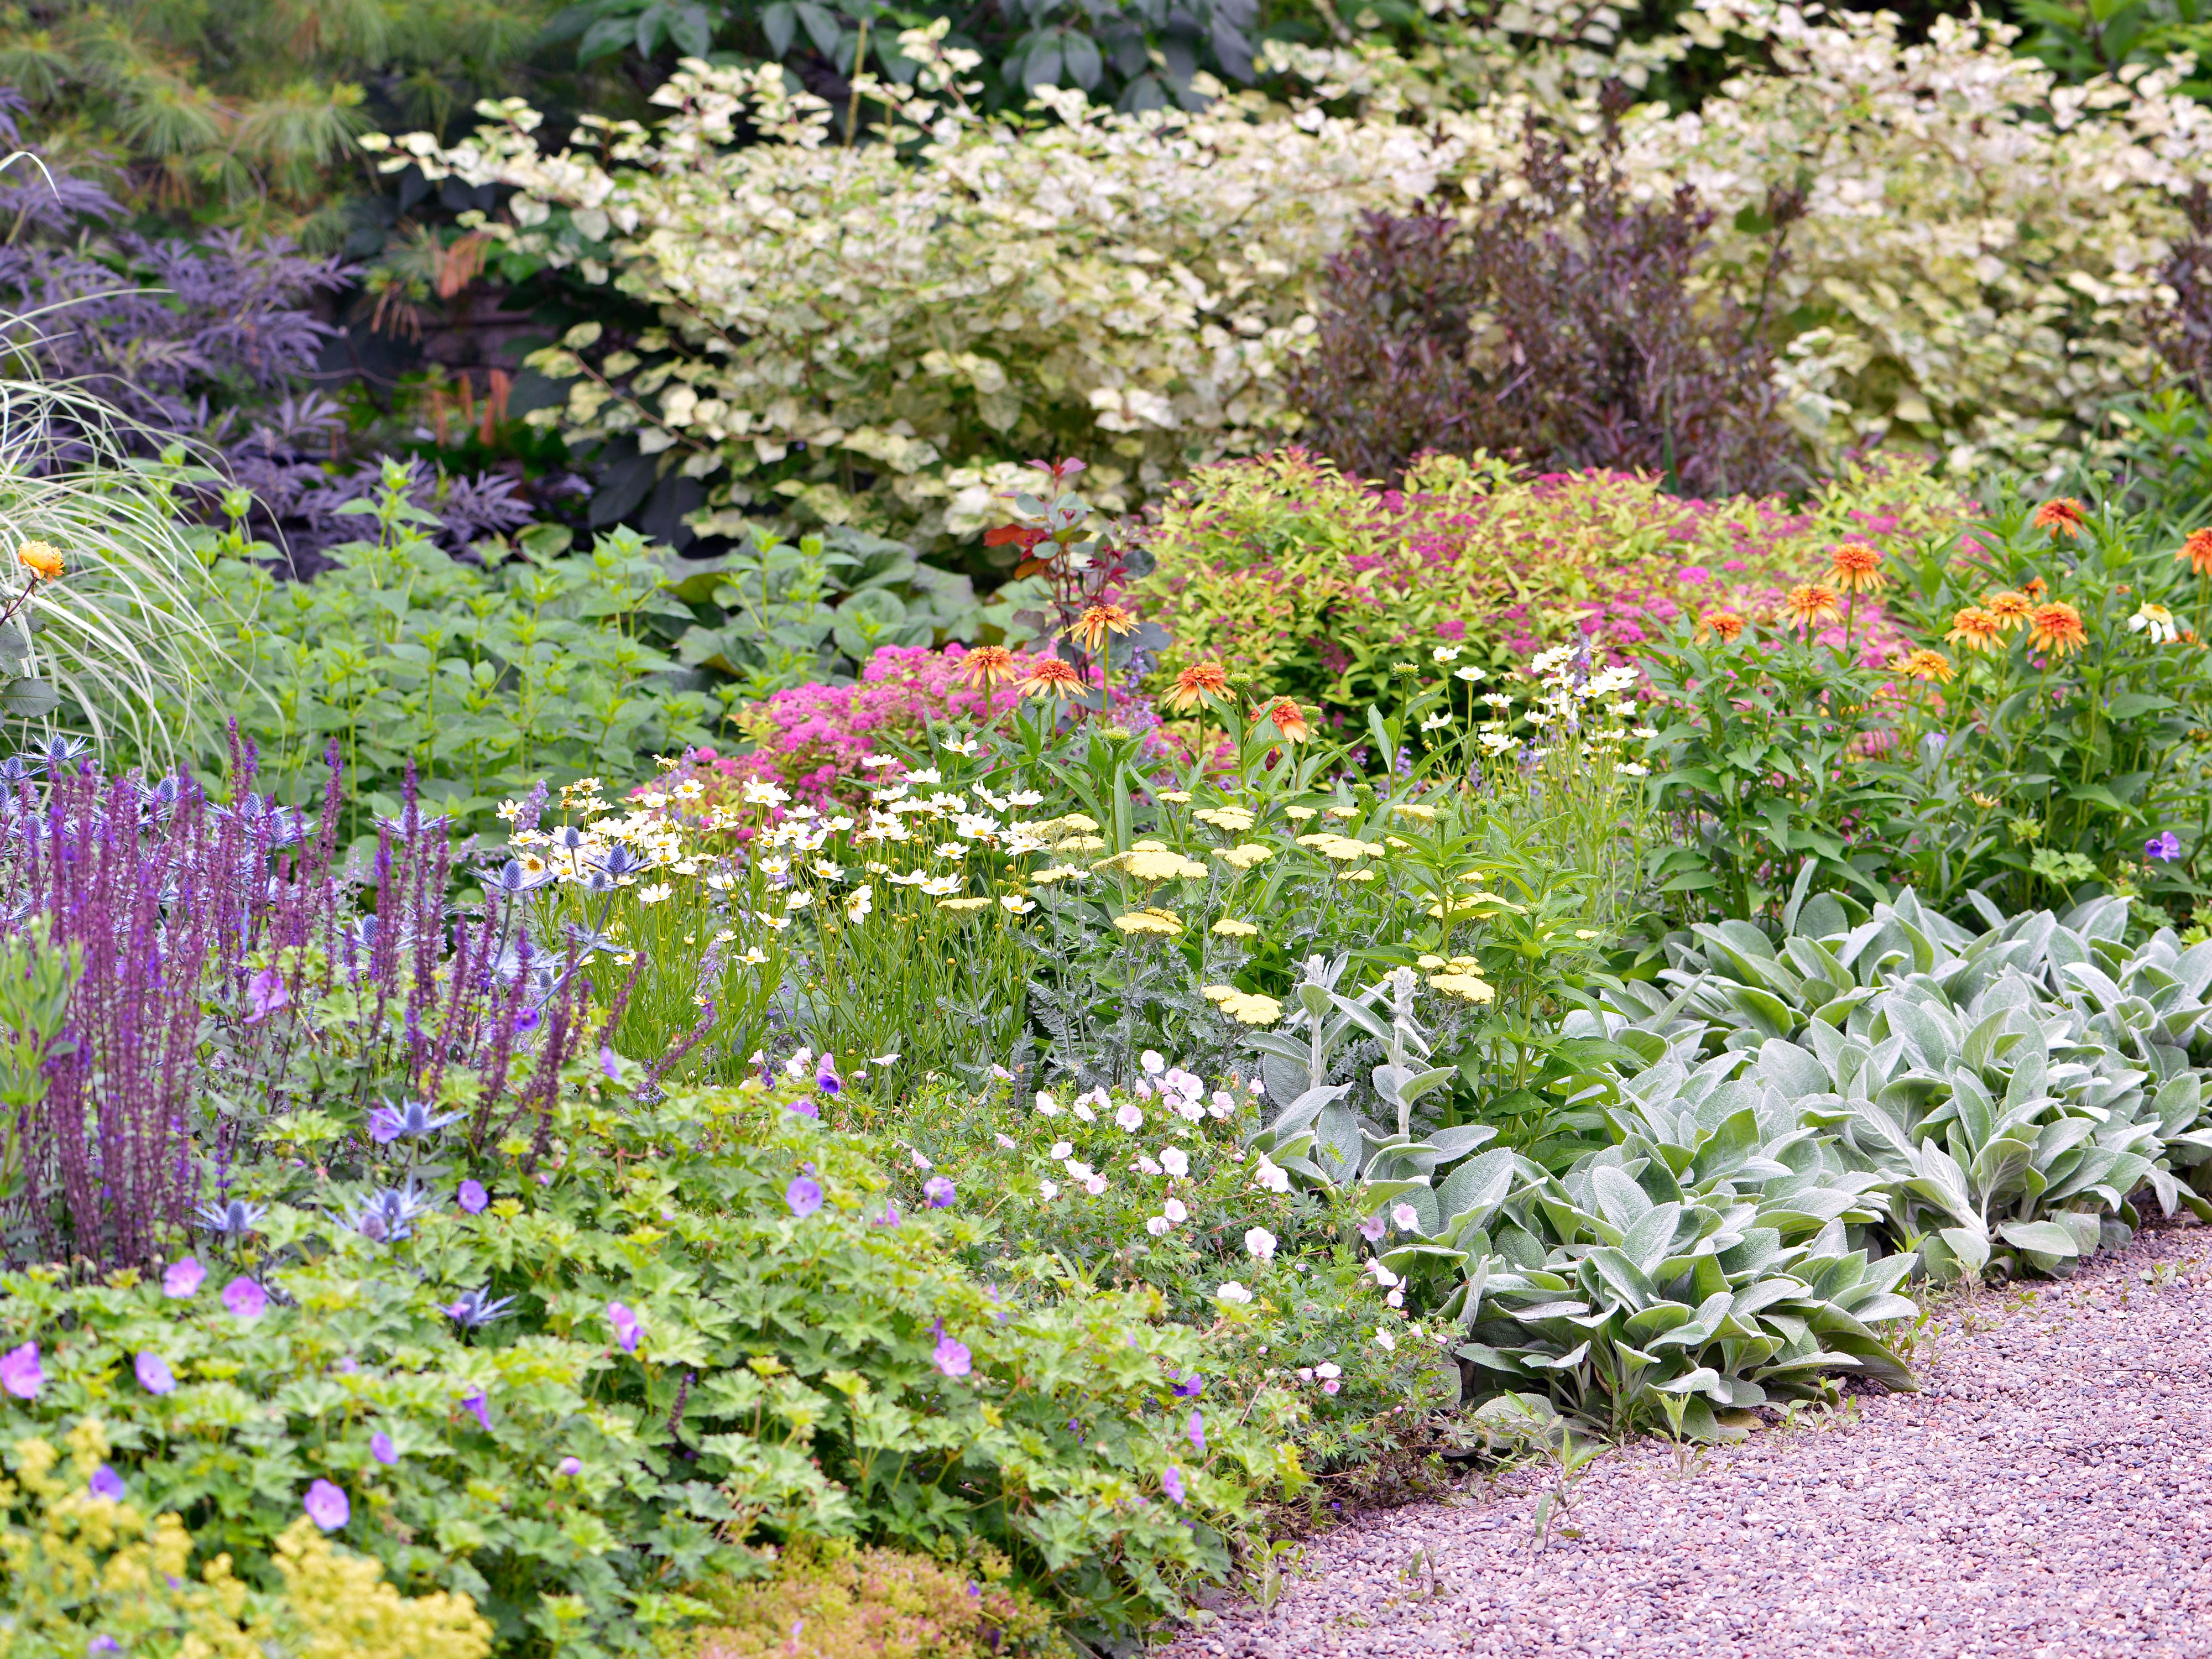

The secret to a garden bed that looks lush instead of lumpy is not a bigger plant list. It is structure. When you layer perennials by height, texture, foliage season, and bloom timing, the bed gains depth the way a good cottage border does, with tall shapes behind, generous mid-layer color, and a tidy, living edge that keeps the whole thing grounded.
I learned this the hard way moving between growing zones and trying to recreate the same “pretty picture” border everywhere. What finally worked was building the bed like a little ecosystem, not a row of favorites. Let’s walk through how to stack your perennials so the bed reads as balanced from spring through frost.

Start with the view and the bed shape
Before you pick plants, decide where you will stand most often to enjoy the bed. Height layering depends on viewpoint.
- Against a fence or wall: Tall plants belong at the back, shortest at the front.
- Island bed viewed from all sides: Tall plants go in the center, then step down toward the edges.
- Corner bed: Put the tallest “anchor” in the corner, then cascade down along both legs.
Then consider bed depth. For truly satisfying layering, a bed should be deep enough to hold at least three layers.
- Minimum workable depth: about 4 feet for a simple tall, mid, low arrangement.
- Ideal depth for rich layering: 6 to 10 feet, which allows repeated drifts and a few “see-through” plants.
Think of these as guidelines, not laws. You can still get a layered look in a shallower bed, but you will need to choose narrower plants and be more ruthless about repeats.
Match plants to moisture and soil
Light is only half the story. Before you fall in love with a plant list, do a quick gut-check on your site.
- Dry, fast-draining soil: lean into drought-tolerant perennials and grasses (think Russian sage, yarrow, nepeta, many ornamental grasses). Rich soil plus lots of water can mean flopping.
- Moist or low spots: choose plants that like consistent moisture (Joe Pye weed, astilbe, ligularia, meadow rue) and plan to mulch well.
- Heavy clay: pick tough roots and give crowns breathing room. A little compost and a slightly raised planting area can make many “picky” perennials behave.
The three height layers
1) Back layer: anchors and vertical punctuation
These are your bed’s backbone. They create a backdrop, hide fences, and give your eye something to land on. Think upright spires, airy wands, tall domes, and ornamental grasses.
Good perennial back-layer candidates (choose by your sun and soil):
- Sunny beds: Joe Pye weed (Eutrochium, happiest with steady moisture), tall garden phlox (Phlox paniculata), helianthus ‘Lemon Queen’, meadow rue (Thalictrum), Russian sage (Salvia yangii, best in full sun and lean, well-drained soil), switchgrass (Panicum virgatum), feather reed grass such as Calamagrostis × acutiflora ‘Karl Foerster’.
- Part shade: foxglove (Digitalis, often biennial but behaves like a perennial in many gardens), goatsbeard (Aruncus), cimicifuga or bugbane (Actaea racemosa), tall astilbe (best with part shade and consistent moisture, especially in warm climates), Solomon’s seal (Polygonatum).
Spacing tip: Put tall anchors in groups of 1, 3, or 5 and repeat them at intervals. One lonely tall plant reads like a flagpole. Repeating an anchor reads like design.
2) Mid layer: the body of the bed
This middle layer does most of the heavy lifting visually. It fills gaps, ties colors together, and keeps the bed looking full even when the back layer is between bloom cycles.
Reliable mid-layer perennials:
- Sunny: coneflower (Echinacea), black-eyed Susan (Rudbeckia), bee balm (Monarda), yarrow (Achillea), hardy geranium (Geranium), catmint (Nepeta), peony (Paeonia), daylily (Hemerocallis), coreopsis.
- Part shade to shade: hosta, hellebore (Helleborus), brunnera, Japanese anemone (often sold as Anemone × hybrida), coral bells (Heuchera), lungwort (Pulmonaria), woodland phlox (Phlox divaricata).
My rule of thumb: If you want the bed to look “done” most of the season, aim for roughly 50 to 60 percent of your plants in this middle layer. It is a helpful target, not a strict formula.
3) Front edge: low growers that finish the picture
The front layer is where a bed either looks crisp or chaotic. Low plants soften the border, cover bare soil, and make maintenance easier by shading out weeds.
Strong low and edging choices:
- Sunny: creeping thyme (Thymus), sedum varieties (short types), dianthus, alpine phlox (Phlox subulata), candytuft (Iberis), lamb’s ear (Stachys), dwarf iris, creeping speedwell (Veronica).
- Shade: ajuga, sweet woodruff (Galium odoratum), barrenwort (Epimedium), foamflower (Tiarella), wild ginger (Asarum), low ferns.
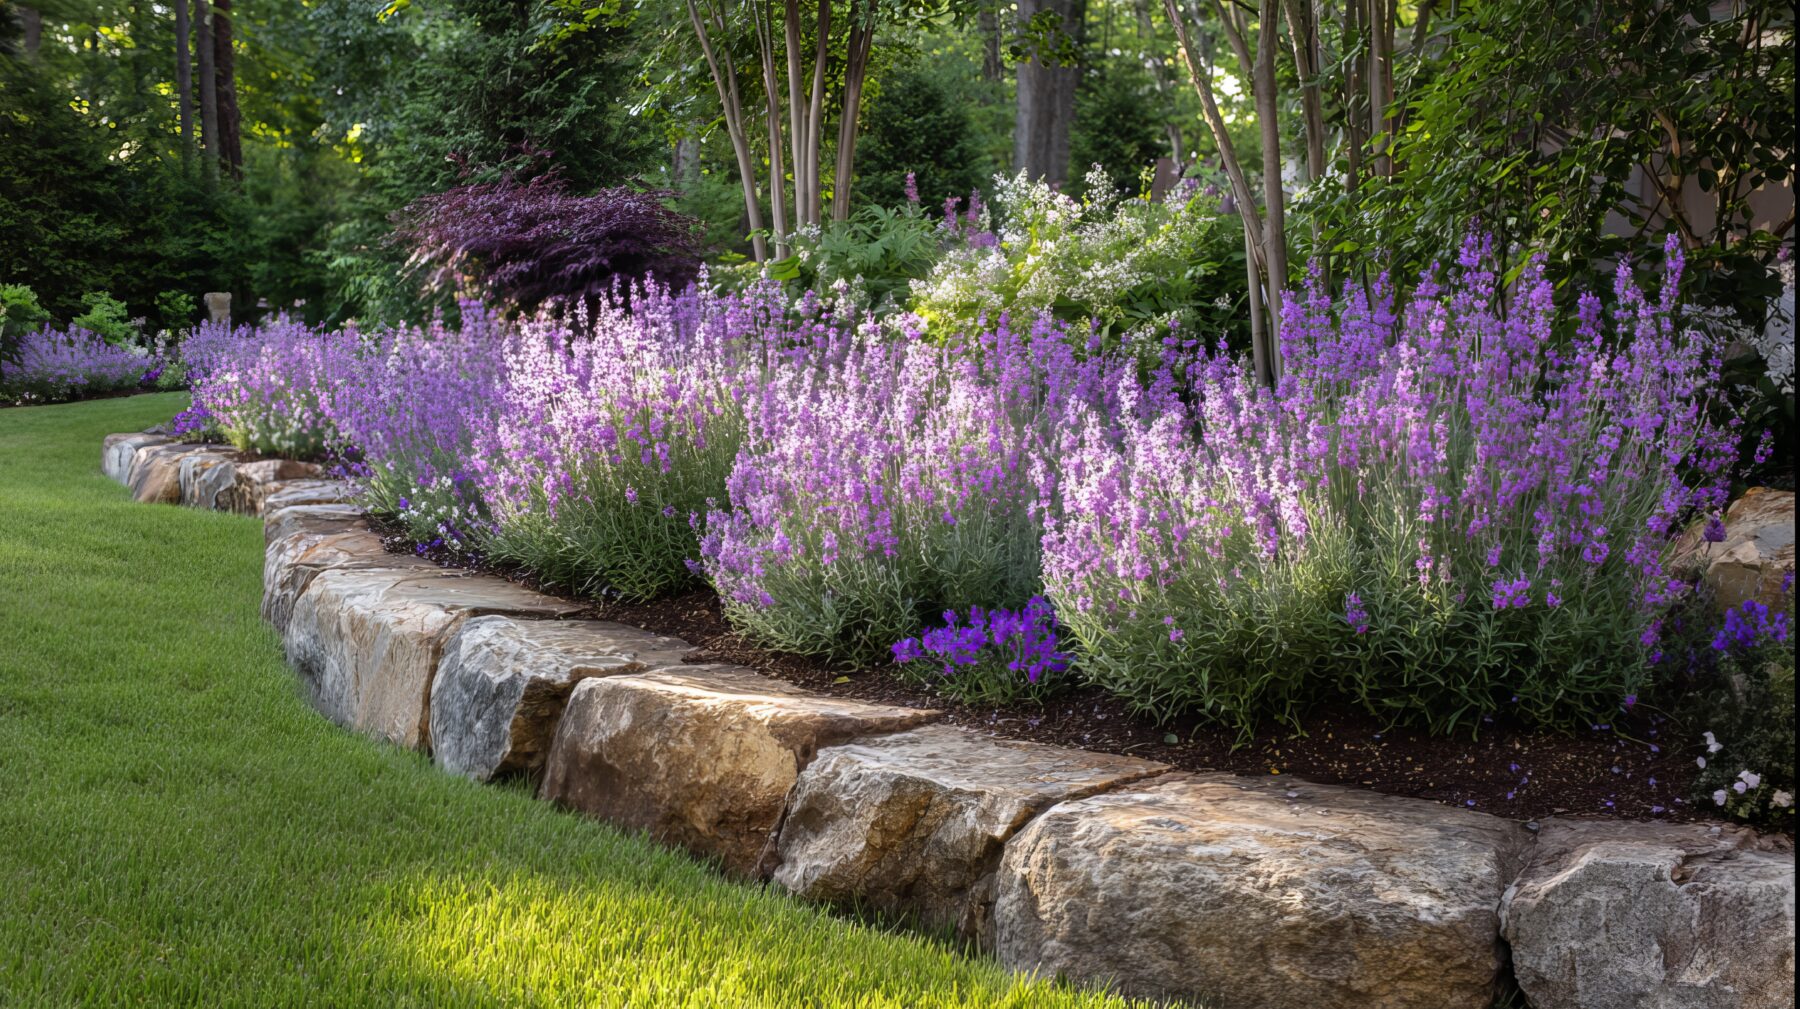
Edging tip: Pick one or two front-edge plants and run them like a ribbon. For example, tuck catmint every 3 to 4 feet along a sunny edge, then knit the gaps with creeping thyme.
Texture matters too
Height gives you structure. Texture gives you sparkle.
Use leaf shape and plant form
- Big leaves next to fine leaves: hosta beside fern, or ligularia beside astilbe.
- Spiky beside rounded: salvia spikes next to mounded nepeta, or iris fans next to peony domes.
- Glossy beside matte: heuchera next to lamb’s ear, or brunnera next to hellebore.
Mix solid and see-through plants
One of my favorite tricks for instant depth is adding airy plants that you can partially see through. They keep the bed from feeling like a wall.
- Airy options: gaura, Verbena bonariensis, meadow rue (Thalictrum), ornamental grasses, dill or fennel (if you do not mind reseeding).
Place see-through plants in the mid layer, not only the back. They create a gentle veil that makes everything behind them feel farther away.
Plan blooms by season
A layered bed can still look flat if everything blooms at once and then goes quiet. Instead, think in seasons. Aim for at least one “star” and a couple of supporting bloomers in each window. Foliage plants count as support, too.
Simple season map
- Early spring: hellebores, woodland phlox, creeping phlox, epimedium, early iris.
- Late spring into early summer: peonies, catmint, hardy geranium, salvia, alliums.
- Midsummer: coneflowers, daylilies, bee balm, garden phlox, yarrow.
- Late summer into fall: asters, sedum, anemones, goldenrod (Solidago), ornamental grasses, Joe Pye weed.
Bloom layering tip: Put long-blooming workhorses in the mid layer and use the back layer for big moments. Your tall plants can be dramatic, but your middle plants keep the bed looking consistent.
Bonus spring layer: If you want easy early color, tuck bulbs like daffodils, species tulips, and alliums into pockets between perennials. As the bulbs fade, the perennials rise and hide the foliage.
Build the bed in passes
Pass 1: place anchors
Set your tallest plants first. Stand back. Squint. You should see a rhythm, not a straight line. If the bed is long, repeat the same anchor plant every 6 to 10 feet for continuity. Treat that spacing as a starting point and adjust based on mature width.
Pass 2: add mid-layer drifts
Now add groups of 3, 5, or 7 of your mid-layer plants, weaving them in front of and between anchors. This is where you create the “body” and your main color story.
Scale tip: In a small bed, groups of 3 often look generous. In a long border, do not be afraid of sweeps of 5 to 9 or more so the planting reads from a distance.
Pass 3: knit the front edge
Finish with low growers in a mostly continuous band. Leave small gaps for seasonal bulbs if you like, but try to keep the edge feeling intentional all the way along.
Little design trick that always helps: When in doubt, echo a plant again somewhere else. That simple repeat is what turns a collection into a composition.
Spacing and sightlines
Mistake 1: planting in rows
If tall, mid, and low plants each sit in their own row, the bed can look stiff. Stagger plants like you are placing stepping stones. Let some mid-layer plants drift slightly into the front layer, and tuck low plants into small pockets further back.
Mistake 2: ignoring mature size
That sweet little nursery pot perennial is going to surprise you by year two. Check mature width and give plants the space they need, even if it looks bare at first. Mulch, then let the plants grow into the design.
Mistake 3: blocking your stars
Put your showiest blooms where you can actually see them. If you love peonies, do not hide them behind daylilies. If you adore echinacea, do not let a tall grass lean over it.
Mistake 4: forgetting winter shape
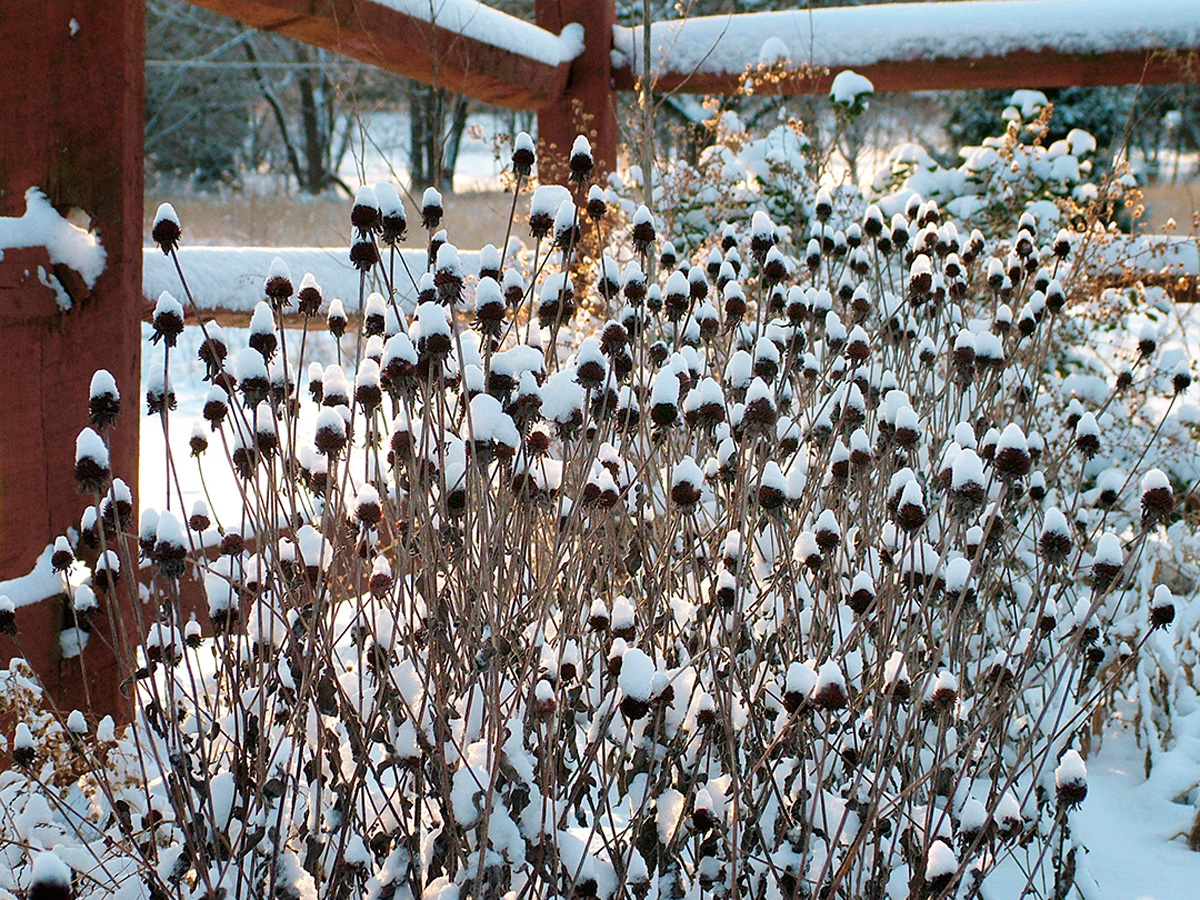
Layering is not only for summer. Seedheads, grasses, and strong stems give your bed presence in the off-season.
- Great for winter silhouettes: sedum seedheads, coneflower cones, ornamental grasses, yarrow, Joe Pye weed, allium stems.
Layering examples
Sunny bed: soft purple and gold
- Back: switchgrass + tall garden phlox
- Mid: coneflower + yarrow
- Front: catmint + creeping thyme
This combination stays attractive even when one plant takes a break, because the grasses and catmint keep the shape steady.
Part shade bed: lush leaves, bright blooms
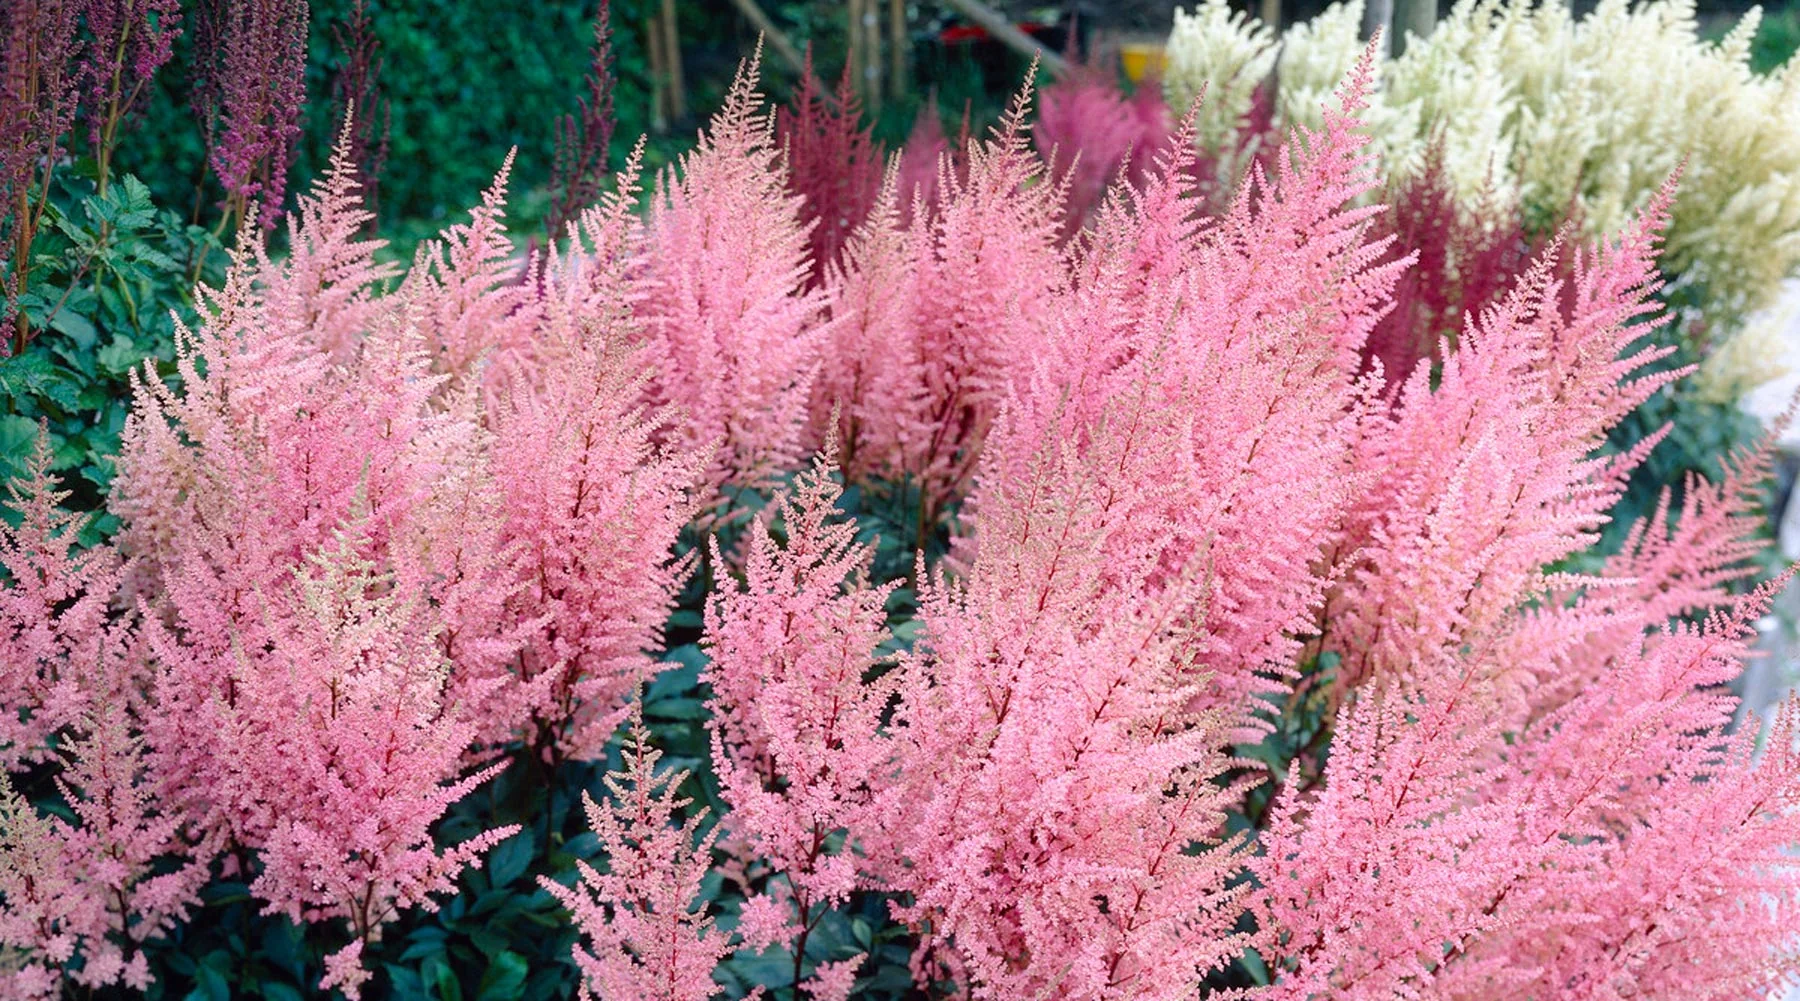
- Back: astilbe + actaea (bugbane)
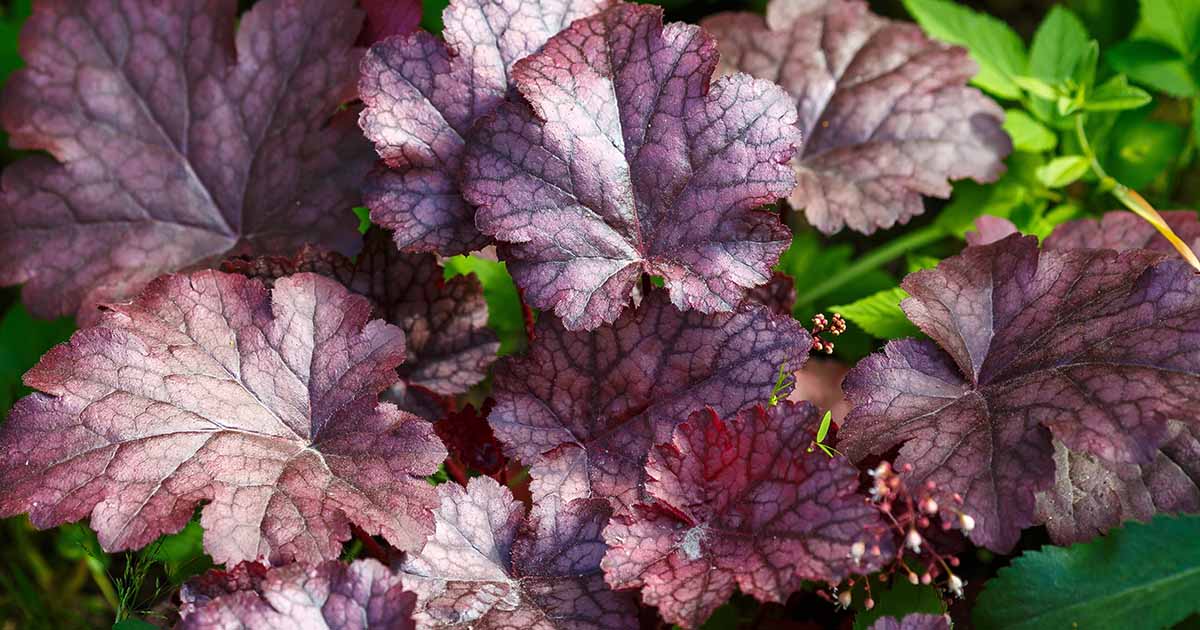
- Mid: hosta + heuchera
- Front: epimedium + foamflower
Here, foliage does as much work as flowers. You get layers even on weeks when nothing is blooming hard.
Small bed (4 feet deep)
- Back: compact garden phlox (look for shorter Phlox paniculata cultivars) or compact baptisia
- Mid: hardy geranium
- Front: dianthus or creeping phlox
In shallow beds, choose “tall” plants that top out around 3 feet so they do not swallow the space.
Keep the layers intact
Once your bed fills in, maintenance is mostly about protecting the shape you created.
- Support early: stake floppy plants in late spring before they fall over. A little support disappears once foliage fills in.
- Cut back in steps: shear catmint by about one-third to one-half after the first flush, and deadhead or lightly trim hardy geranium to encourage fresh leaves and repeat bloom.
- Edit gently: every spring, check if any plant is bullying its neighbors. Divide, transplant, or reduce that clump before it erases your layers.
- Mulch with restraint: a thin layer helps with weeds, but do not bury crowns. Let your groundcovers take over the job as they spread.
Quick checklist
- Pick your viewpoint: one-sided bed or island bed
- Build three height layers: anchors, mid fillers, low edge
- Echo plants: especially along the edge and in the anchor layer
- Mix textures: big and fine foliage, solid and airy forms
- Stagger the show: spring, early summer, midsummer, fall
- Plan for real life: mature size, wind, soil moisture, drainage
FAQ
How many different perennials should I use?
For a bed that feels cohesive, I like to start with 5 to 9 main perennials repeated in drifts, then add 1 to 3 accent plants for personality. You can always add variety later, but a few repeated “characters” make layering read clearly.
What if my bed gets wind and heavy rain?
Lean into sturdy stems and grasses for the back layer, and avoid tall, top-heavy plants unless you are willing to stake. Compact varieties of garden phlox, upright sedums, baptisia, and switchgrass are generally good choices. In rich soil, even sturdy plants can flop, so do not over-fertilize.
Do groundcovers choke out other perennials?
Some can. If you are nervous, start with well-behaved edging plants like creeping thyme (sun) or epimedium (shade). Give aggressive spreaders their own defined section where you can edge them back once or twice a season.
Can I layer perennials in containers?
Yes, just scale down. Use one taller thriller perennial, one or two mounding fillers, and a spiller along the rim. In cold climates, choose perennials hardy to one to two zones colder than your own, and protect the pot if you plan to overwinter it outdoors. A sheltered spot out of wind and an insulating wrap can make the difference.