
Hostas are the perennial I recommend when someone tells me, with a sigh, “Nothing blooms or looks happy in my shade.” I used to think of hostas as background plants too, until I watched how they quietly anchor a bed from spring unfurling to fall frost. The right variety can glow in morning light, stay crisp through summer heat, and even send up fragrant blooms that surprise you when you least expect it.
This guide will help you match hostas to your specific light, plant them so they actually thrive (not just survive), and keep the slugs from turning those gorgeous leaves into lace.
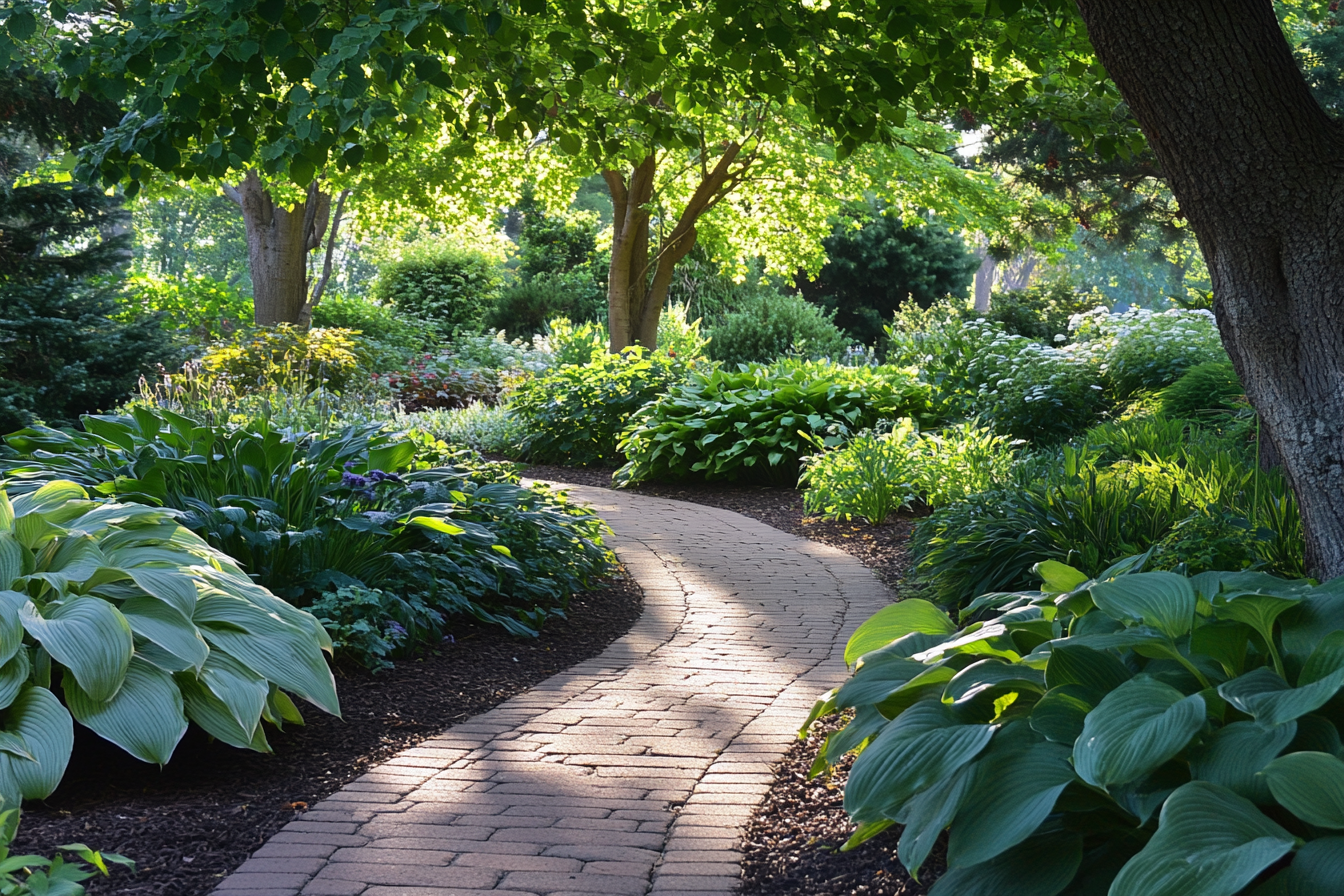
Hosta basics at a glance
- Common name: Hosta (plantain lily)
- Type: Herbaceous perennial
- Best for: Shade gardens, woodland edges, under trees, north and east sides of homes
- Light: Part shade to full shade (some tolerate more sun)
- Soil: Moist, well-drained, rich in organic matter
- Water: Consistent moisture, especially spring and early summer
- Bloom time: Summer (varies by variety)
- Deer/rabbit: Often browsed
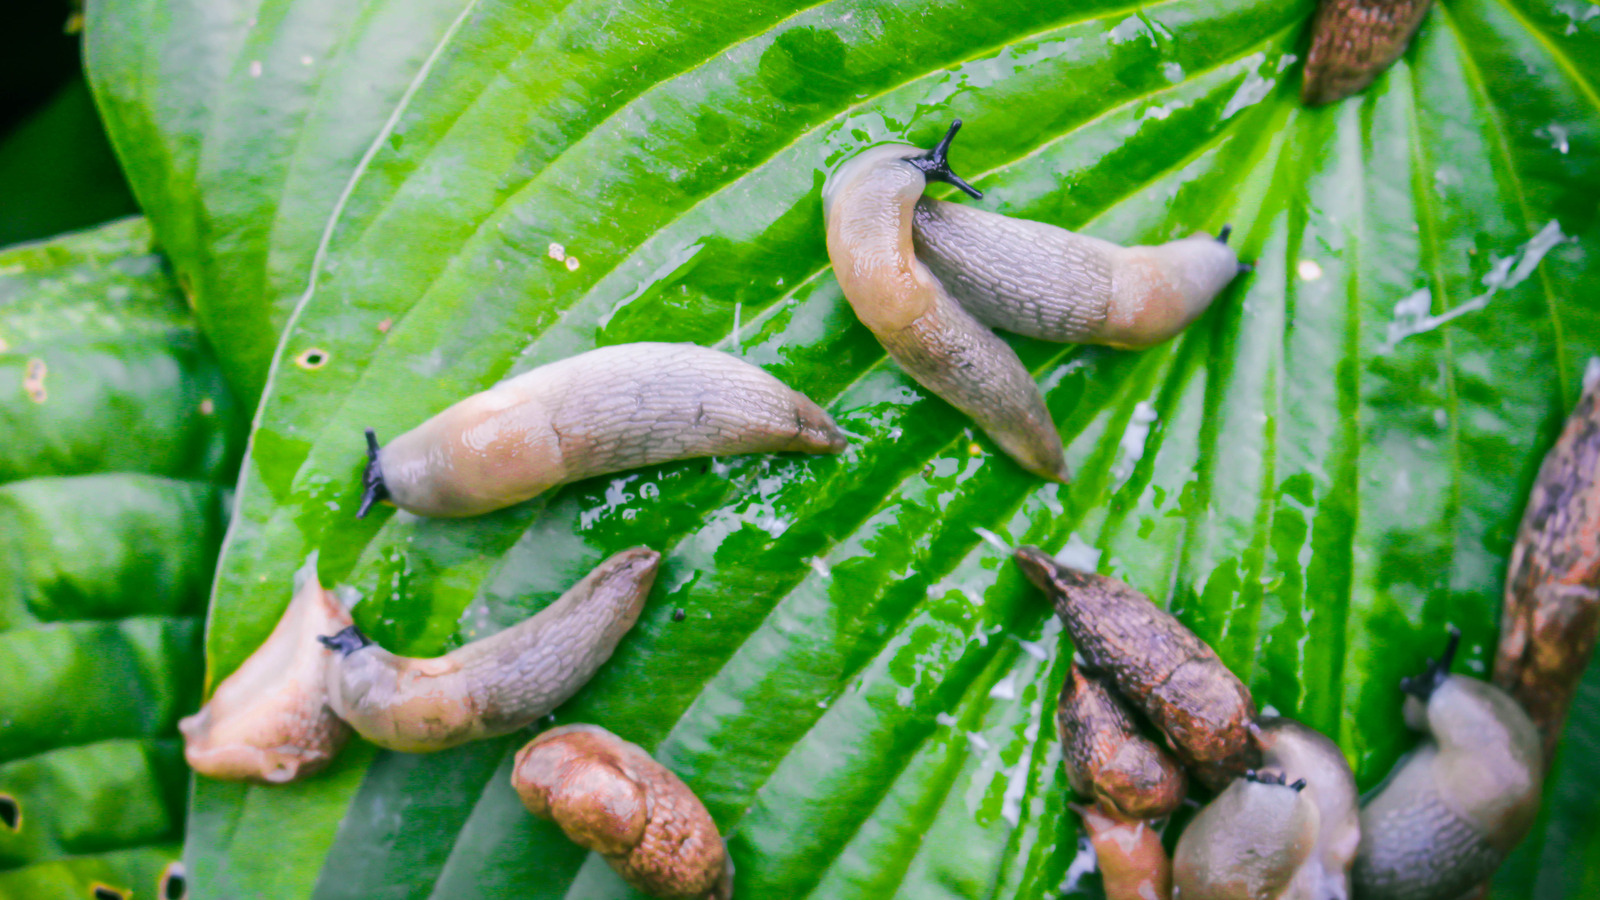
- Biggest pest: Slugs and snails
- Hardiness: Many hostas thrive in temperate climates and are commonly grown in USDA zones 3 to 9 (variety matters). In very hot summers, they can still do well with morning sun and reliable moisture, but full afternoon sun is a fast track to scorch.
One hosta truth that saves a lot of frustration: “Shade” is not one thing. Bright, open shade under high tree canopies behaves completely differently from deep shade against a fence. And “3 hours of sun” under leafy branches is not the same as 3 hours of full, direct afternoon sun.
Choosing hostas by light
If you remember just one rule, let it be this: gentle morning sun expands your options. Hot afternoon sun narrows them.
Morning sun plus afternoon shade (about 3 to 6 hours sun)
This is the sweet spot for many hostas. Leaves bulk up, colors sharpen, and variegation tends to pop.
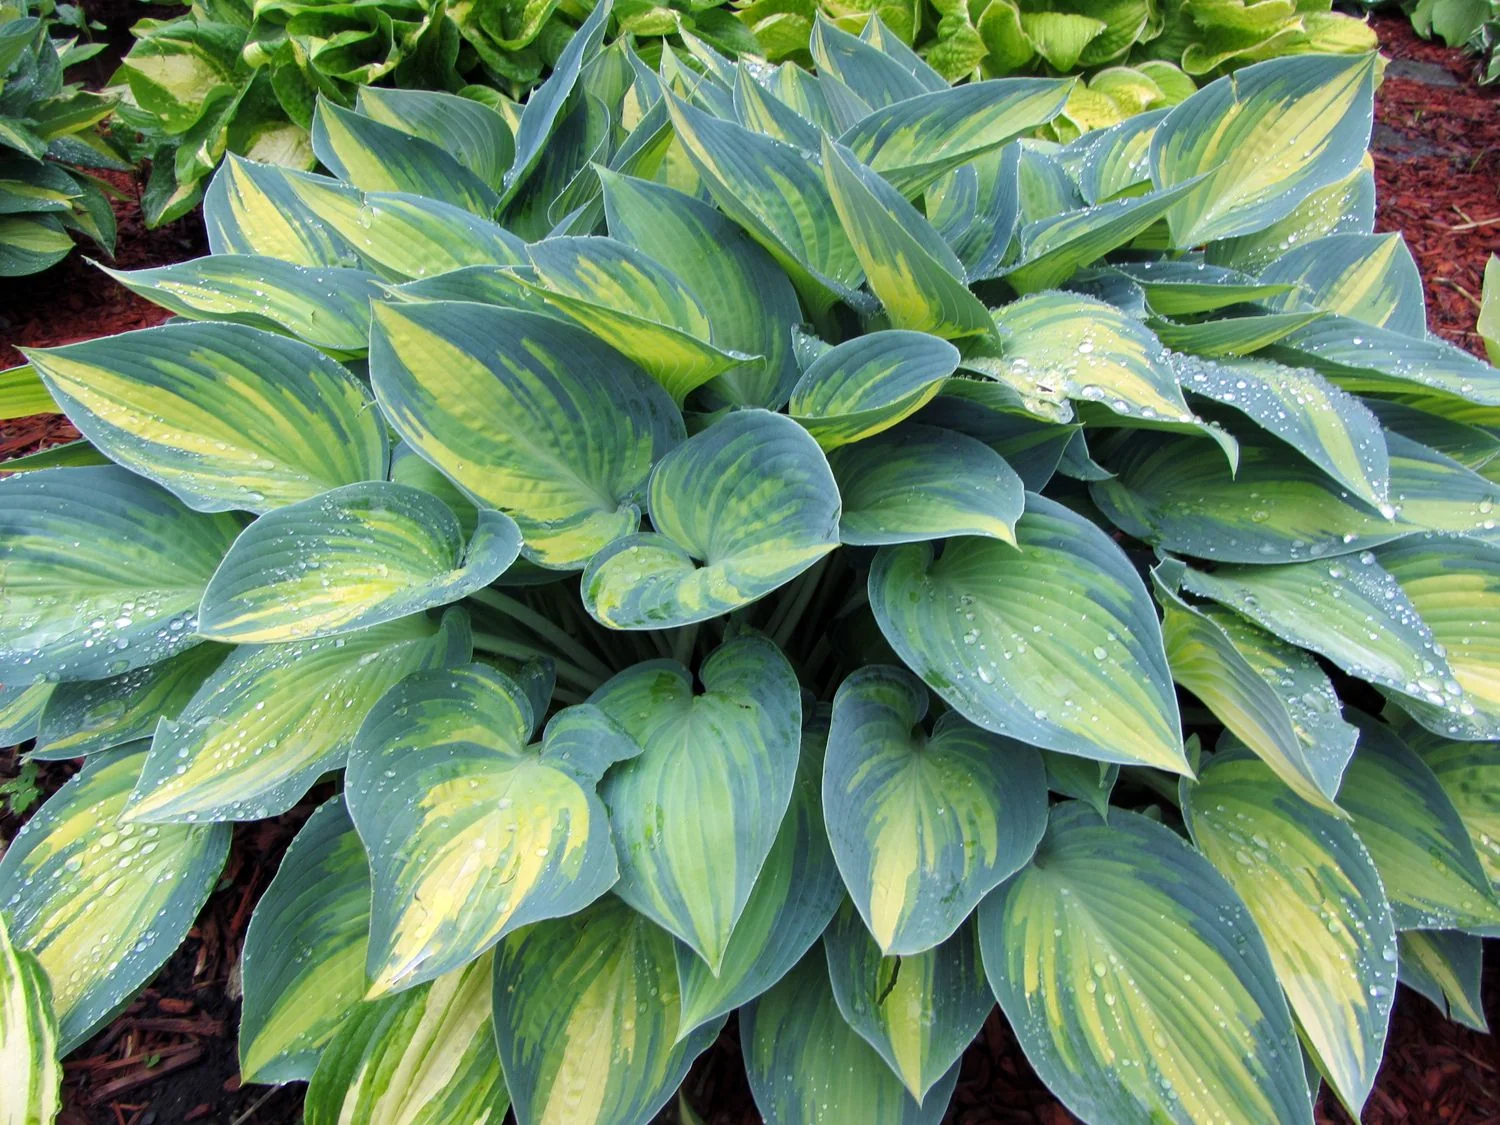
- ‘June’: Blue-green leaf with a gold center that changes through the season. A classic for a reason.
- ‘Patriot’: Medium green with crisp white edges. Holds contrast well and makes a tidy clump.
- ‘Guacamole’: Chartreuse to gold center with darker margin, plus fragrant flowers. Gorgeous near a patio.
- ‘Gold Standard’: Reliable gold tones with enough substance to look good through summer.
Dappled light and open shade (filtered sun, about 2 to 4 hours direct)
This is where hostas feel most “woodland,” with good growth and less stress. Many blue hostas look their best here.
- ‘Halcyon’: A beloved blue hosta with thick leaves. A strong pick if slugs are a recurring issue.
- ‘Francee’: Green with a clean white margin, vigorous and classic.
- ‘Autumn Frost’: Blue leaf with bright golden margins. Stays colorful without needing a lot of sun.
- ‘Blue Angel’: Large and statuesque, great for anchoring a bed.
Full shade and deep shade (less than about 3 hours direct sun)
Hostas will grow in full shade, but choose varieties with good leaf substance and expect slower growth. Deep shade is also often damper, which can mean more slug pressure. Tougher leaves help.
- ‘Sum and Substance’: Big, bold chartreuse leaves that brighten dark corners, especially if it gets a little morning light nearby.
- ‘Elegans’: Large, blue-gray leaves with heavy texture. The texture is not just pretty, it can also discourage feeding.
- ‘Sagae’: A large hosta with a blue-green center and creamy margins. Handles shade well once established.
- ‘Royal Standard’: Green leaves and fragrant white flowers that can perfume an evening garden.
Color tip from my own trial and error: Blue hostas stay their bluest in cooler conditions with shade or filtered light. Many can handle some morning sun, but intense sun plus heat can burn off that blue “bloom” and push the color toward green. Gold and many variegated hostas often need more light to develop their warm glow, but too much hot sun can still scorch, especially in warmer climates.
Top hosta varieties
If you are standing at the garden center staring at a sea of pots, these are the categories that make choosing easier.
Small spaces
- ‘Blue Mouse Ears’: Cute, compact, thick leaves. Great for containers and the front of beds.
- ‘Tiny Tears’: Miniature and delicate looking, but surprisingly useful for tight spots.
- ‘Fire and Ice’: White center with green margin, stays tidy and bright in shade.
Big and bold
- ‘Empress Wu’: A true giant in the right conditions. Plant it like a shrub and give it room.
- ‘Blue Angel’: Large, calming blue presence.
- ‘Sum and Substance’: Fast for a big hosta and lights up shade.
Fragrance and flowers
- ‘Guacamole’: Fragrant, showy, and easy to grow.
- ‘Royal Standard’: One of the most reliably fragrant, especially in warm evenings.
- ‘Fragrant Bouquet’: Soft variegation plus scent. Lovely near a walkway.
Better slug tolerance (not slug proof)
No hosta is completely safe if you have heavy slug pressure, but thick, heavily textured leaves usually take less damage. Even then, conditions matter. A variety that looks untouched in my garden might get chewed in yours if the bed stays wetter, shadier, or more sheltered.
- ‘Halcyon’
- ‘June’ (often less damaged than thin-leaved types, but it varies)
- ‘Blue Angel’
- ‘Elegans’
Where to plant hostas
Light
If you can choose, place hostas where they get gentle morning light and protection from hot afternoon sun. Morning sun helps leaves dry faster (fewer disease issues) and brings out variegation without scorching.
Soil
Hostas love a soil that holds moisture like a wrung-out sponge. They do not like sitting in soggy conditions.
- Work in compost or well-rotted leaf mold before planting.
- In heavy clay, add organic matter and consider planting slightly raised.
- In sandy soil, organic matter is your best friend for water retention.
Spacing
Overcrowding makes slug patrol harder and airflow worse. Plant tags help, but I also like simple spacing by size:
- Mini hostas: about 8 to 12 inches apart
- Medium hostas: about 18 to 30 inches apart
- Large hostas: about 36 to 60 inches apart (giants may need more)
A hosta that can fully mature without being squeezed is less stressed and more resilient.
Tree roots
Under shallow-rooted trees, hostas can struggle for water. I have had the best success by:
- Planting young hostas in pockets of improved soil between roots.
- Mulching with shredded leaves or fine bark to reduce evaporation.
- Watering deeply during dry spells, even if the tree looks fine.
How to plant hostas
- Soak the pot if the plant is dry. A well-hydrated root ball transitions faster.
- Dig wide, not deep. Hostas spread outward more than downward.
- Set the crown at soil level. The point where leaves emerge should not be buried.
- Backfill with improved native soil. Avoid creating a “perfect soil bowl” that holds water like a bathtub.
- Water in deeply. Then mulch, keeping mulch a couple inches away from the crown.
Best planting time: Spring or early fall. Fall planting works beautifully if you give the plant time to root before the ground freezes.
Seasonal hosta care
Spring
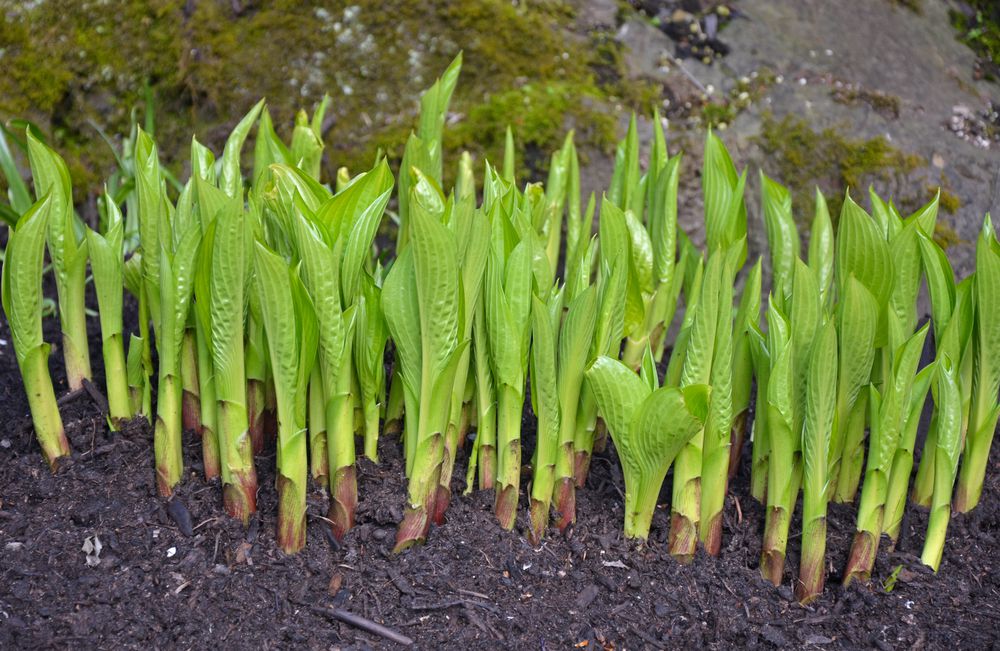
Those tight little “hosta noses” are tender and, unfortunately, delicious to slugs. Spring is when prevention matters most.
- Clear thick debris where slugs hide, but keep a light mulch layer for moisture.
- Start slug control early (see the prevention plan below).
- Top-dress with compost for steady, gentle nutrition.
Summer
Hostas look their best with consistent moisture, especially as leaves expand. Instead of watering on a schedule, check the soil, but these guidelines help:
- Deep watering is better than frequent sprinkles.
- A common target is roughly 1 inch of water per week from rain or irrigation, more during heat and wind. Sandy soil dries faster.
- Water in the morning so leaves dry out during the day.
- Mulch helps keep the root zone cool and evenly moist.
Fertilizing
If your soil has compost and you mulch yearly, you may not need much fertilizer at all. If you do feed, choose a balanced slow-release fertilizer in spring, then stop by mid-summer so the plant can coast into fall.
Fall
After frost, the leaves collapse. This is your moment to make next year easier.
- Cut back mushy foliage and remove it from the bed.
- Rake out hiding places where slugs overwinter.
- Refresh mulch after the ground cools, especially in colder zones.
Winter
In cold climates, hostas die back completely. A thin mulch layer helps buffer freeze-thaw cycles. In warmer climates, winter is also a good time to fix drainage issues so crowns do not sit wet.
Dividing hostas
Hostas can live for years without division, but dividing is a wonderful way to refresh older clumps and spread your favorites around the garden.
When to divide
- Early spring when shoots are just emerging
- Early fall when temperatures cool but roots can still grow
Signs it is time
- The center of the clump looks weak or sparse.
- Leaf size is shrinking year to year.
- It has outgrown its spot and is crowding neighbors.
How to divide
- Water the day before so roots are less stressed.
- Lift the clump with a spade, keeping as many roots as possible.
- Slice into sections with a clean spade or sturdy knife, aiming for multiple eyes per division.
- Replant immediately and water deeply.
When not to divide: during hot, dry weather or when a newly planted hosta is still establishing. Give new plants at least a full season to settle.
Slug control
I wish I could tell you one magical trick. In my garden, slug control is most successful when it is early, consistent, and built around removing hiding places plus using a reliable bait.
Step 1: make the bed less inviting
- Water in the morning, not at night. Night watering sets the table for slugs.
- Thin heavy groundcovers near hostas. Dense mats hold moisture and shelter.
- Clean up hiding spots like boards, overturned pots, and thick piles of leaves right beside the crown.
- Use mulch wisely. A moderate layer helps hostas, but a thick, soggy mulch right against the plant can shelter pests.
- Protect your helpers. Ground beetles, birds, and other predators eat slugs. Avoid broad-spectrum insecticides that knock back beneficials.
Step 2: iron phosphate bait
For most home gardens, iron phosphate slug bait is my go-to because it is widely available and generally considered lower-risk than older metaldehyde baits when used as directed. Still, any bait should be treated like a pesticide: follow the label, apply only where needed, and store it securely away from kids and pets. Also check the ingredients, since some products include additional attractants.
- Apply early in spring when shoots first appear.
- Reapply after heavy rain or irrigation, following label instructions.
- Scatter lightly around hostas and nearby hiding areas, not in big piles.
Step 3: trap and patrol
If you have a true slug population boom, do a short patrol at dusk for a week. It feels a little ridiculous, but it works.
- Check under leaf litter and along edging stones.
- Use simple traps like a damp board laid near the bed. Lift it in the morning and remove slugs.
- Beer traps are famous, but in real gardens they can be messy and variable. If you try them, keep them away from curious pets and be prepared to refresh them often.
Step 4: choose thicker leaves when you can
Leaf substance matters. Thick, puckered, or heavily textured hostas tend to fare better than thin, smooth-leaved types. It is not a guarantee, but it is a helpful edge.
What about eggshells, coffee grounds, and copper tape?
In real beds, these can be hit-or-miss. Copper can work around pots or raised planters if it forms an unbroken barrier. Eggshells and gritty materials often shift into the soil or get bridged by mulch. If you enjoy trying them, consider them backup tools, not the main plan.
Other hosta problems
Ragged holes that are not slugs
If damage looks torn rather than chewed, check for hail, wind whipping, or pets trampling. Deer browsing often looks like leaves were neatly clipped or yanked.
Scorched edges
Brown, crispy margins usually point to too much sun, hot reflected heat, drought stress, or a combination.
- Increase moisture consistency.
- Provide afternoon shade if possible.
- Mulch and avoid high-nitrogen fertilizer during heat waves.
Yellowing leaves
Some yellowing is normal as the season progresses. If it is early and widespread, look at:
- Drainage: roots sitting wet can yellow and decline.
- Too much sun: especially for blues.
- Nutrient-poor soil: top-dress with compost.
Hosta virus concerns
The virus most gardeners hear about is HVX (Hosta Virus X). It is not something everyone runs into, but it is common enough that it is worth knowing what to watch for. One classic warning sign is an “ink-bleed” look, where mottling or dark, smeary patterns follow the veins. The tricky part is that sports, normal variegation, herbicide injury, and stress can look similar, so do not panic over one odd leaf.
If a plant shows persistent, suspicious mottling or distorted growth that does not match the variety, play it safe: do not share divisions, avoid using the same cutting tool on other hostas without cleaning it, and buy replacements from reputable sources.
Designing with hostas
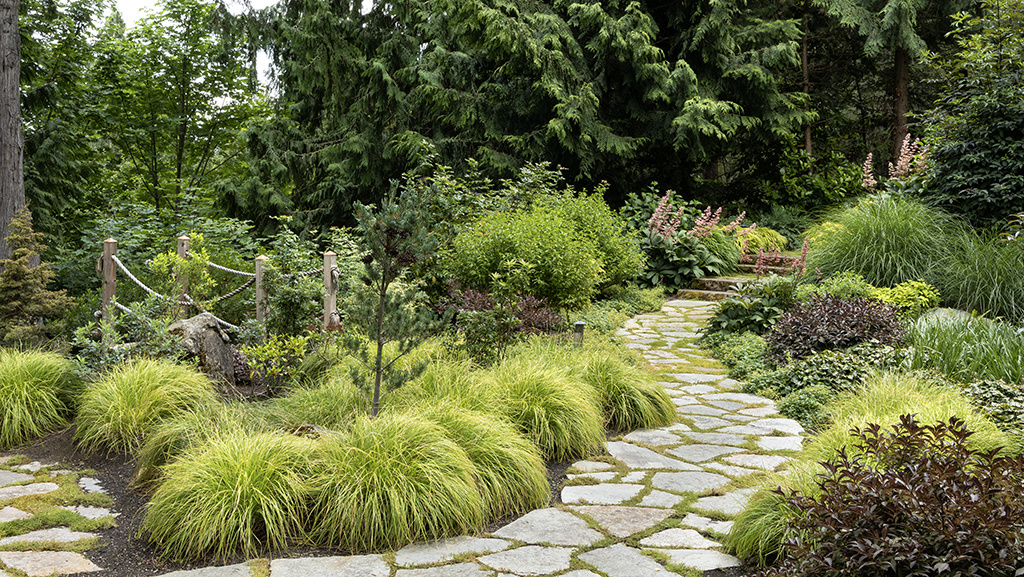
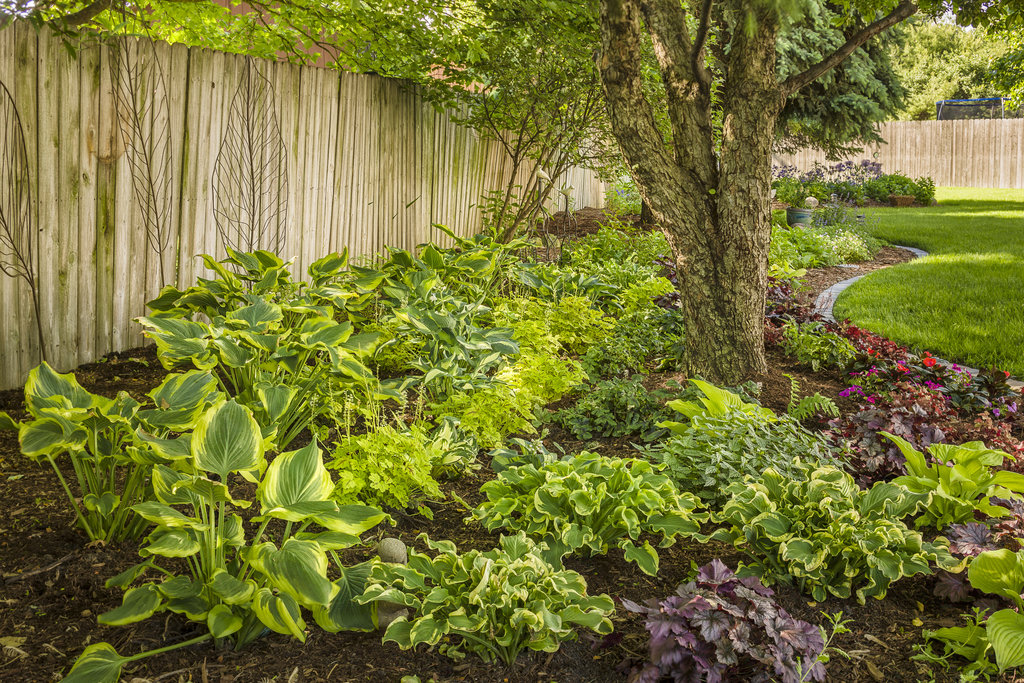
Hostas are at their best when they are part of a layered shade planting, not scattered like green polka dots. My favorite simple approach is to repeat a few varieties and let them make generous drifts.
Easy pairings
- Ferns for feathery texture contrast
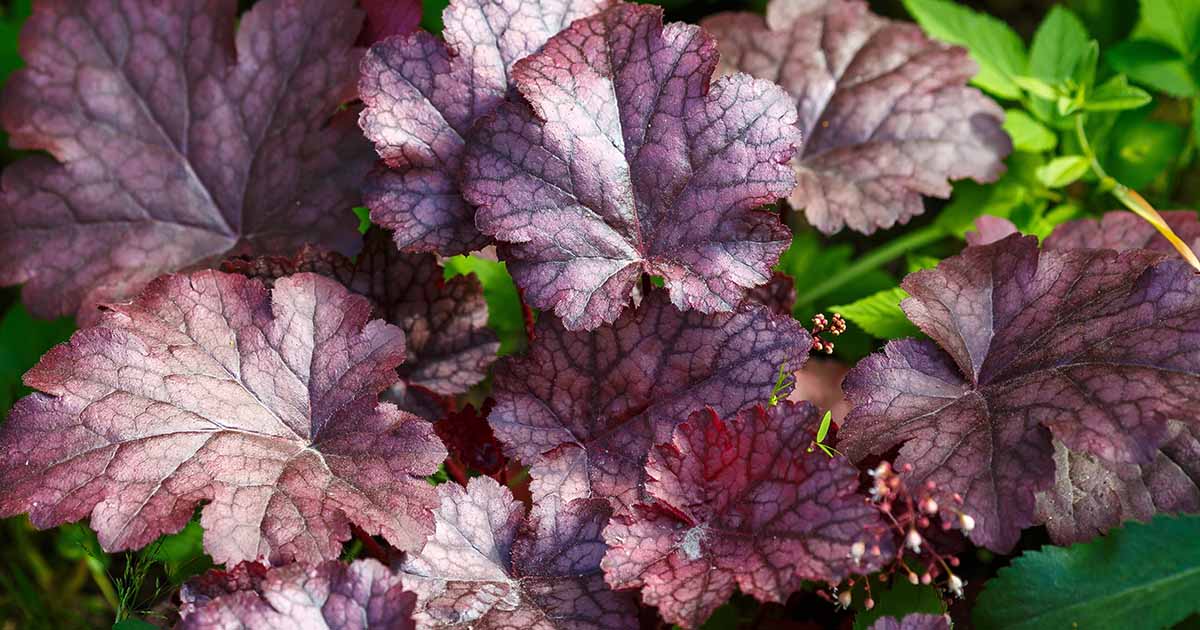
- Heuchera (coral bells) for color and smaller mounds
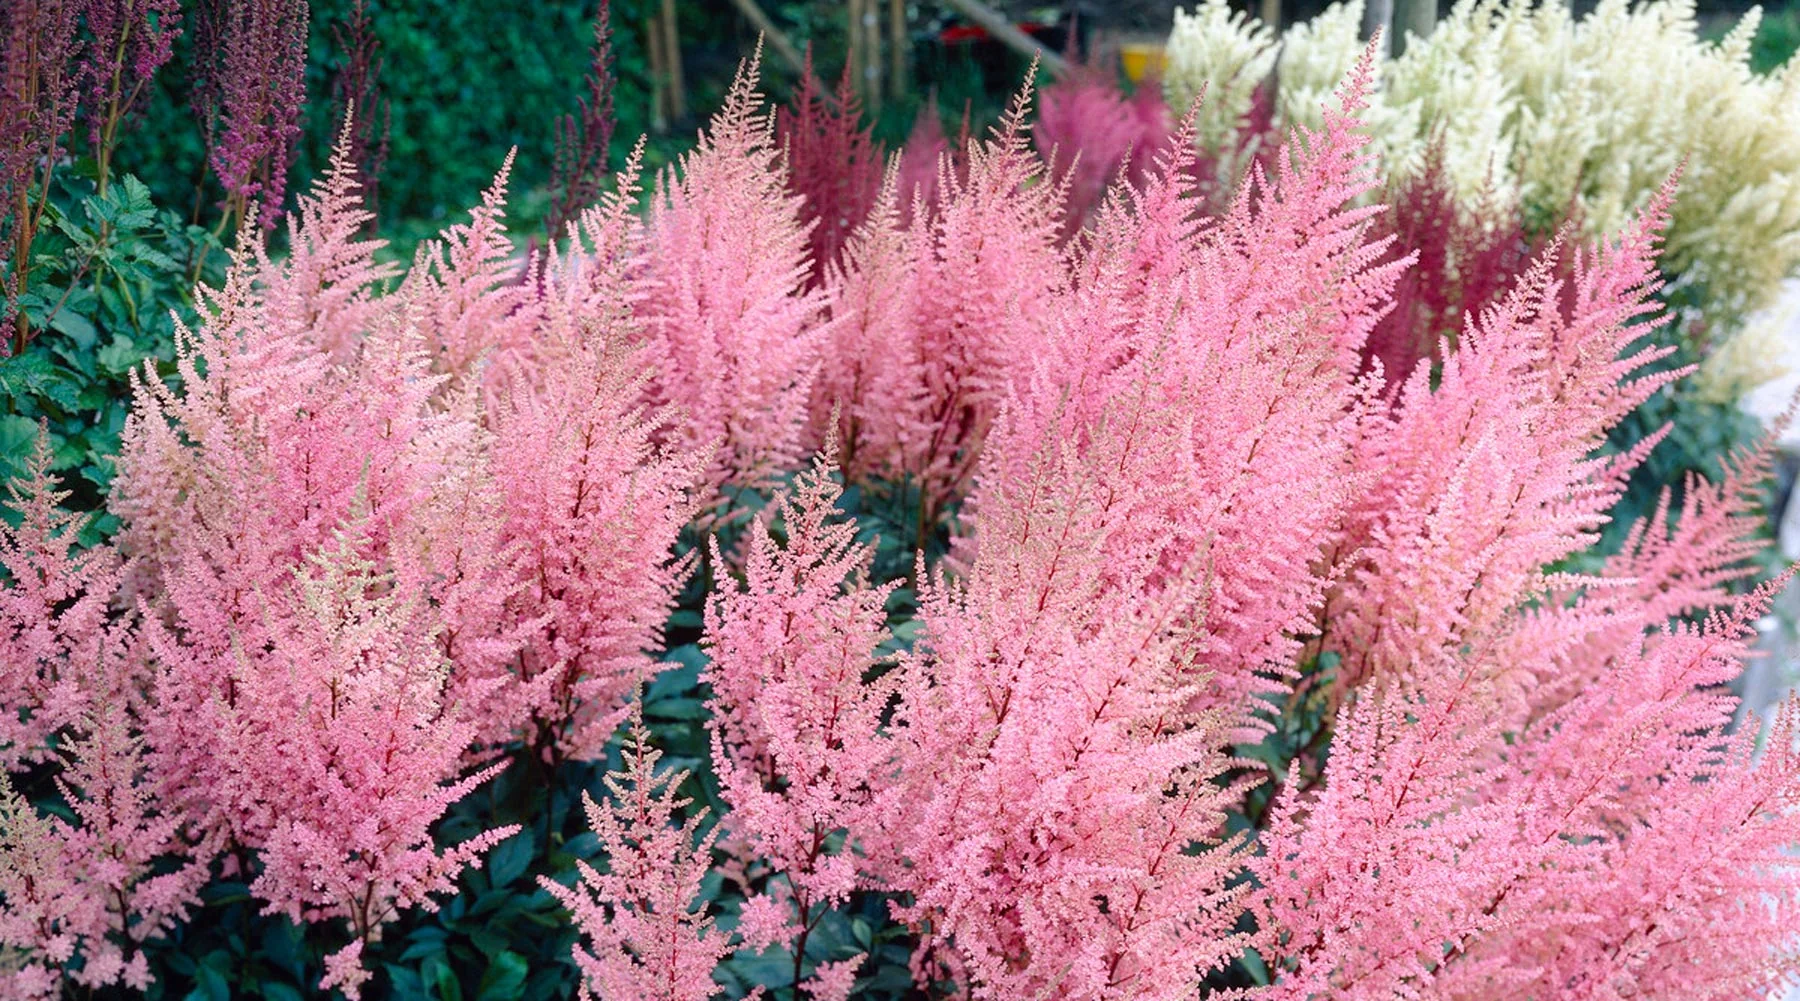
- Astilbe for soft summer plumes
- Brunnera for spring blooms and silvered leaves
- Epimedium for dry shade edges
- Spring bulbs like daffodils for early color before hostas fill in
A simple layout
- Back of bed: 1 to 3 large hostas (‘Blue Angel’, ‘Sum and Substance’, ‘Sagae’)
- Middle: repeat 3 to 5 medium hostas (‘June’, ‘Patriot’, ‘Halcyon’)
- Front edge: a ribbon of mini hostas (‘Blue Mouse Ears’) or heuchera
Quick FAQ
Do hostas need full shade?
No. Many hostas do best with morning sun and afternoon shade. Too much hot sun can scorch leaves, especially in dry summers.
How often should I water hostas?
Water deeply when the top couple inches of soil feel dry, especially in spring and early summer. Consistent moisture makes the biggest difference in leaf size and overall vigor.
Will hostas come back every year?
Yes. Hostas are long-lived perennials. In cold climates they die back to the ground in winter and return in spring.
Are hostas deer resistant?
Unfortunately, they are often a deer snack. If deer browse in your area, consider fencing, repellents, or planting hostas closer to the house where deer feel less comfortable.
Should I cut off hosta flowers?
It is optional. If you love the flowers or fragrance, enjoy them. If you want the plant to look tidier or focus on foliage, you can snip the flower stalks after blooming.
One last tip
If you are new to hostas, start with two or three dependable varieties and plant them well rather than collecting ten different ones right away. Give them rich soil, steady moisture, and an early slug plan, and you will be amazed at how quickly a “problem shade corner” turns into the calmest, prettiest part of your yard.