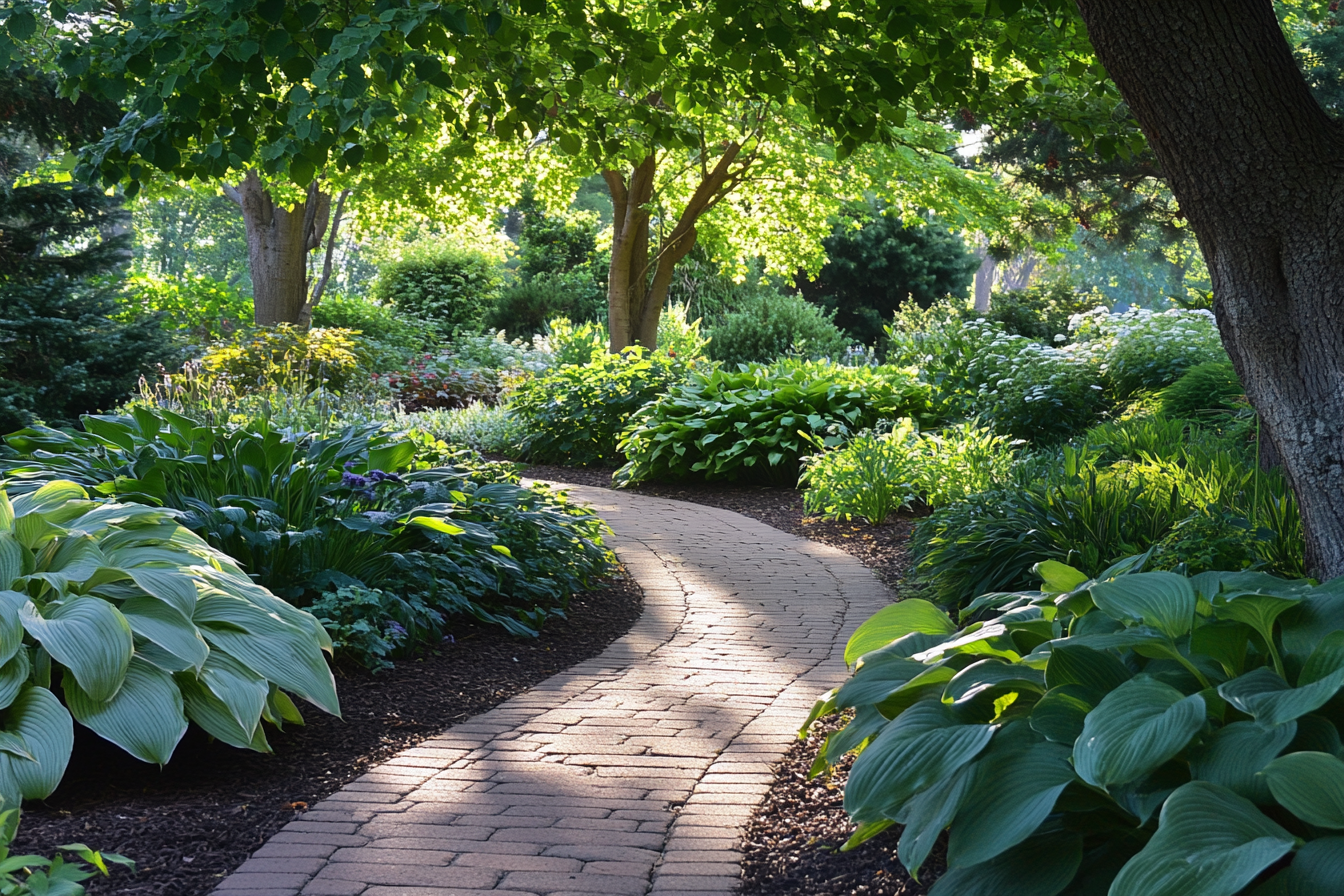

If you have a patch of ground under trees that feels like it is always dim, dry, and a little unloved, you are not alone. I have moved enough times to learn that every yard seems to come with at least one “shade corner” that looks like it should be easy, but never quite is. The good news is that a woodland perennial garden is not about fighting shade. It is about leaning into it, then building layers of texture and calm, steady color that look right at home beneath branches.
Below you will find practical layout templates you can copy, plus the plant placement strategies that make shaded beds look intentional instead of accidental. We will cover dappled shade (bright shade with moving light) and deep shade (low light most of the day), with realistic notes about roots, moisture, and the quirks of growing under trees.
Quick note: the plant lists here lean temperate-climate woodland perennials. If you garden in the subtropics, desert climates, or extreme heat, you can still use the layout ideas, but you will want region-appropriate plant swaps.
Shade, soil, and roots
Before you pick plants or start drawing a bed shape, take five minutes to figure out what kind of shade you actually have. Most design problems in shade are really plant matching problems.
Quick shade check
- Dappled shade: shifting patches of sun, often under high-limbed trees. This can support many flowering perennials.
- Open shade: bright but no direct sun, like the north side of a house or under a light canopy. Even with zero direct sun, it can still be “bright shade” if the sky is wide open.
- Deep shade: low light most of the day. This often means less than 2 hours of direct sun, but intensity matters too. Dense evergreens and narrow side yards can feel darker than the clock suggests.
The tree factor
Under trees, you are also gardening with root competition. Two things help more than anything else:
- Plant in pockets, not by force. Look for natural openings between roots. Use a hand trowel and patience instead of chopping large roots.
- Build up gently. Instead of burying roots under a thick layer of new soil, topdress with about 1 to 2 inches of compost most years and keep mulch to about 2 inches. Many trees, especially shallow-rooted species, are sensitive to grade changes and excess mulch.
And one note that saves a lot of heartache: shade under trees is often dry shade. If it is dry, design for plants that can handle it or commit to deep watering in the first two seasons while everything establishes.
Design rules that work
I love woodland beds because they reward simple, repeatable patterns. You do not need fancy geometry. You need layers, repetition, and edges that look cared for.
1) Build in layers
- Structure layer: small shrubs and bold foliage perennials that act like anchors.
- Seasonal layer: flowering perennials that come and go through spring, summer, and early fall.
- Ground layer: low growers that knit everything together and reduce weeding.
2) Repeat in drifts
In shade, too many one-off plants read as clutter. Repeat the same 3 to 6 perennials in groups of 3, 5, or 7 for a calmer, more natural look.
3) Keep an intentional edge
Woodland beds look best when the border is clear. A mown edge, stone line, or mulch edge says, “Yes, this is meant to be here,” even if the inside is soft and wild.
4) Let foliage lead
Deep shade can be low-flower. That is not a failure. That is a style. Combine leaf sizes and finishes: glossy, matte, feathery, ribbed, and variegated.
Template 1: Woodland ribbon
This is my go-to for under trees along a fence line or the edge of a lawn. It looks natural, it is easy to expand, and it gives you room to layer plants from tall to low.
Best for
- Long, narrow spaces under tree branches
- Dappled to open shade with a few hours of light
- Gardeners who want a “walk-by wow” bed from spring to fall
Shape and sizing
- Width: 5 to 8 feet is ideal (wide enough for layering).
- Curve: gentle S-curves, not tight zigzags.
- Viewing: designed to be seen from one main side (lawn or path).
Plant placement
- Back layer (tall anchors, every 4 to 6 feet): ostrich fern, goat’s beard, tall astilbe, or a shade-tolerant hydrangea where there is more light.
- Middle layer (the repeaters): hosta in 2 or 3 varieties (one large, one medium), brunnera, hellebore, Japanese painted fern, or toad lily for late season interest.
- Front edge (grounding): wild ginger, foamflower, epimedium, or sedges.
Spacing cheat sheet
- Hosta: about 24 to 36 inches apart (bigger types need more).
- Brunnera: about 18 to 24 inches apart.
- Epimedium: about 12 to 18 inches apart.
- Japanese painted fern: about 18 to 24 inches apart.
A sample plant recipe
Repeat this sequence down the ribbon for an easy, cohesive look:
- 1 ostrich fern (anchor)
- 3 medium hostas (repeater)
- 3 brunnera (repeater, mainly for foliage after its spring bloom)
- 5 epimedium (ground layer)
- 1 hellebore (seasonal, early bloom)
Template 2: Texture quilt
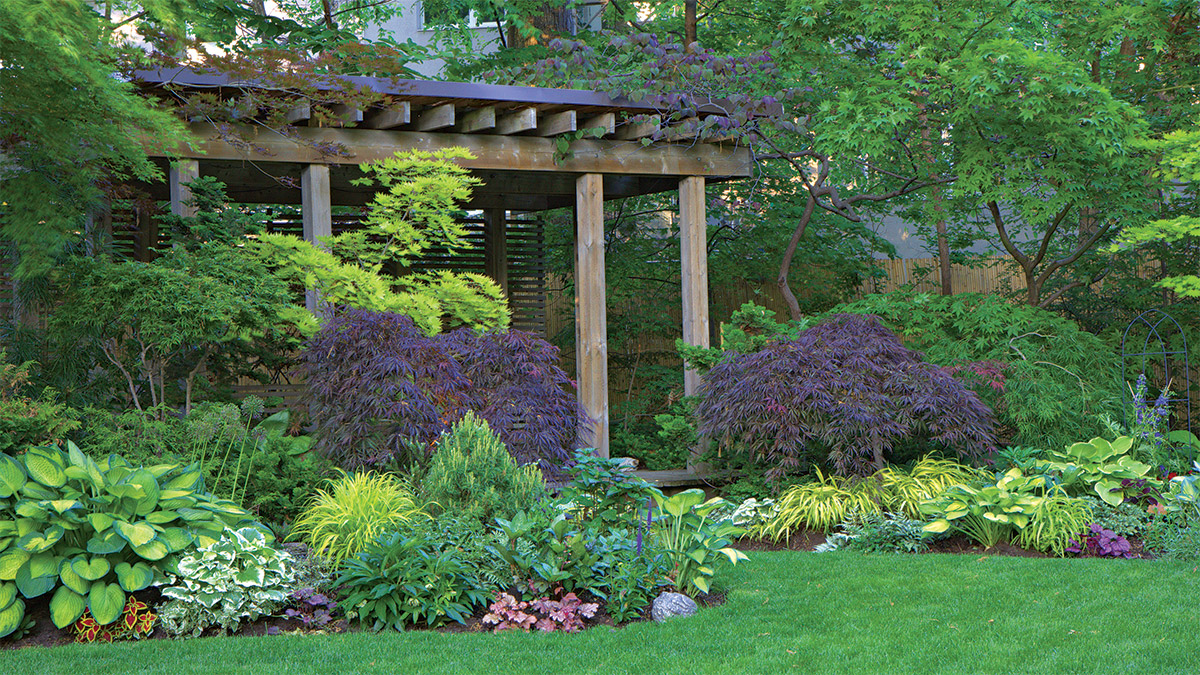
Deep shade is where I stop chasing flowers and start composing with texture. This template is basically a patchwork of foliage that looks lush from a distance and interesting up close.
Best for
- Areas with very low light most of the day
- North-facing side yards and dense evergreen shade
- Spaces you want to feel cool, quiet, and low-glare
Shape and sizing
- Bed shape: a rounded blob or kidney shape works beautifully.
- Minimum size: 8 x 10 feet so the “patches” have room to read.
Plant placement
Think in three textures, then repeat them in blocks:
- Bold: hosta, ligularia (only where soil stays consistently moist and summers are not baking hot), or bergenia depending on cultivar and winter conditions.
- Feathery: Japanese painted fern, lady fern, or tassel fern.
- Fine and grassy: sedges (Carex), hakone grass in brighter shade, or hellebores as a bridging texture.
How to lay it out
- Place 3 to 5 bold “islands” first (odd numbers look natural).
- Connect islands with feathery ferns like rivers between rocks.
- Fill edges and gaps with fine-textured plants so the bed looks full even when perennials are just emerging in spring.
Design tip: In deep shade, variegation acts like a little lantern. Use it intentionally and sparingly. One variegated hosta repeated 3 times reads calmer than ten different variegated plants scattered everywhere.
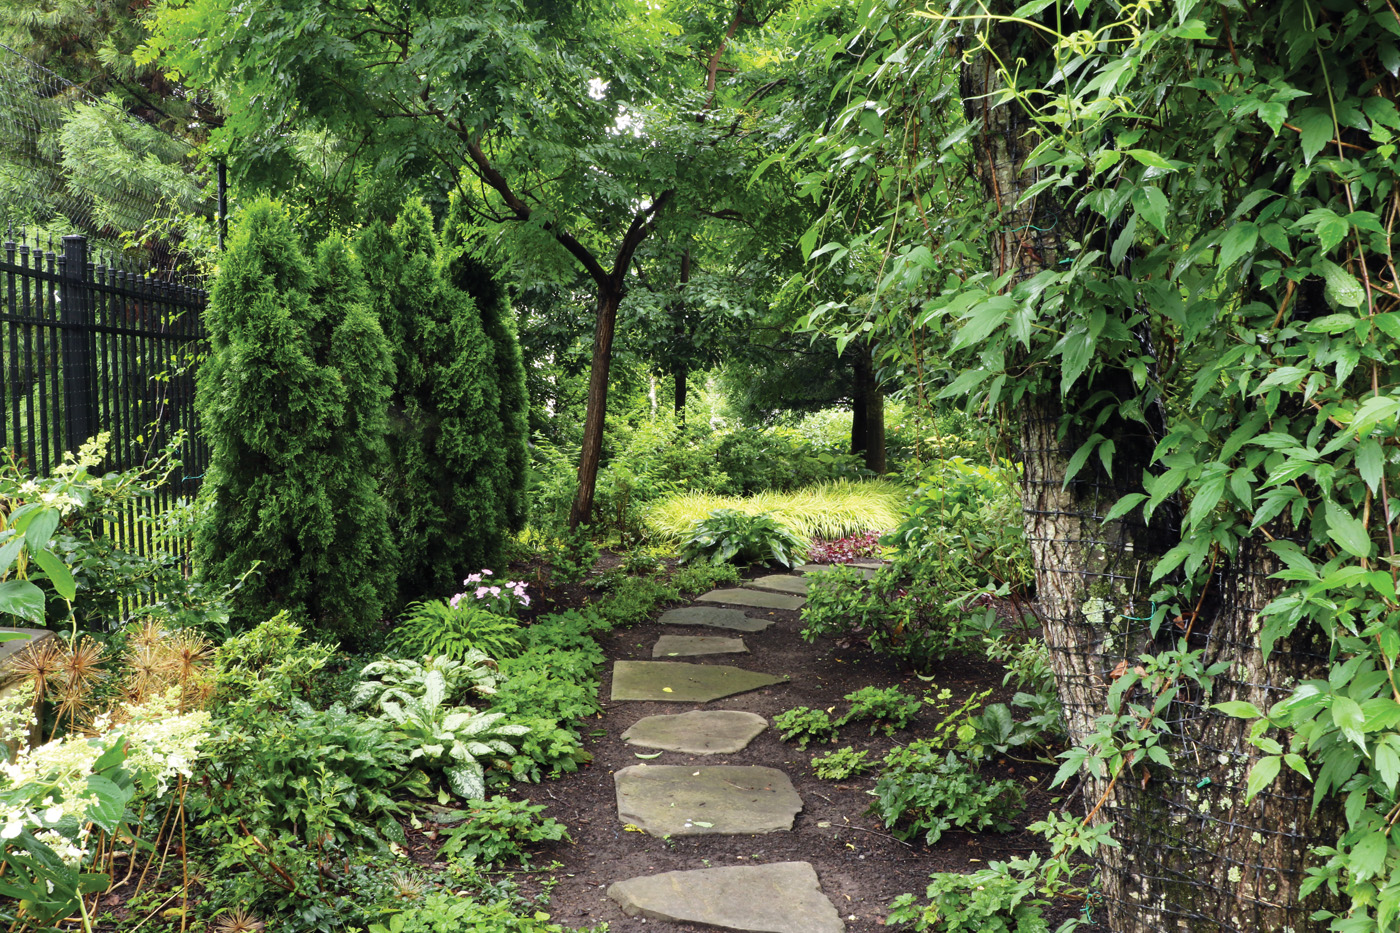
Template 3: Path pockets
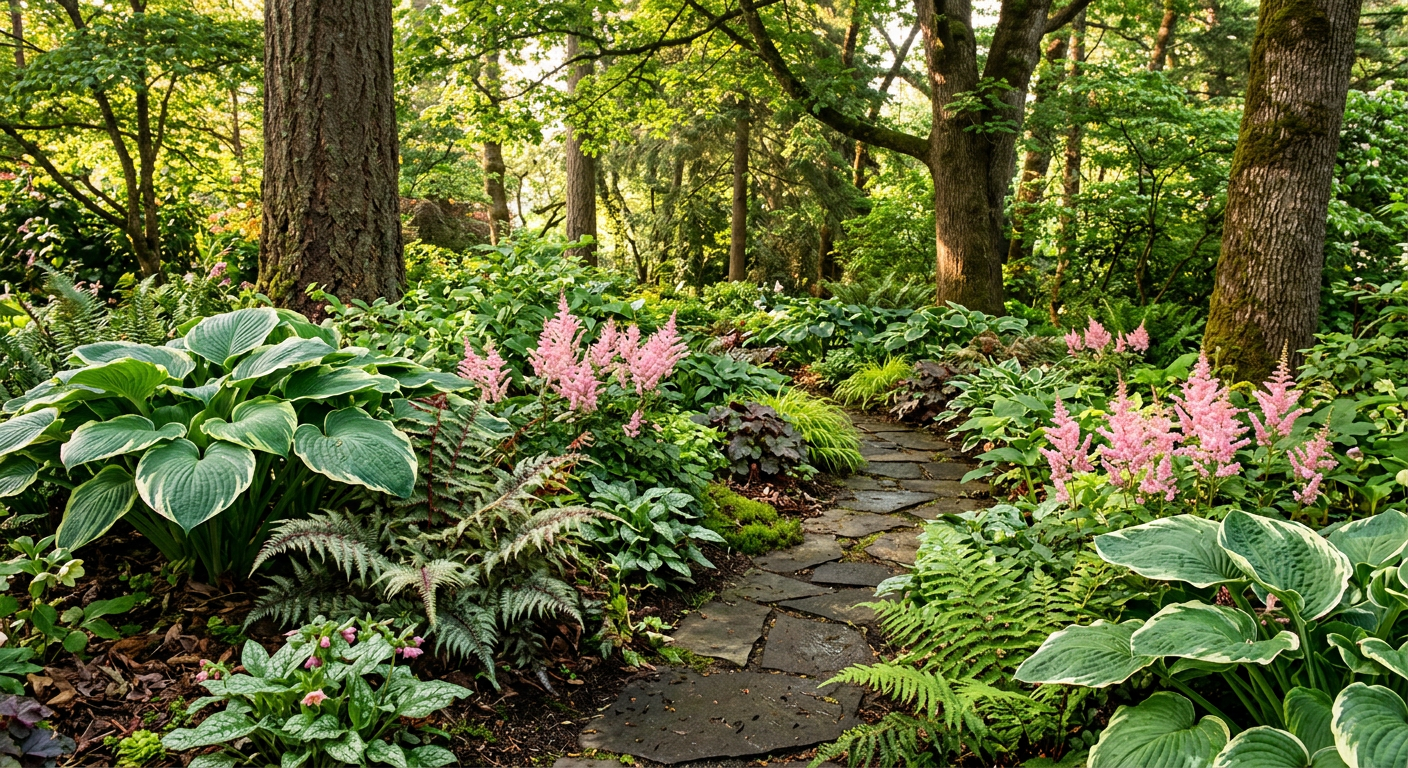
If you have a walkway through shade, you already have the secret ingredient: a reason to be there. This template uses small planting pockets along a path to create a deliberate woodland stroll, even in a modest yard.
Best for
- Shaded side paths and stepping-stone routes
- Gardeners who want high impact in a small footprint
- Areas with tree roots where big digging is unrealistic
Shape and sizing
- Pocket size: 3 to 5 feet wide, 4 to 8 feet long.
- Spacing: leave 2 to 6 feet of “breathing room” between pockets (mulch, leaf litter, or groundcover).
Plant placement
- Each pocket gets: 1 anchor, 2 repeaters, 1 ground layer.
- Repeat the same anchor every other pocket to make the path feel cohesive.
Anchor ideas
- Hellebore (semi-evergreen to evergreen depending on winter)
- Hosta (reliable mass and summer fullness)
- Fern clumps (especially ostrich fern where it is happy)
- Solomon’s seal (graceful arching shape for dappled shade)
Template 4: Tree ring bed
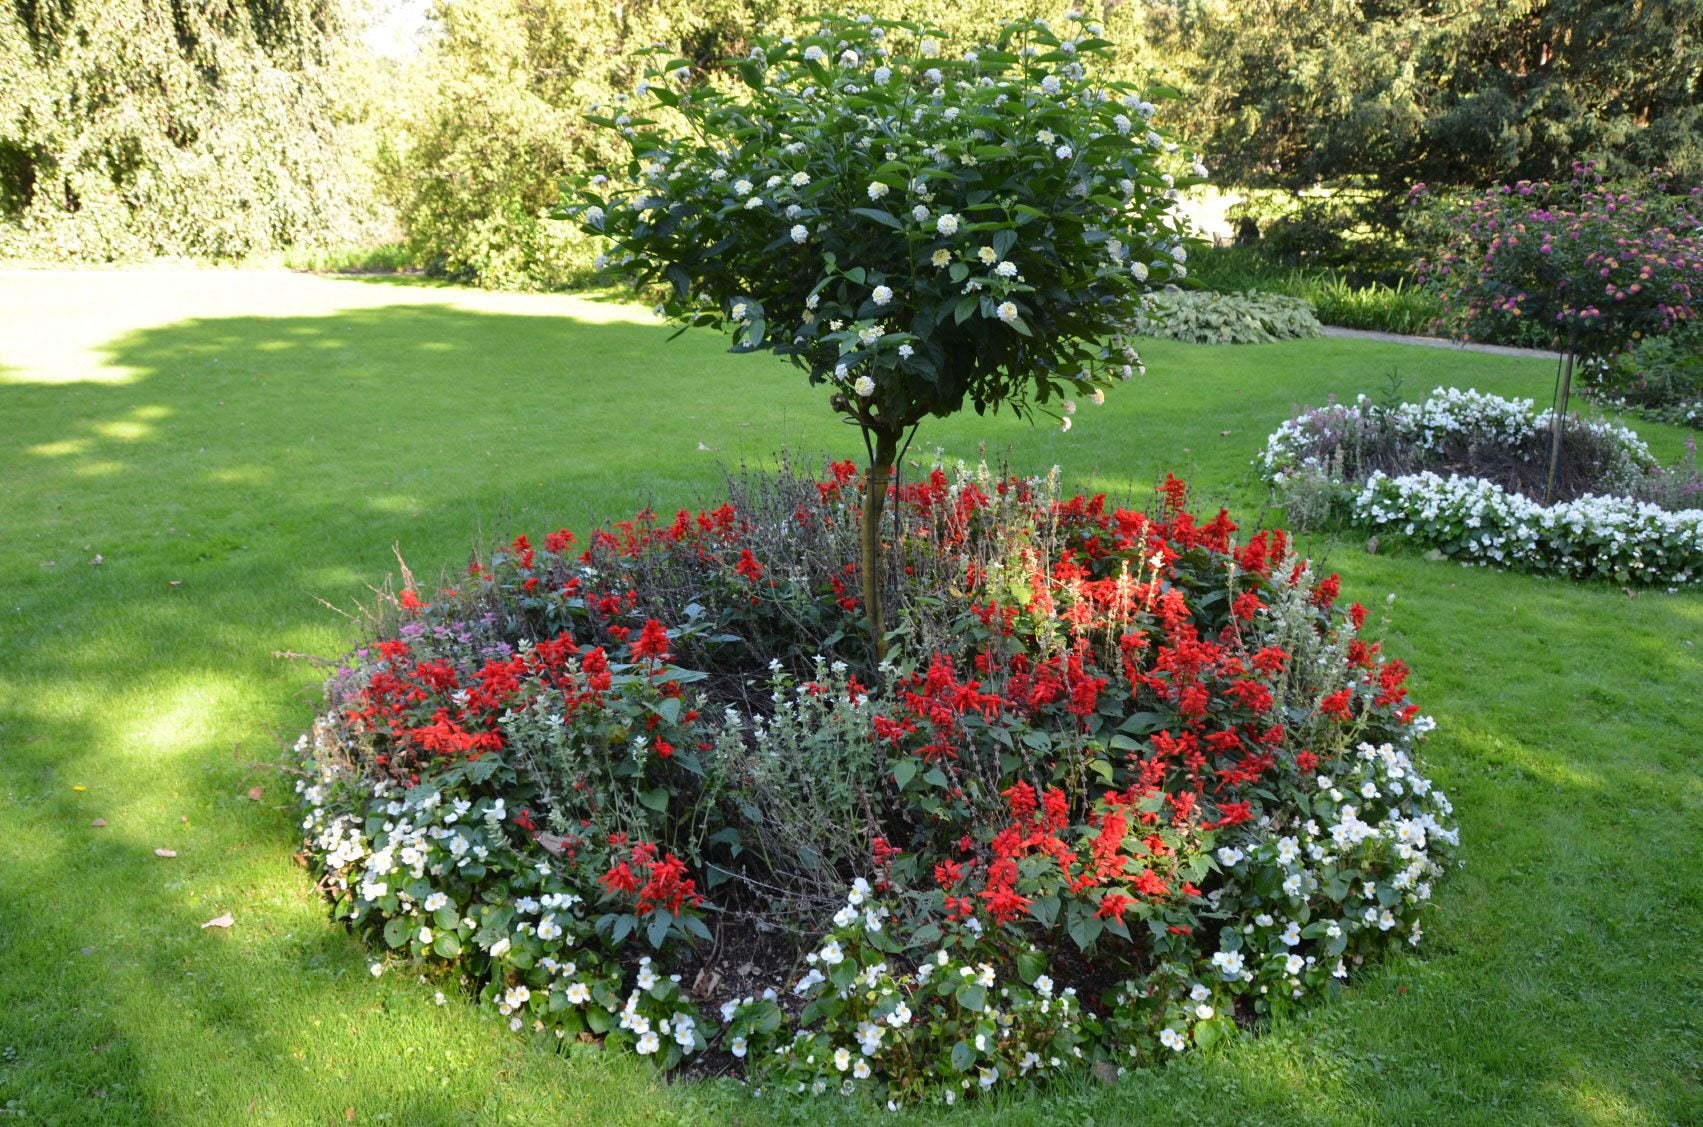
A circular bed around a tree can be charming, but it is also where I see the most trouble. Piling soil against a trunk and over tree roots is hard on the tree. If you want this look, keep it shallow, breathable, and respectful of the trunk flare.
Best for
- Large trees with higher canopies
- Homeowners who want a simple focal point
- Dappled shade rather than deep shade
Do it safely
- Keep soil and mulch off the trunk. Leave a clear ring of a few inches around the trunk flare.
- No raised “volcano” beds. Build at existing grade and topdress lightly.
- Choose plants with shallow, polite roots.
Plant placement
- Inner ring (closest to trunk, low plants): epimedium, wild ginger, foamflower, sedges.
- Middle ring (medium height): medium hostas, ferns, brunnera.
- Outer ring (taller accents): astilbe in brighter, moister spots, or Solomon’s seal in dappled shade.
Plant palettes
If you want that cottage-woodland feeling, it helps to pick a small palette and repeat it. Here are dependable groupings for different shade levels. Always double-check that a plant fits your zone and moisture situation, and take a moment to check your local invasive plant guidance before you introduce a fast spreader.
Dappled shade
- Early season: hellebores, lungwort (Pulmonaria), brunnera
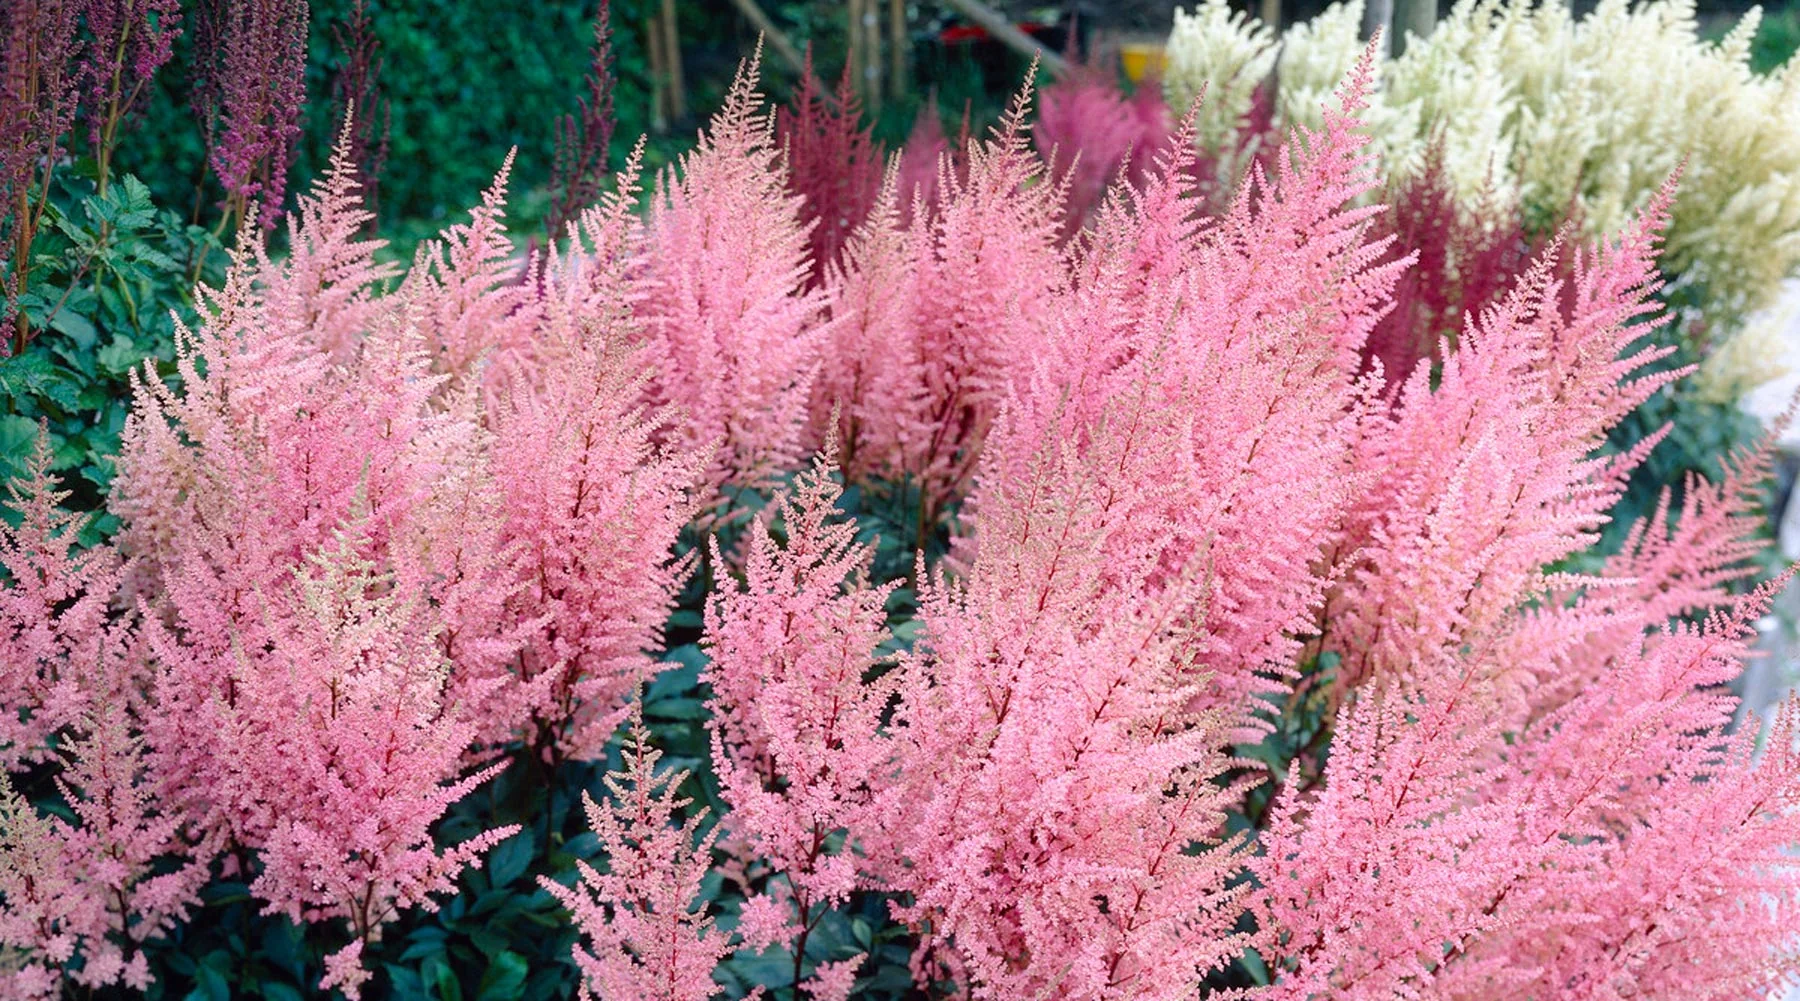
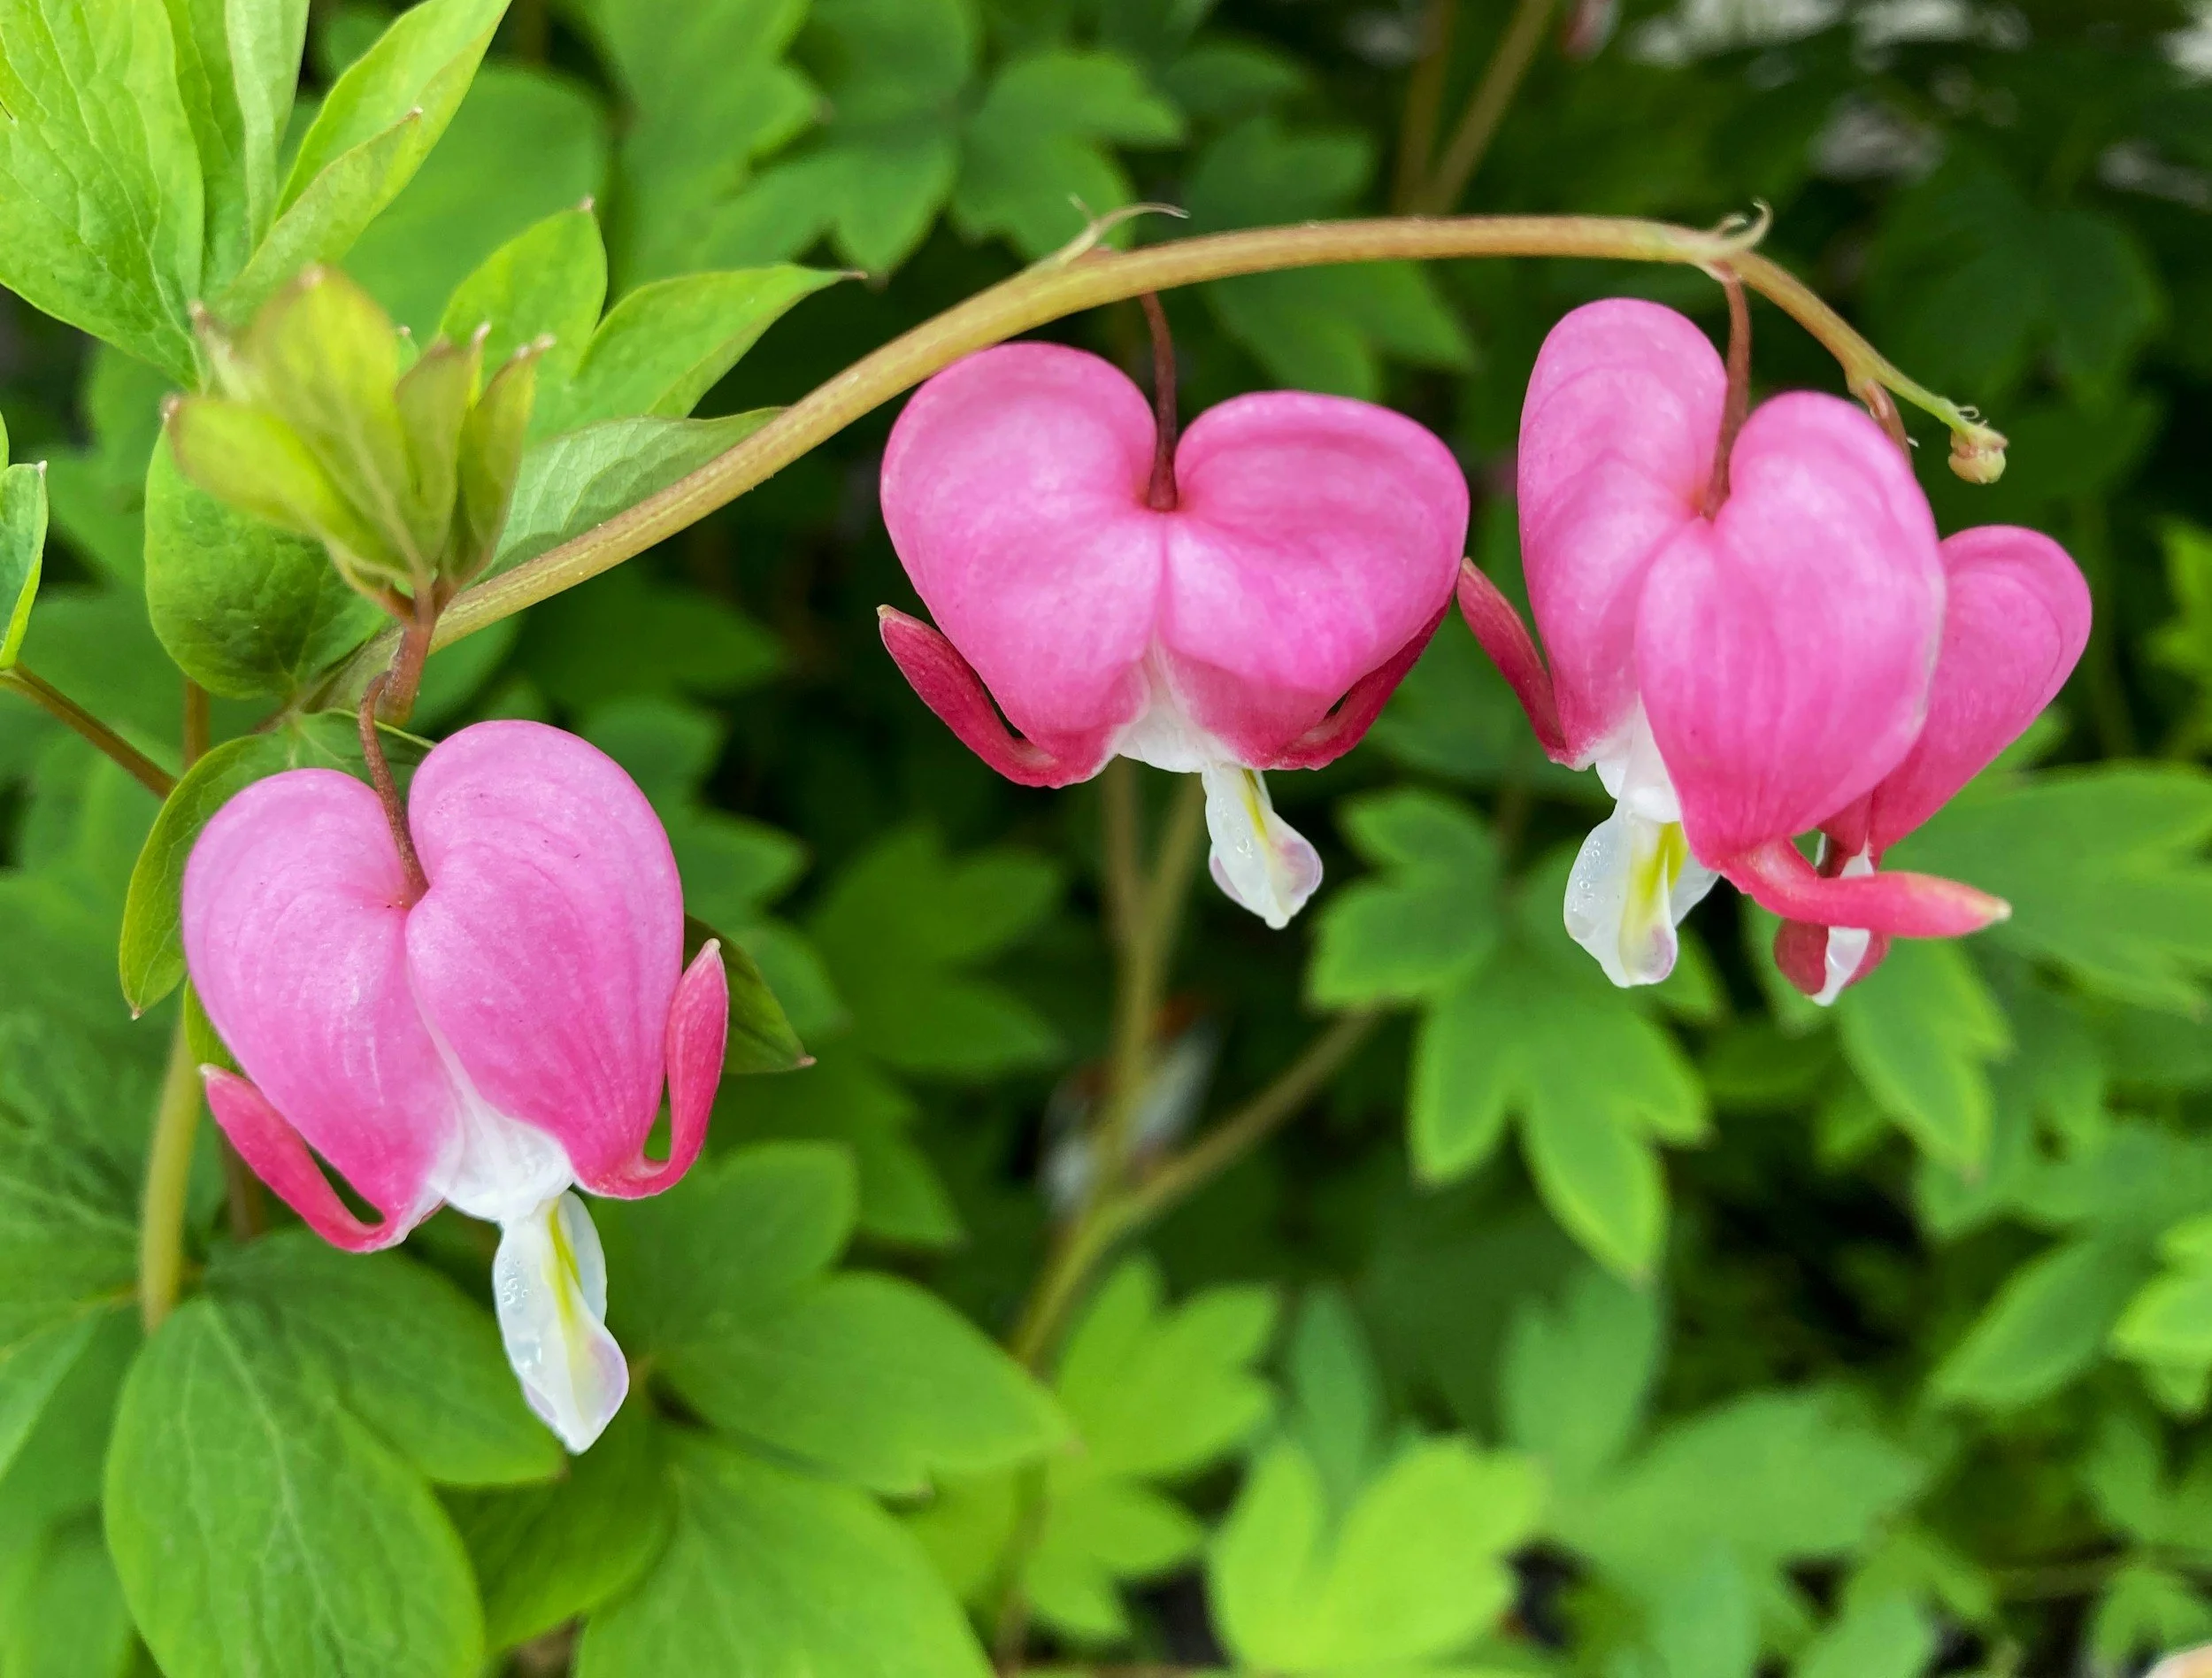
- Mid-season: astilbe, hardy geranium (in bright shade), foxglove (biennial but lovely), bleeding heart (Dicentra)
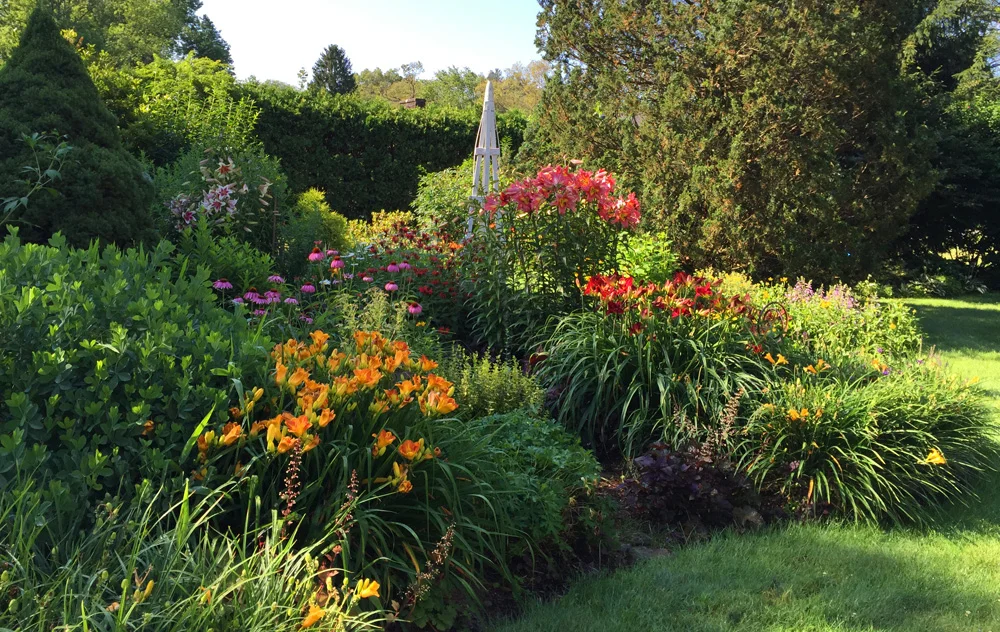
- Late season: toad lily (Tricyrtis), anemone (bright shade), shade-tolerant daylilies in lighter conditions (more sun means more flowers)
- Foliage backbone: hosta, Japanese painted fern, Solomon’s seal
Deep shade
- Ferns: Japanese painted fern, lady fern, Christmas fern (evergreen in many areas)
- Bold foliage: hosta, hellebore
- Ground layer: wild ginger, foamflower, epimedium, sedges
- Spring lift: bulbs that tolerate shade like snowdrops and Siberian squill (Scilla siberica) where they are appropriate and not invasive in your region
Dry shade helpers
If the spot is dry and rooty, start here:
- Epimedium
- Hellebore (once established)
- Some geranium macrorrhizum types (excellent groundcover in bright shade)
- Sedges (many are surprisingly adaptable)
- Foamflower or wild ginger where you can give a little water to get them settled
Spacing and layering
Shade gardens often start with one of everything, and that is when the bed feels busy but still oddly bare. These guidelines keep the design grounded.
Use three heights
- Low: under 12 inches (edge and ground layer)
- Medium: 12 to 24 inches (the bulk of your planting)
- Tall: 24 to 48 inches (occasional anchors and seasonal spikes)
Pick two keystones
Pick two plants that will show up again and again. For many woodland beds, that is a hosta variety and a fern variety. Then add a third “season maker” for blooms, like hellebore or astilbe depending on your light and moisture.
Plan for year three
In year one, you will see mulch. In year three, you will see the tapestry. Follow the mature width on plant tags when you can, and fill gaps temporarily with leaf mulch, simple annuals in pots, or a few extra groundcovers that you can later divide and move.
Install under trees
This is the approach that has worked for me in multiple yards without turning tree roots into a battle.
Step-by-step
- Define the edge. Lay a hose to find your curve, then cut a clean edge.
- Remove grass and weeds. In rooty areas, I prefer cutting and lifting sod in small pieces, or smothering with cardboard topped with compost.
- Add compost, lightly. Spread about 1 to 2 inches and let worms do the mixing.
- Plant in pockets. Dig only what you need for each plant. If you hit a large root, scoot over a few inches instead of cutting.
- Water deeply. Shade does not mean low water during establishment, especially under trees.
- Mulch with restraint. About 2 inches is plenty. Keep it away from stems and trunks.
If you are starting in fall: that is a wonderful time for shade planting. Cooler temperatures and more reliable moisture can help roots settle before summer stress.
Keep it lush
Woodland gardens are often simpler to maintain than sunny borders once they are established, but they do have a rhythm.
- Spring: tidy old fern fronds and hosta debris before new growth. Topdress with compost.
- Early summer: watch for slugs on tender new leaves. Airflow helps, but so does being proactive.
- Midsummer: water deeply during dry spells. Under trees, a “normal” rain can miss the bed entirely.
- Fall: let some leaves stay as a natural mulch, but pull thick mats off crowns so plants do not rot.
If slugs are a problem, I rotate a few simple tactics: nighttime hand-picking, iron phosphate bait (pet-safe when used as directed), and occasional traps. Once your ground layer fills in, slug pressure often gets easier to manage.
If you only do one thing, do this: add a thin layer of compost each year. Shade beds love it, and it steadily improves the soil without disrupting tree roots.
Common problems
“Nothing blooms.”
Check how much light you actually get. If it is deep shade, pivot to foliage-first and choose shade bloomers that truly tolerate low light, like hellebores and toad lilies. In dappled shade, add astilbe, lungwort, and brunnera for a reliable spring show and strong foliage afterward.
“Everything looks flat.”
Add height in just a few places. Ferns, Solomon’s seal, and tall astilbe create vertical movement that makes the bed feel layered.
“Plants struggle under the tree.”
It is usually dry shade plus root competition. Water deeply for the first two seasons, use compost topdressing, and choose tougher woodland workhorses like epimedium and sedges for the closest-to-the-trunk zones.
“It looks messy.”
Sharpen the edge. A crisp border and consistent mulch depth do wonders, even when the planting inside is soft and natural.
Wildlife and spreaders
Two real-world notes that can save your planting budget:
Deer and rabbits
In many neighborhoods, hostas are basically a salad bar. Deer resistance is always local, but if browsing is heavy, lean harder on ferns, sedges, and tougher groundcovers, and treat hostas as “maybe” plants unless you protect them. Hellebores are often left alone, but they are not magical if animals are truly hungry.
Fast spreaders
Woodland gardens encourage plants to knit together, but some groundcovers can run farther than you planned. Before you plant, check your local invasive lists and be cautious with anything known to spread aggressively in your region. When in doubt, choose clump-formers and repeat them more often.
Black walnut note
If your shade comes from a black walnut, you are also dealing with juglone, which can stress sensitive plants. Your best move is to keep planting holes small (pocket planting), build soil slowly with compost, and stick with proven tough plants. If you suspect walnut issues, test a few small plantings before you invest in a full bed.
Mini plans
Here are quick “grab and go” plans for common shade situations. Treat these like starting points and repeat plants for cohesion.
8 x 10 feet texture quilt
- 5 hostas (2 varieties, repeated)
- 7 Japanese painted ferns
- 9 sedges (Carex) along edges
- 3 hellebores placed as accents
- 10 epimedium or foamflower as ground-layer patches
6 x 18 feet ribbon
- 4 ostrich ferns spaced as anchors
- 9 medium hostas in 3 drifts
- 9 brunnera in 3 drifts
- 7 hellebores threaded between drifts
- 15 epimedium along the front edge
Path pocket series (five pockets)
- 5 anchors (repeat 3 hostas, 2 hellebores)
- 10 repeaters (brunnera or ferns)
- 20 ground layer plants (foamflower, sedges, or wild ginger)
FAQ
Can I grow perennials under pine trees?
Yes, but expect dry soil and a thicker layer of needles. Choose dry-shade tolerant plants like epimedium, hellebores, and certain sedges. Focus on building soil gradually with compost rather than trying to change conditions overnight.
What is the easiest perennial for shade?
Hosta is the classic for a reason: reliable, long-lived, and available in many sizes and colors. Pair it with ferns and a ground layer like foamflower or epimedium for a bed that looks full all season.
How do I keep a shade garden from being all green?
Use leaf contrast (dark green next to silver, smooth next to feathery) and add a few bright bloom moments: hellebores in spring, astilbe in early summer (where light and moisture allow), and toad lilies in late summer to early fall.
Should I use landscape fabric in a woodland bed?
I skip it. Fabric makes it hard for perennials to spread and for compost to integrate into the soil. A layer of cardboard for smothering grass, topped with compost and mulch, is usually more garden-friendly.
Start gently
If you feel stuck, start small. Pick one template, choose two repeat plants (often a hosta and a fern), then add one seasonal bloomer and one ground layer. Plant in drifts, keep the edge crisp, and give it a couple of seasons to knit together. Woodland gardens are patient gardens, and they get better every year.