
There comes a moment in every perennial garden when you look at a plant you once adored in its spot and think, you deserve better light or you have officially eaten the path. The good news is that many established perennials transplant beautifully, as long as you treat the move like a short-term root recovery project. Your job is to reduce stress, keep as many fine feeder roots as possible, and then create the steady moisture and oxygen they need to grow new roots in their new home. A few groups are touchier, including deep taprooted prairie natives, some woody subshrubs, and spring ephemerals, so when in doubt, move gently and expect a longer rebound.
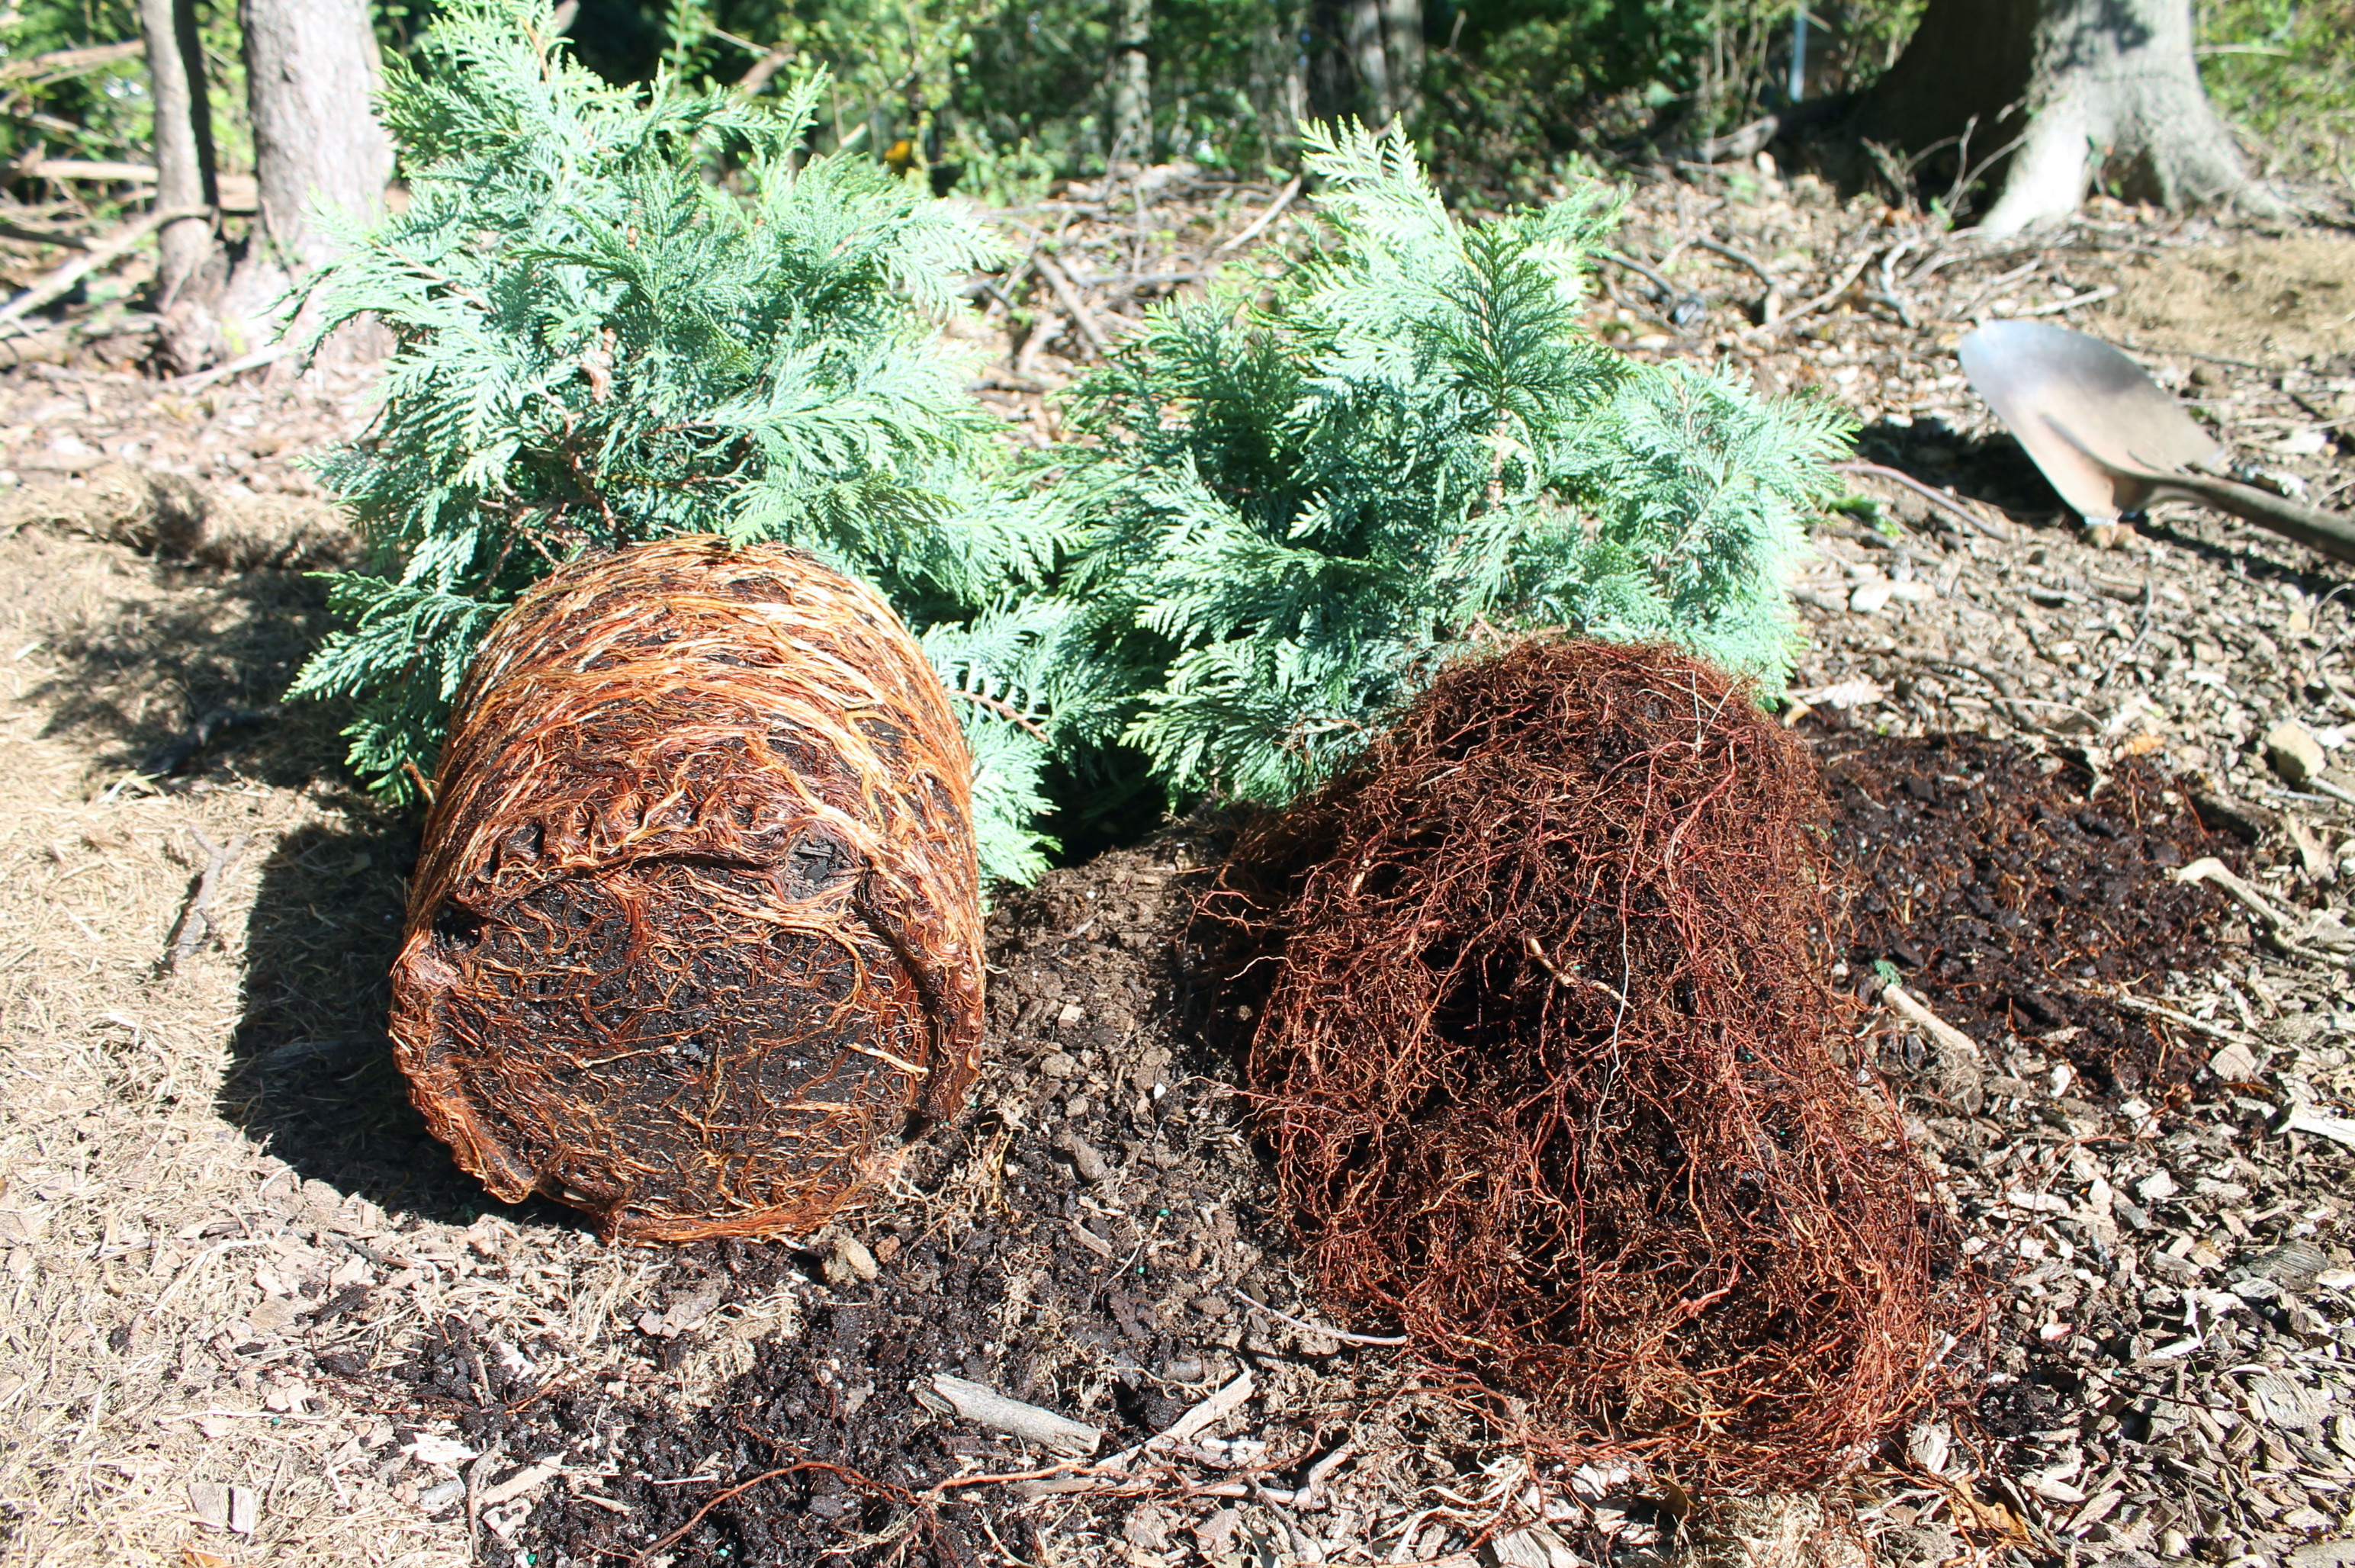
Below is the same process I use when I move mature plants in my own beds, with a few gentle shortcuts that keep things practical for real backyards and real schedules.
When to transplant for the least shock
Timing matters more than almost anything else. The goal is to move your perennial when it is naturally ready to focus on roots, not flowers and foliage.
Best seasons
- Early fall is my favorite for many perennials. The soil is still warm, the air is cooler, and plants can push new roots without fighting summer heat. In cold-winter areas, aim to transplant about 4 to 6 weeks before the ground typically freezes hard so roots can grab on before winter.
- Early spring is a close second, especially for late-blooming perennials. Move them as new growth is just starting, before they put energy into tall stems and buds.
Best weather conditions
- Cool, cloudy days are ideal. Bright sun and wind pull moisture from leaves, which is exactly what a recently disturbed root system cannot keep up with.
- Moist (not soggy) soil is perfect for digging. If the ground is dust-dry, water the area deeply the day before so the root ball holds together.
- Avoid extremes: don’t transplant during heat waves, drought stretches, or when the ground is waterlogged.
Match timing to bloom cycle
A simple rule that keeps you out of trouble: transplant after bloom for spring and early-summer bloomers, and transplant before bloom for late-summer and fall bloomers. It is not a hard law. Seasonal stress matters just as much, and fall can still be the best choice even for plants that bloom late, as long as you are not pushing up against a hard freeze.
Before you dig: prep the new hole first
If there is one little habit that prevents panic-transplanting, it is this: prepare the new planting hole before you lift the plant. Roots desiccate quickly in sun and wind, especially fine feeder roots.
- Choose the spot based on the plant’s mature size, sun needs, and airflow. Crowding is a common reason people end up transplanting again two years later.
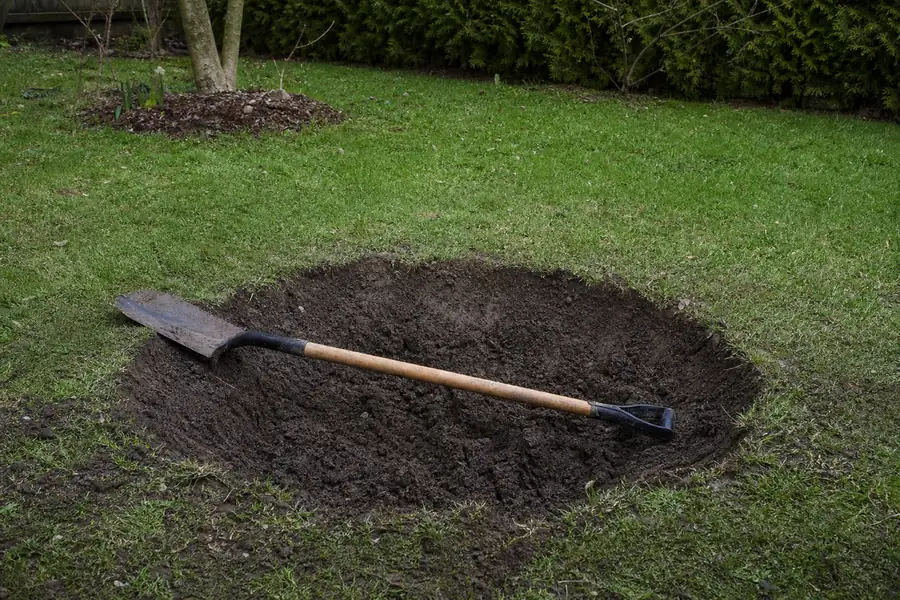
- Dig wide, not deep. Many herbaceous perennials keep a lot of their working roots in the top 6 to 12 inches. Think of that as a rule of thumb, not a promise. Make the hole about 2 times wider than the root ball you expect to move.
- Loosen the surrounding soil so new roots can travel. You do not need a bathtub-sized crater, just workable soil beyond the planting hole.
- Check drainage. If the spot stays wet after rain or sits in a low pocket, pick a higher location or plant a little high and mound the soil. Roots need oxygen as much as water.
- Set up water: have a hose nearby or a full watering can ready so you can water in immediately.
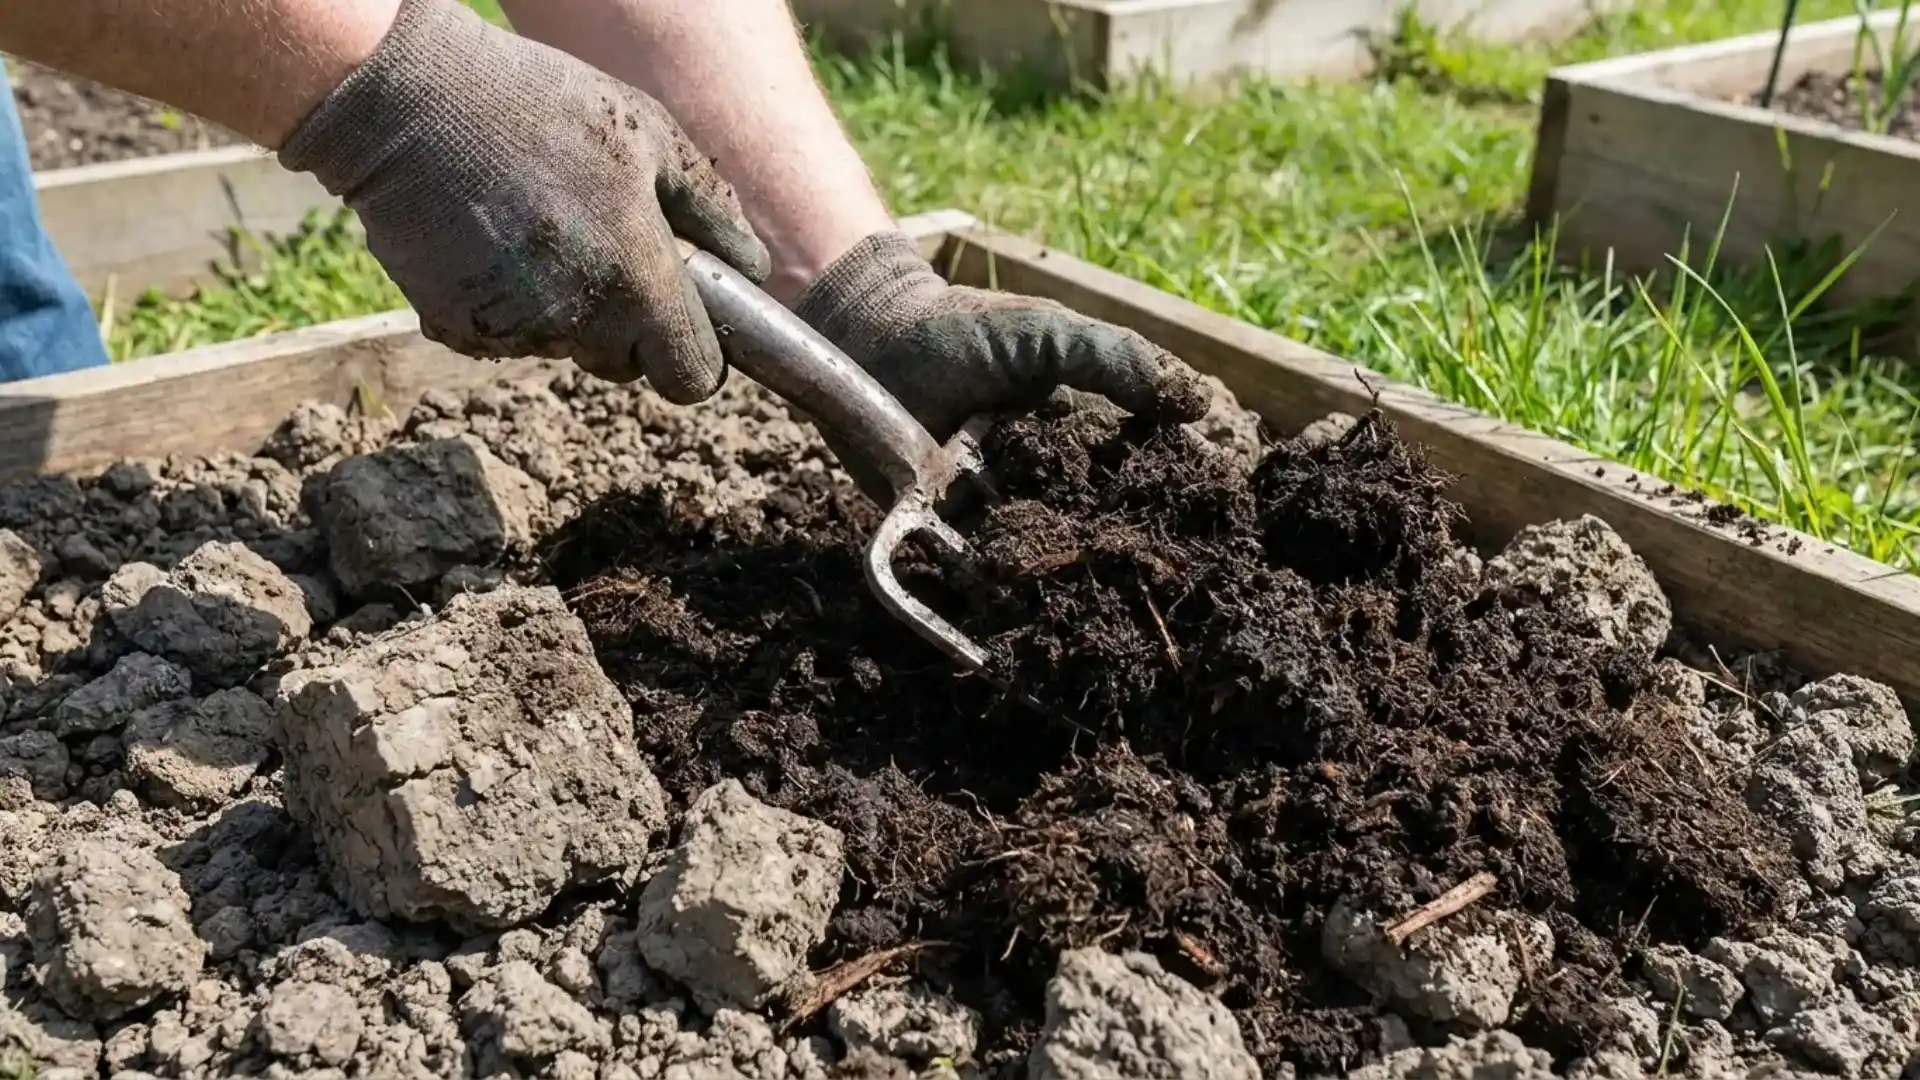
About soil amendments: for most established perennials, I skip heavy amendments and focus on structure. If your soil is very sandy or very clay-heavy, mixing a modest amount of finished compost into the backfill can help, but avoid creating a rich pocket that discourages roots from moving outward.
How to dig a mature perennial and preserve the root ball
The best transplants happen when you keep a generous root ball intact. That means thinking in circles and wedges, not yanking and tugging.
Step-by-step digging method
- Water first if the soil is dry. Moist soil holds together and protects roots.
- Cut back the top (sometimes). For tall, floppy, or broad-leaved perennials, trimming back by about one-third can reduce water loss while roots recover. This is species-dependent. When in doubt, go light and remove only what will flop, tear, or dry out fast. (Irises are a special case and are covered below.)
- Mark a wide circle around the plant. For a medium clump, start 6 to 10 inches out from the crown. For large, old clumps, go wider than you think you need.
- Slice straight down with a sharp spade to sever outer roots cleanly.
- Undercut at an angle and work around the plant until you can lift it like a bowl. If it resists, keep cutting, don’t force it.
- Lift from underneath, not by the stems. Slide the spade under and lever up gently.
Keep roots cool and damp
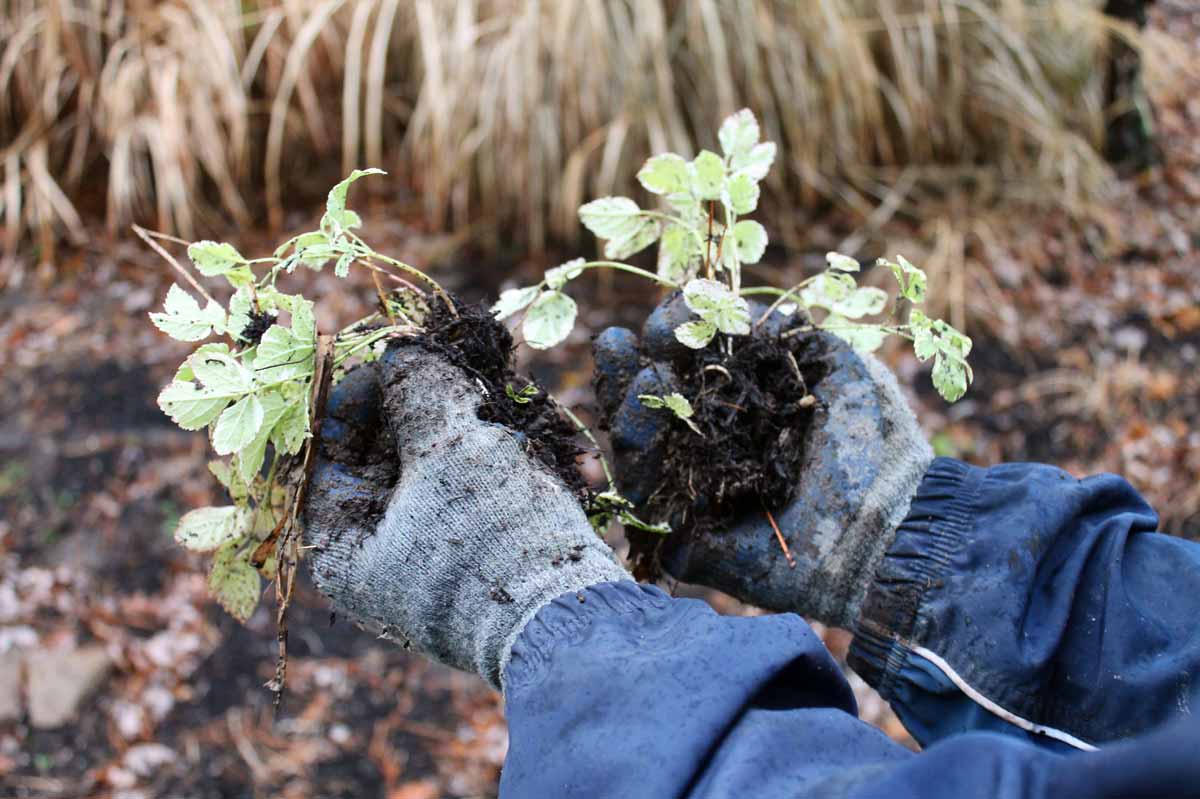
Once the plant is out, protect the root ball from sun and wind. If you are moving it across the yard, set it on a tarp, piece of burlap, or in a wheelbarrow and move it right away. If you must pause, cover the root ball with damp cloth or shade it with a box.
Should you wash the roots?
For most garden moves, no. Keep soil on the roots. The exception is when you are dividing a very dense clump and need to see the crown clearly, or you suspect root pests. Even then, be gentle and keep exposure time short.
A quick hygiene note
If you are moving multiple plants, especially if any look stressed or spotty, wipe or rinse soil off your spade between beds. And do not transplant plants with obvious crown rot or mushy tissue into a fresh spot. You do not want to relocate the problem along with the plant.
Dividing at transplant time (and when not to)
Transplanting and dividing often go hand in hand, because many perennials naturally form crowded clumps that bloom less over time.
Good candidates for dividing
- Daylilies
- Hostas
- Irises (bearded and Siberian, with slightly different handling)
- Shasta daisies
- Bee balm
- Yarrow
- Sedum (upright types)
Plants that prefer minimal disturbance
- Peonies can be moved, but they hate frequent moves and may sulk for a year or two.
- Deep taprooted perennials like baptisia (and many prairie natives) can be transplanted, but it is harder to keep enough root mass intact.
- Woody perennials like lavender are often better replaced than moved once they are old and woody.
- Spring ephemerals are often best left alone unless you can move them at the right dormant window and keep their planting depth consistent.
If you do divide, aim for divisions that have healthy crown tissue and a decent share of roots. Tiny divisions survive, but they take longer to look good again.
Planting in the new spot: depth, orientation, and backfill
This part is where shock is either minimized or accidentally invited to dinner.
Set the crown at the right height
- Plant at the same depth it was growing before. The crown should sit level with the surrounding soil.
- Do not bury crowns on plants like coneflower, coral bells, and many daisies. Crowns buried too deep are prone to rot.
- Do not expose roots either. If you see roots after watering, add a little more soil and gently firm it.
Rough up slick hole sides
If your new hole has smooth, slick sides from a shovel in clay soil, rough them up with your spade or hand trowel. Roots can hesitate at that boundary instead of growing outward.
Water in like you mean it
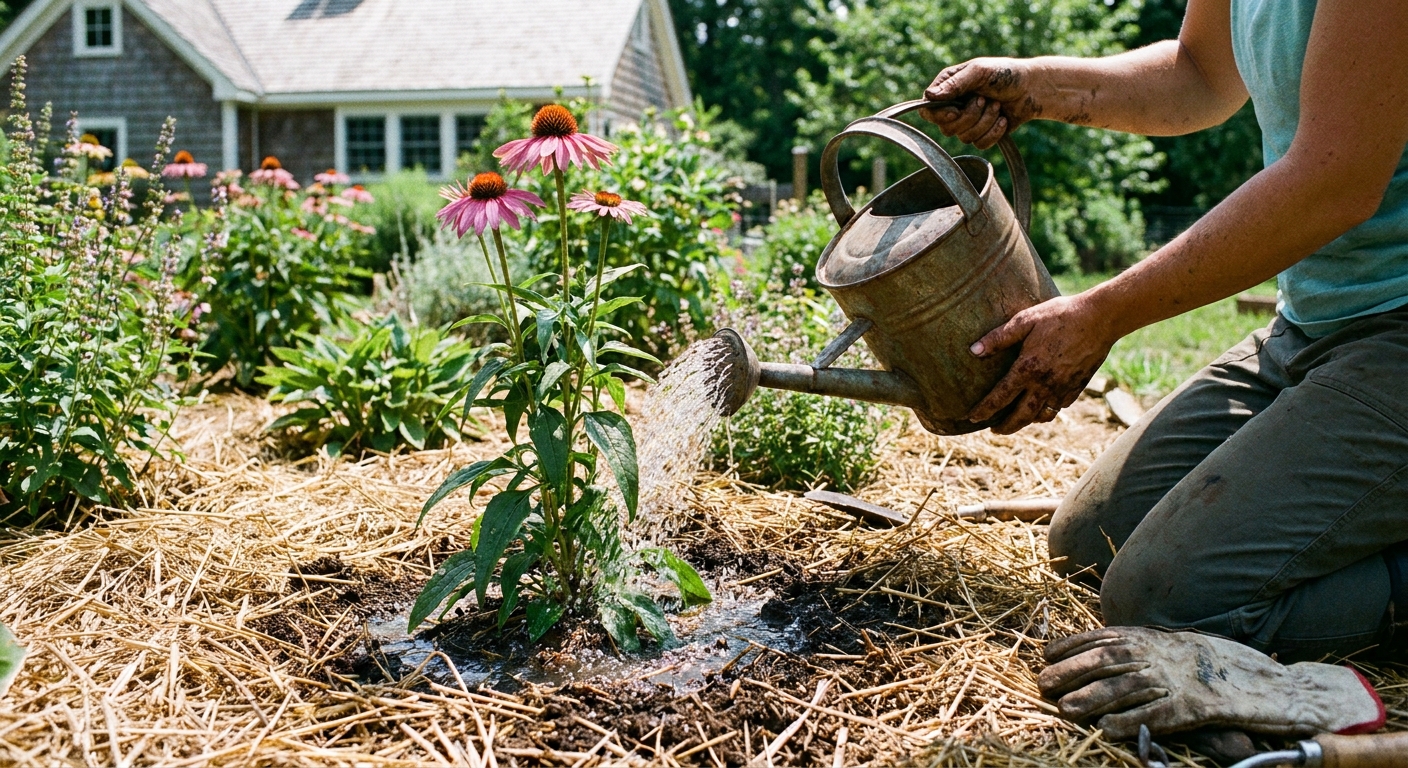
After backfilling halfway, water to settle soil around roots, then finish filling and water again. You are aiming for soil-to-root contact without stomping the life out of your bed.
Mulch for moisture, not for suffocation
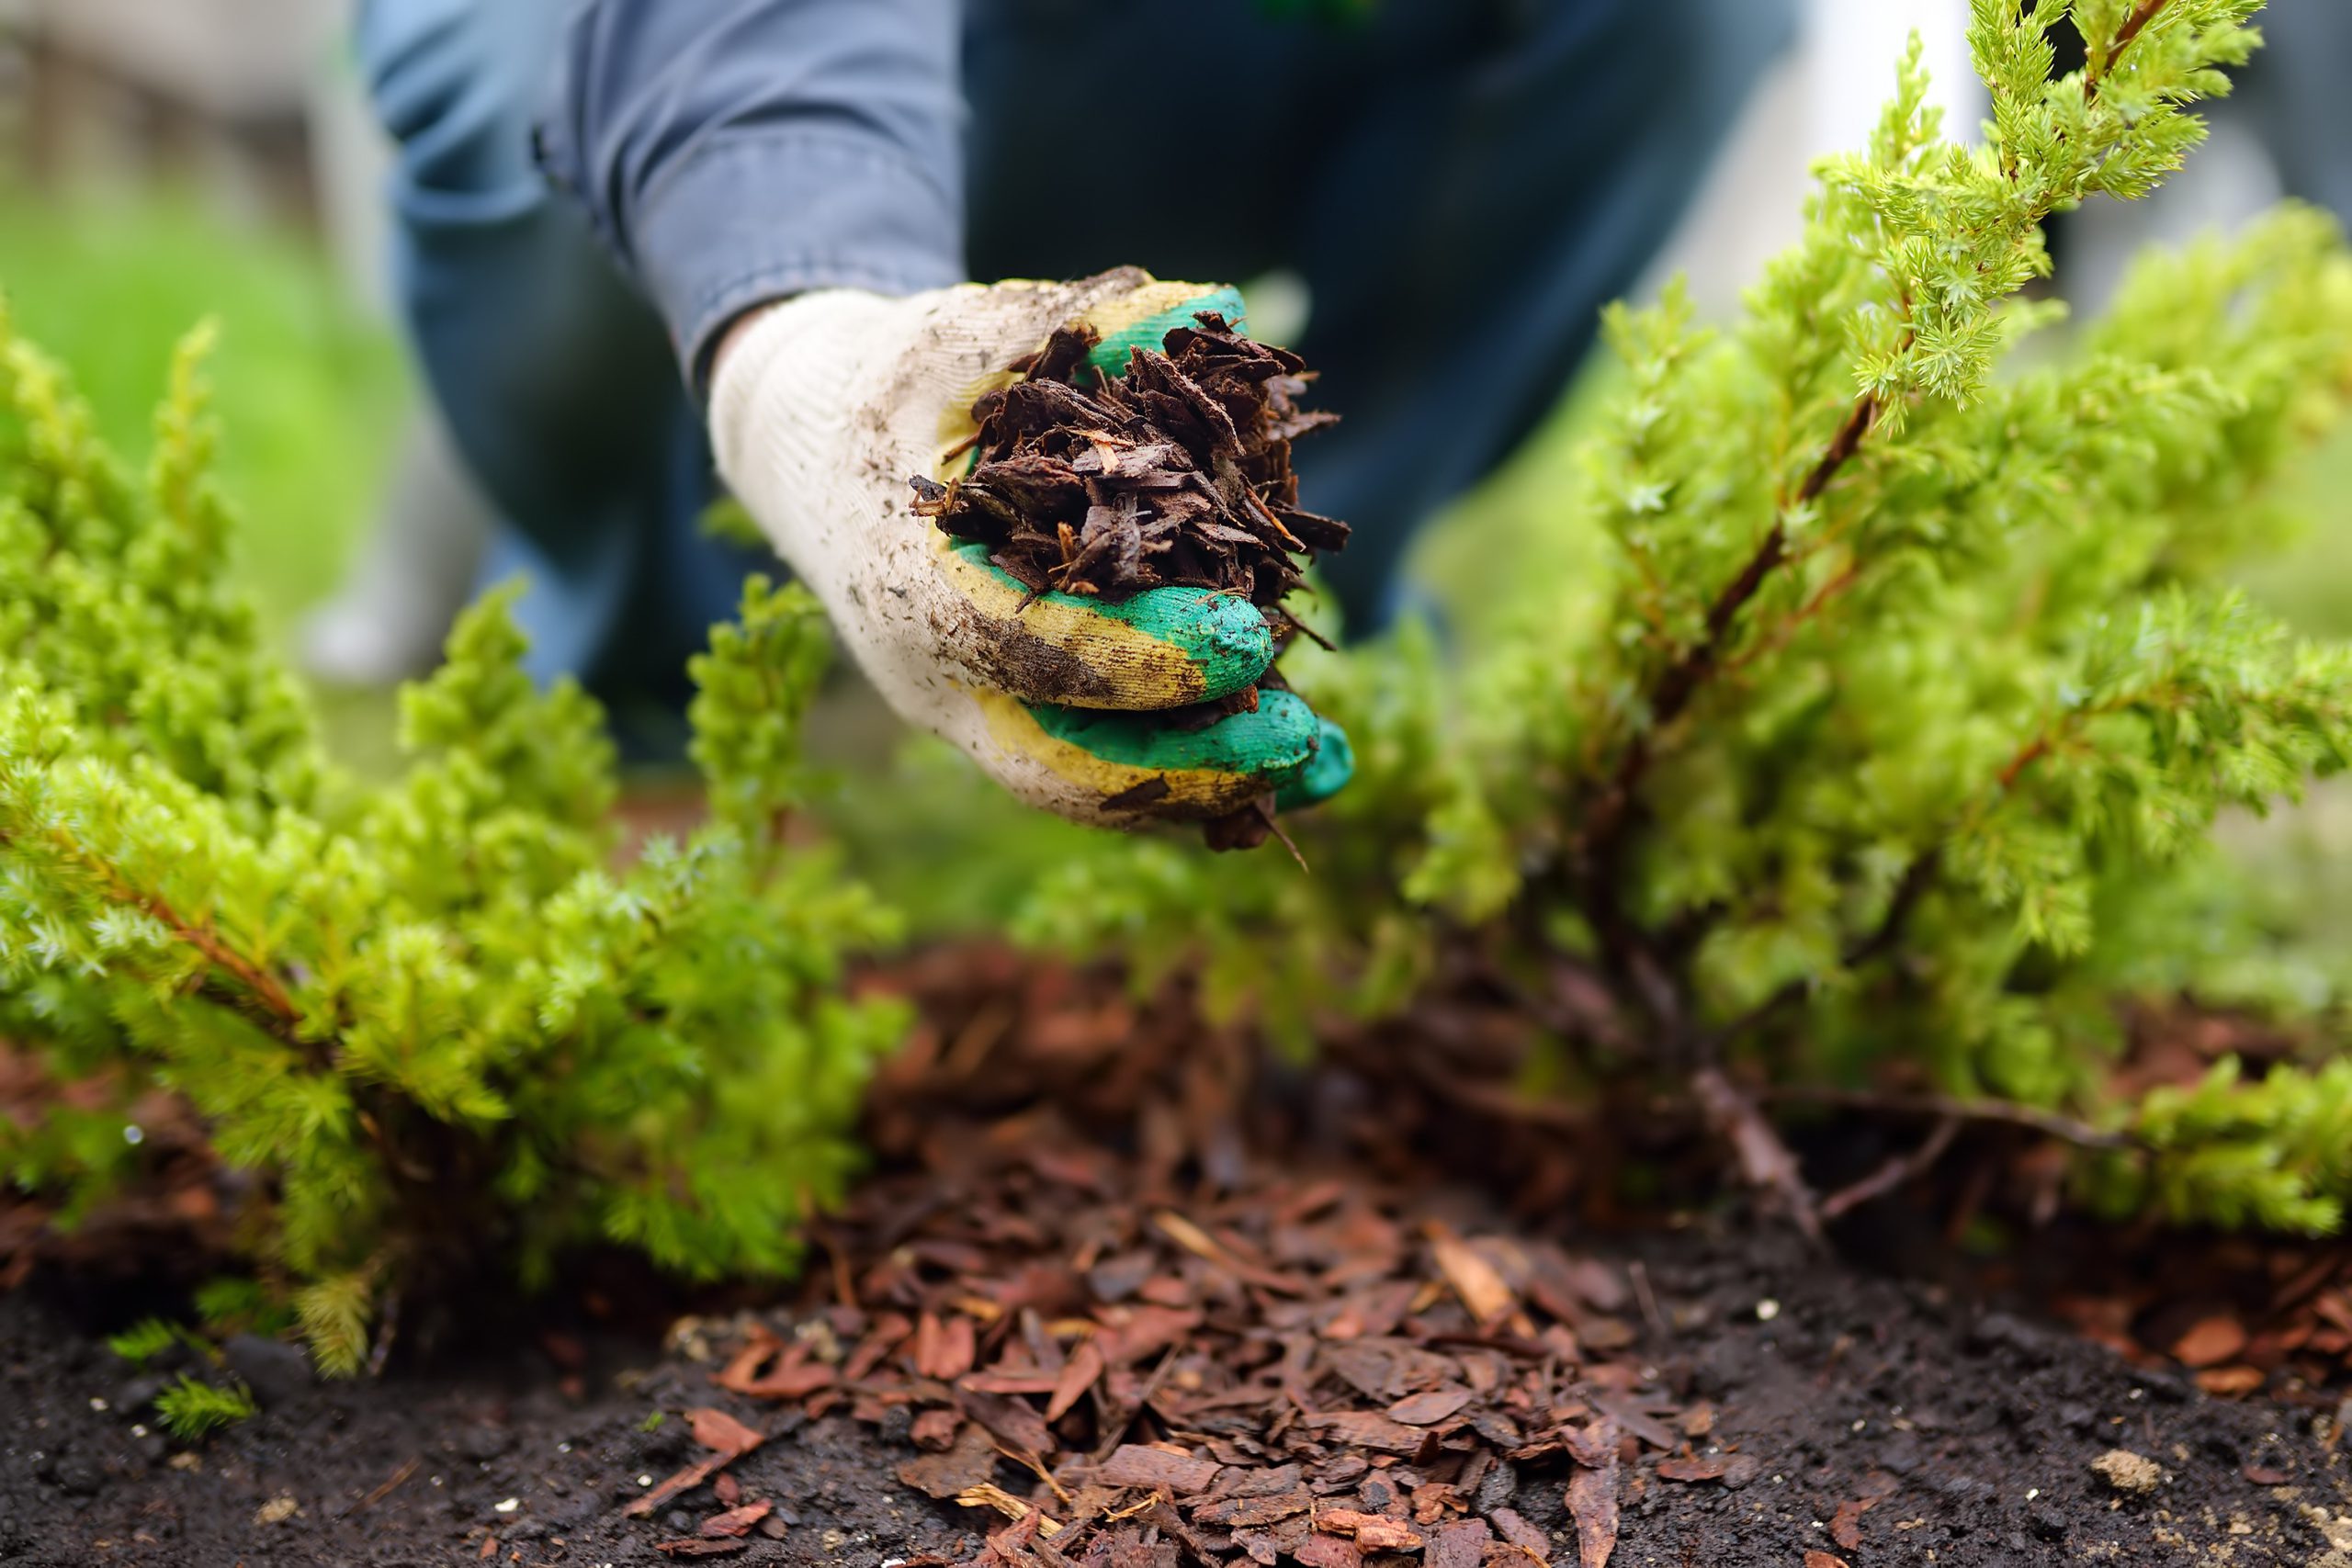
Add a 2 to 3 inch layer of mulch to even out moisture and temperature, but keep mulch pulled back an inch or two from the crown so it stays dry and breathable.
The post-transplant watering regimen that builds new roots
Transplant shock is usually water stress. The plant lost roots, but the leaves still want to transpire. Consistent watering helps the plant stay hydrated while it rebuilds its root network.
A simple schedule (adjust to your soil and weather)
- Day 0 (planting day): water thoroughly until the root zone is evenly moist.
- Week 1: check moisture daily and water when the root zone is starting to dry. In hot, sunny, or windy weather that may mean every day or every other day. In cool fall weather or heavy clay, it may be much less.
- Weeks 2 to 4: water about 1 to 2 times per week if there is no meaningful rain, soaking the root zone each time.
- After week 4: taper toward your normal routine, typically weekly deep watering during dry spells until the plant is clearly growing again.
How to tell if you are watering enough
Check moisture a few inches down. The top inch can dry quickly even when the root zone is fine. If the soil is dry at 3 to 4 inches, it is time to water. If it is wet and sticky day after day, pull back and make sure water can drain.
Skip fertilizer at first
I know it is tempting to “feed” a moved plant. But right after transplanting, fertilizer can push top growth before the plant has the roots to support it. Wait until you see fresh, steady new growth, then feed lightly if needed based on your soil and the plant’s appetite.
Common mistakes that cause transplant shock
- Moving in hot sun or wind: leaves lose moisture too fast.
- Letting the root ball dry out while you dig the new hole.
- Planting too deep: buried crowns rot and struggle.
- Making the root ball too small: fewer feeder roots means slower recovery.
- Overwatering in heavy soil: soggy soil excludes oxygen, and new roots need oxygen as much as moisture.
- Mulch piled against the crown: invites rot and pests.
- Moving sick plants: transplanting does not cure crown rot, borers, or chronic disease, and you can spread issues to a new bed.
Perennial-specific tips
Hostas
Very forgiving. You can divide and move them in spring or early fall. Keep them well-watered for the first couple of weeks and they usually bounce back fast.
Daylilies
Another tough one. If the clump is huge, cut through it with a sharp spade and move in sections. Water well and remove spent blooms so energy goes to roots.
Bearded iris
These like their rhizomes near the surface. When you replant, keep the rhizome partially exposed and avoid heavy mulch over it. Many gardeners also trim iris fans shorter at transplant time to reduce wind stress and water loss.
Peonies
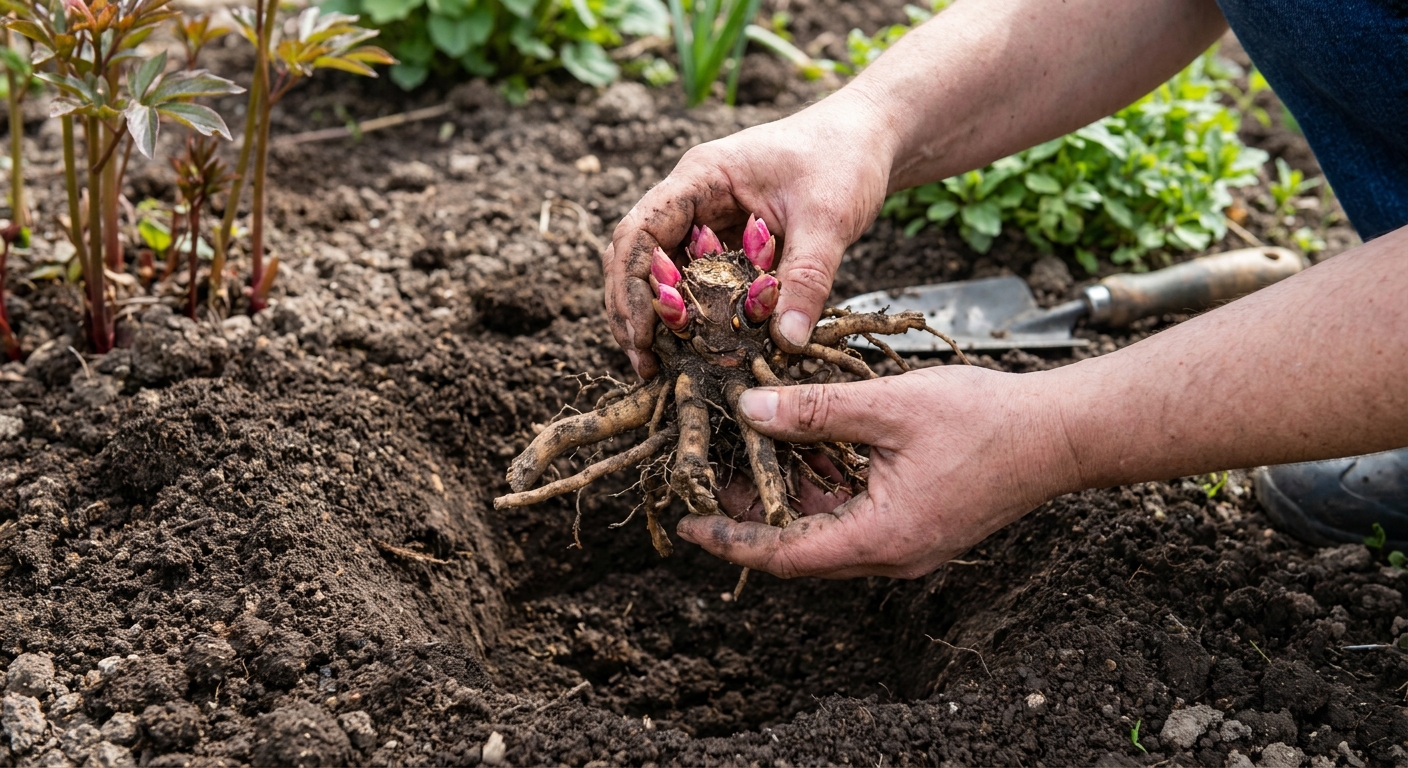
Move only when necessary, ideally in fall. Plant shallow. In colder climates, set buds about 1 to 2 inches below soil surface. In warmer climates, go shallower, closer to 1/2 to 1 inch, or you may get lush leaves and no blooms.
Ornamental grasses
They can be transplanted, but mature clumps can be heavy and stubborn. Cut foliage back to a manageable height, dig wide, and be prepared to divide with a spade or saw.
Aftercare beyond watering
Expect a little sulking. Some droop or slowed growth is normal, especially the first week.
- Wilting midday but perking up at night can happen early on. Keep soil evenly moist and provide temporary shade if the plant is in full sun. If you are moving a shade plant into brighter light, ease it in with a week or two of afternoon shade if you can.
- Yellowing leaves may show up as the plant reallocates resources. Remove only fully dead foliage so the plant can still photosynthesize.
- No growth for a while is common after a move. Roots often grow before you see top growth.
If a plant looks worse each day, check the basics: is the crown buried, is the soil staying soggy, did the root ball dry out, or is the new site too sunny compared to the old one?
FAQ
Can I transplant perennials while they are flowering?
You can, but it is harder on the plant. If you must, do it on a cool, cloudy day, keep a generous root ball, and consider snipping off some blooms so the plant can focus on roots.
How long does transplant shock last?
Many perennials perk up within 1 to 2 weeks, but full recovery can take 4 to 8 weeks. Big, mature clumps or fussy plants can take a full season to look like themselves again.
Should I prune back the plant after transplanting?
Sometimes. If the plant has a lot of leaf area or tall stems, a modest haircut can reduce water stress. It is very species-dependent, though, so when in doubt, keep pruning minimal and focus on shade and steady moisture instead.
How big should the root ball be?
Bigger than you think. As a rough guide, for a clump with a 10 inch spread, aim for at least a 10 to 14 inch root ball when possible. The more feeder roots you keep, the faster the rebound.
Is it better to transplant in the morning or evening?
Either is fine, but I prefer late afternoon or early evening so the plant has a cool night to settle in before the next day’s sun.
A gentle parting nudge
Transplanting established perennials is one of those skills that feels intimidating until you do it a few times and realize plants are tougher than we give them credit for. Pick a cool day, dig wide, move quickly, water deeply, and then give your perennial a little patience. That quiet root-building work is happening underground, even when the top looks unimpressed.