
Watering is one of those garden skills that feels simple until you watch a favorite perennial sulk in July and realize you have been giving it the wrong kind of drink. Most perennials do not want frequent little sips. They want a slow, thorough soak that encourages roots to travel downward, where soil stays cooler and moisture lasts longer.
I learned this the hard way moving between growing zones. In one yard, my clay soil held water like a sponge. In another, sandy soil let water run right through. The best routine was not “water every day.” It was “water like a gentle storm, then let the ground breathe.”
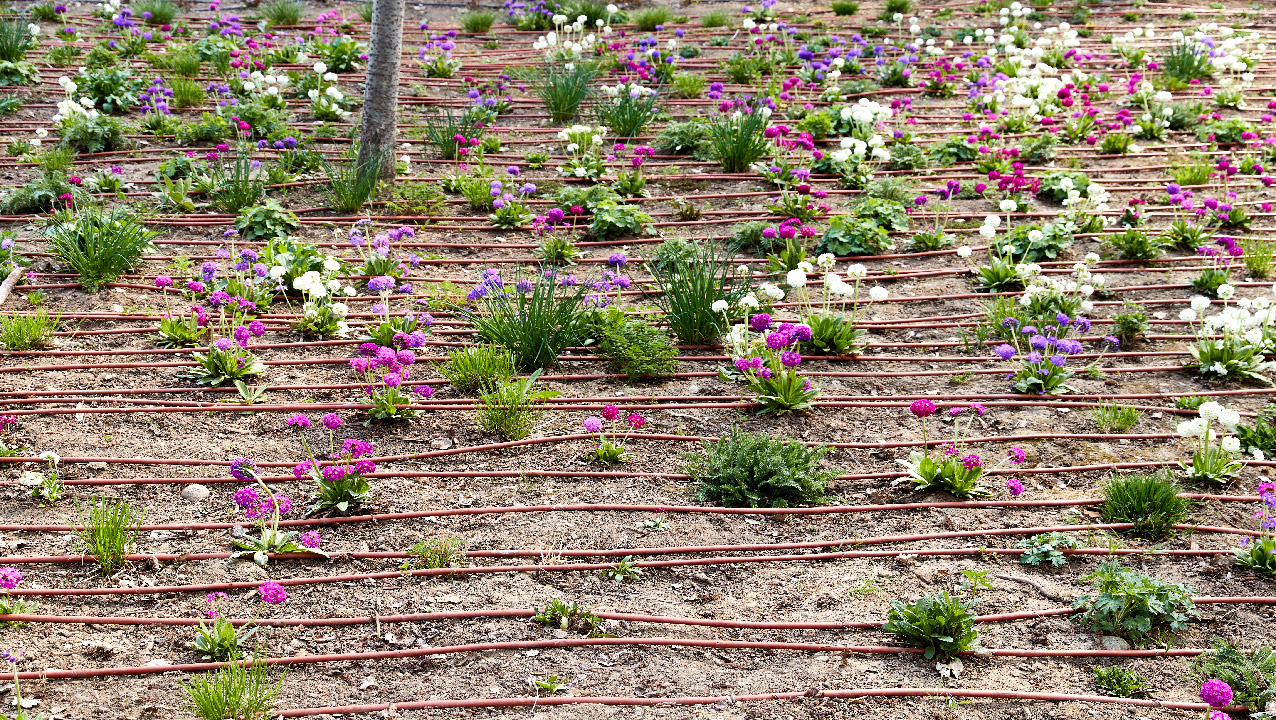
What deep watering means
Deep watering means moisture moves beyond the surface crust and into the part of the soil roots are actively using. Root depth varies wildly by plant, soil, and age, so rather than chasing a perfect number, use a practical check: after you water, the soil should be evenly moist several inches down.
For many established perennial beds, a good goal is to see moisture at roughly 6 to 10 inches deep when you do a quick trowel check. Think of that as a useful “did it soak in?” depth, not a universal rule about how deep every perennial roots.
Why deeper roots matter
- Better drought tolerance: Deeper roots tap moisture reserves that shallow roots cannot reach.
- More stable plants: Tall perennials are less likely to flop when their root systems are anchored.
- Healthier soil life: Cycles of wet then slightly drier conditions support earthworms and beneficial microbes.
- Fewer disease issues: Constantly wet surface soil and wet foliage can invite rot and other problems.
The sip vs soak problem
Light, frequent watering encourages roots to stay near the surface because that is where the water is. Then the first hot stretch hits, the surface bakes dry, and the plant panics. If you have ever watered daily and still had wilted plants by afternoon, this is often why.
How much water perennials need
There is no single number that fits every bed, but there are dependable starting points you can adjust. A common baseline for many mixed, established perennial beds is about 1 inch of water per week from rain and irrigation combined, often delivered in one or two thorough sessions.
That said, plant palette and conditions matter. Drought-tolerant, Mediterranean-leaning perennials (like lavender, rosemary, or many salvias once established) often prefer less. Moisture lovers (like astilbe, ligularia, or cardinal flower) may need more consistent moisture, especially in sun. Shade, wind, heat, slope, mulch depth, and soil type all change the math.
Easy ways to measure
- Rain gauge or tuna can: Set it in the bed and run sprinklers until it collects around 1 inch.
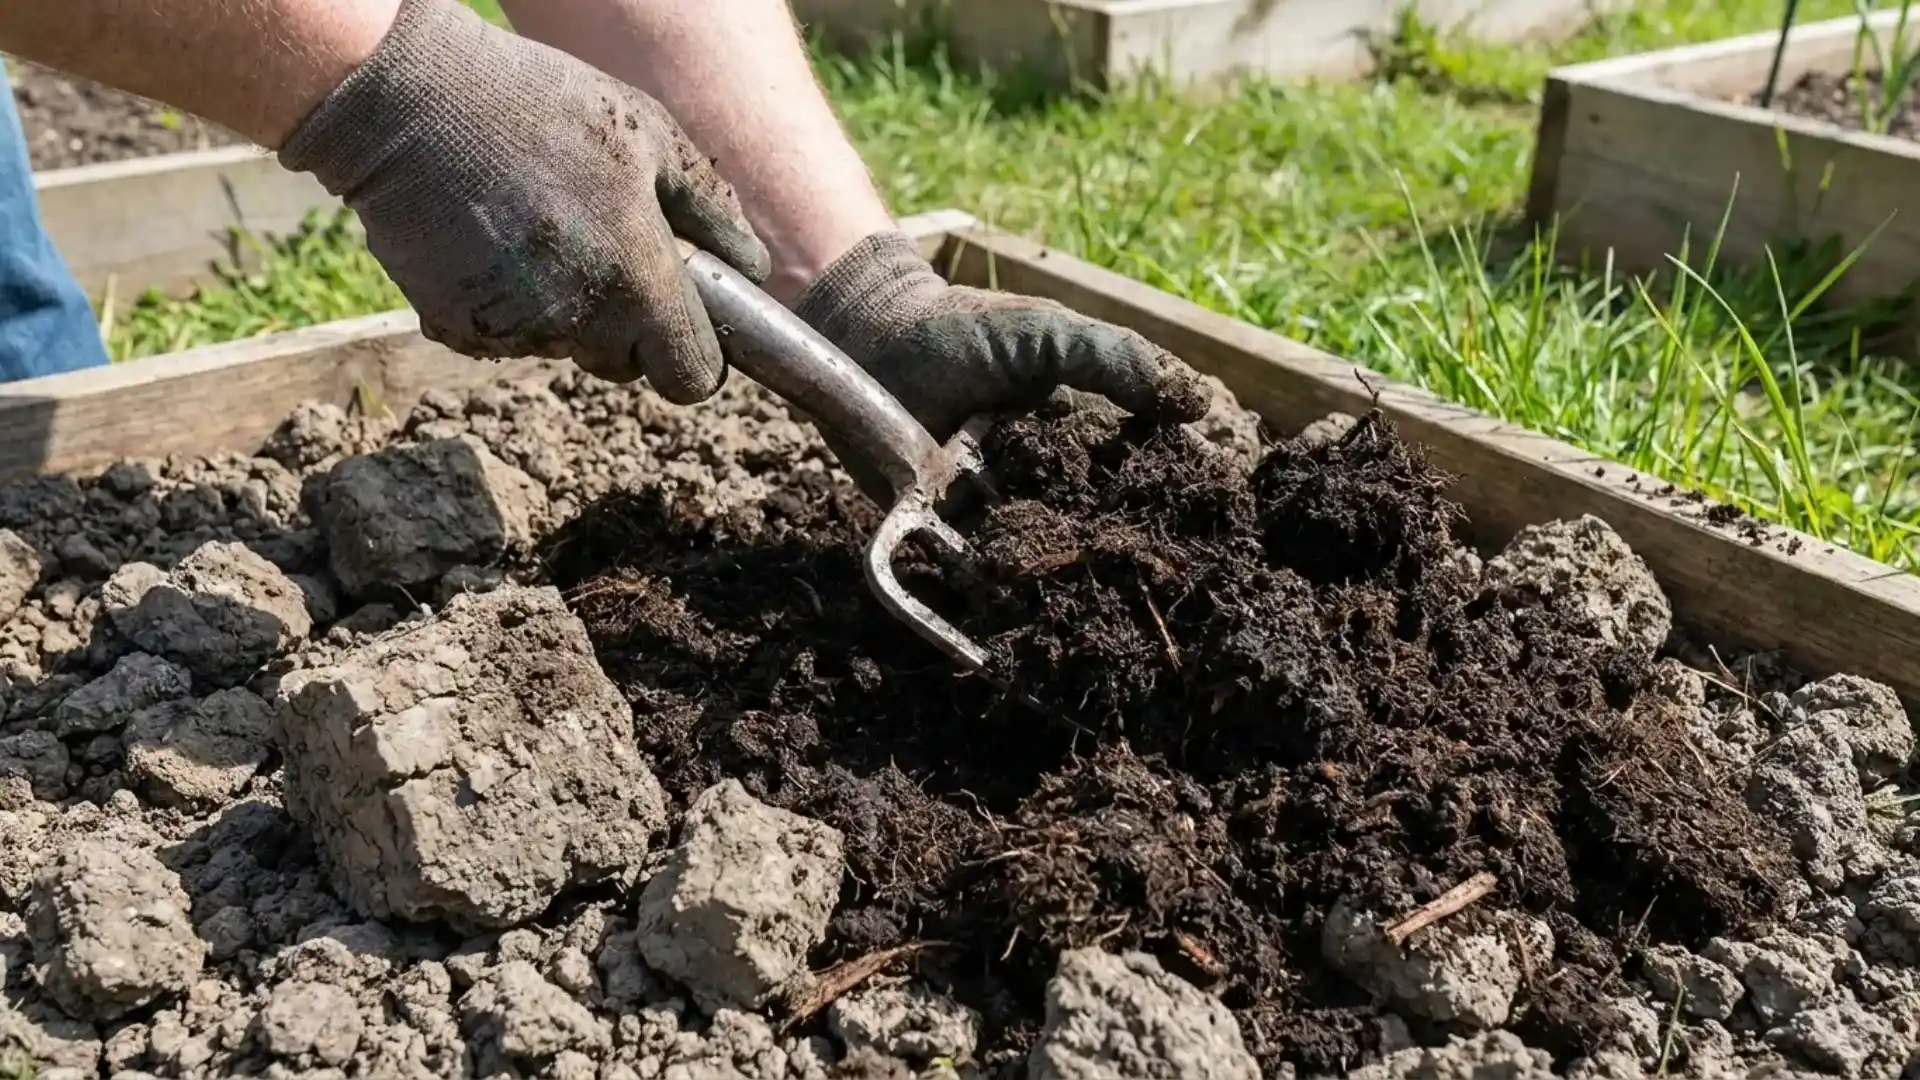
- Soil check: After watering, use a trowel to dig a small test hole. You want evenly moist soil several inches down, not just mud on top.
- Finger test for the top layer: The surface should dry between waterings. If it is constantly damp, you are likely overdoing it.
New perennials are different
The first season is about helping roots expand into the surrounding soil. New plantings often need more frequent watering, but you still want each watering to soak the root ball and surrounding area, not just sprinkle the crown.
- Week 1 to 2: Check daily. Water when the top inch is dry, and water slowly enough to wet the entire root zone.
- Weeks 3 to 8: Shift toward deeper, less frequent watering as you see new growth.
- After establishment: Transition to one or two thorough waterings per week, adjusting for weather and soil.
Timing matters
Water early, not late
Morning watering is the sweet spot. Plants can take up moisture before heat stress, and foliage dries quickly. Evening watering can leave leaves wet overnight, which can raise the odds of foliar disease in dense beds or humid climates.
Let the bed cycle
A deep watering routine works because it gives roots a reason to grow. After a thorough soak, let the top few inches begin to dry before watering again. This does not mean letting plants wilt. It means allowing oxygen back into the soil so roots can function properly.
If you remember one thing: aim for moisture down deep, and a surface that is not constantly soggy.
Overwatering vs underwatering
These two can look surprisingly similar at first glance, especially on hot afternoons.
Signs you may be underwatering
- Wilting that continues into evening and the next morning
- Crispy leaf edges, smaller blooms, or buds that drop
- Soil is dry several inches down when you dig a small test hole
Signs you may be overwatering
- Yellowing lower leaves, soft stems, or a limp look even when soil is wet
- Mushrooms popping up frequently in mulch and persistently wet soil
- Gnats, rot at the crown, standing water, or a sour, swampy smell in heavy soils
The afternoon wilt trick
Many perennials droop in midday heat even when they have enough water. If they perk back up by evening, that is normal heat response. Do your soil check before you react with more watering.
Mulch helps a lot
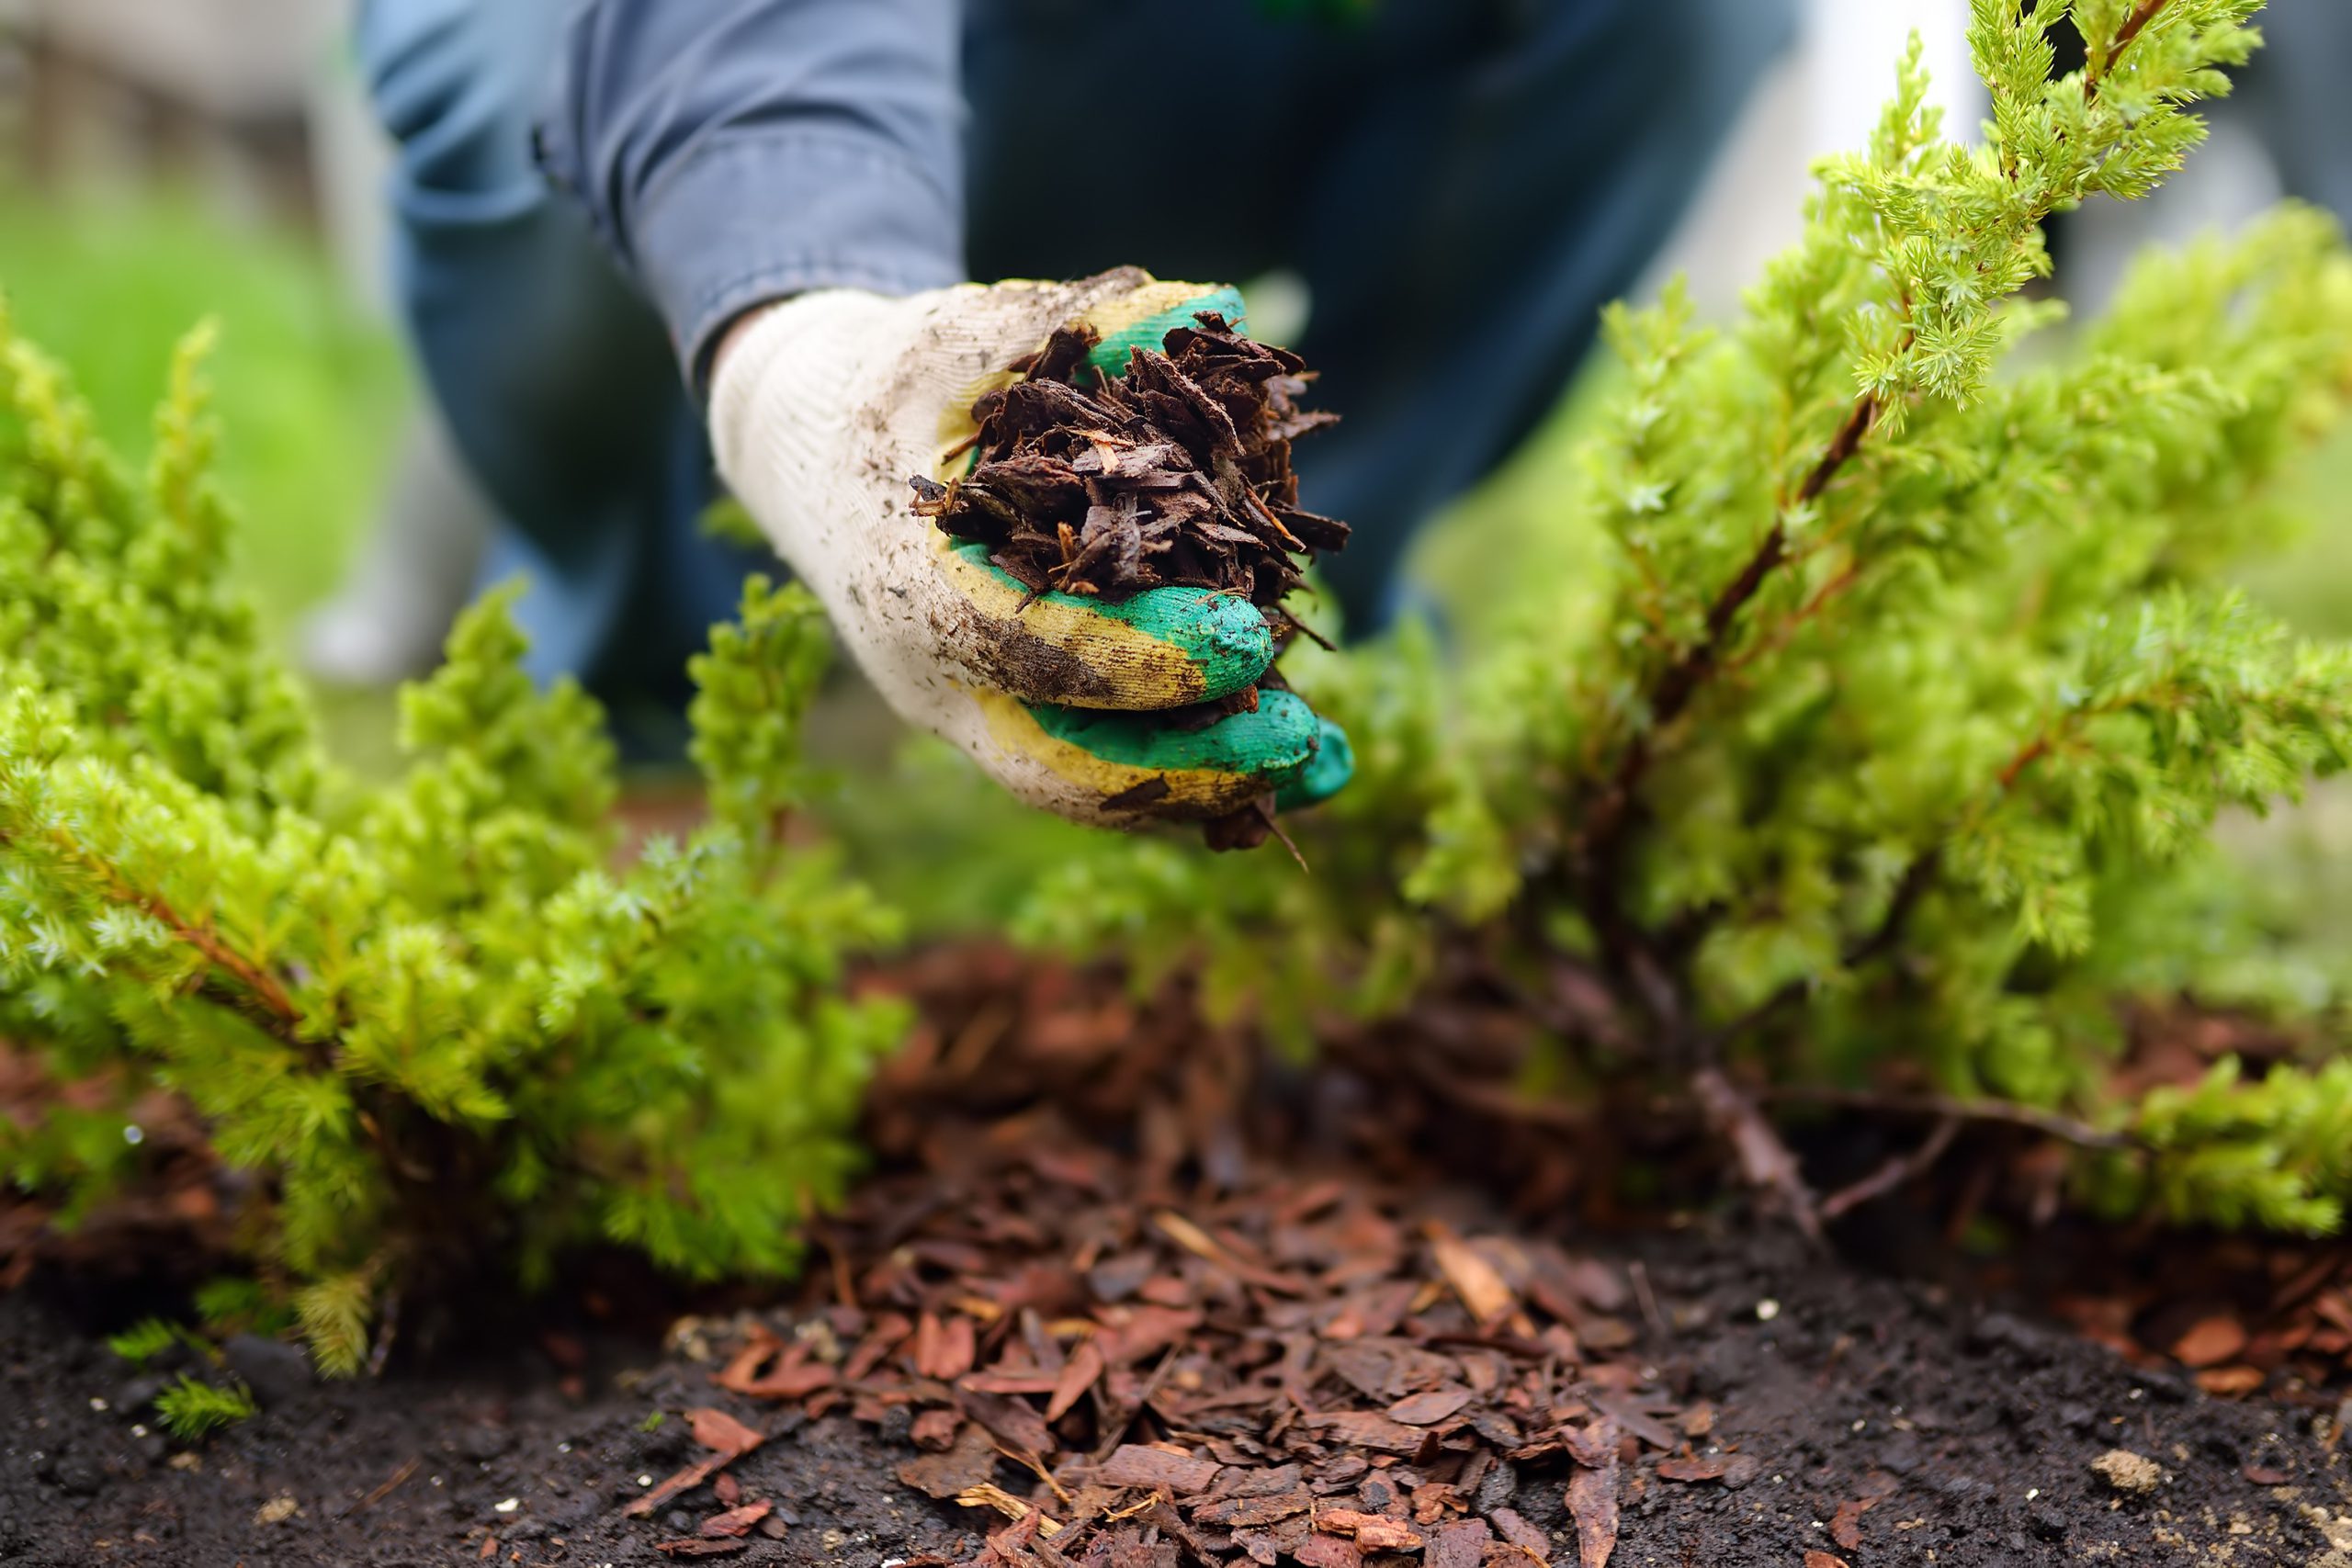
If you want to water less and get better results, mulch is your best friend. A 2 to 3 inch layer of shredded bark, leaf mold, or composted wood fines slows evaporation, softens temperature swings, and prevents soil crusting that can repel water.
- Keep mulch off crowns: Leave a small gap around the base of plants to reduce rot risk.
- Refresh thoughtfully: Top up as it breaks down, but avoid piling it higher every year.
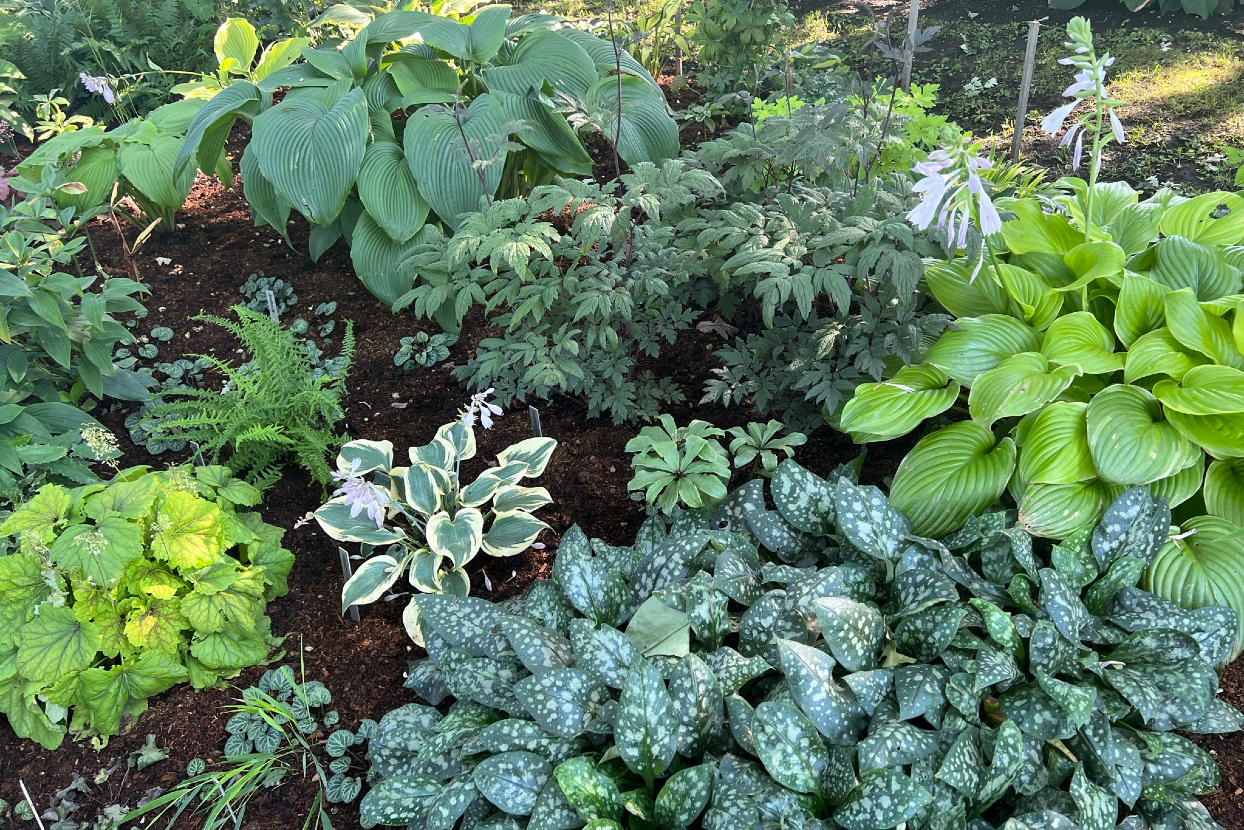
Why drip is great for perennials
Drip irrigation delivers water slowly at soil level, right where roots can use it. It also keeps foliage drier, which is a big help in dense perennial beds.
Benefits you will notice
- Less water waste: Minimal evaporation compared with overhead watering.
- Lower weed pressure: Drip tends to leave more of the bed dry between plants, which can reduce weed germination away from emitters (you can still get weeds where water lands).
- Better consistency: Slow soaking is easy to achieve without runoff.
- More time for enjoying the garden: Once it is set up, you stop dragging hoses around.
One practical note: before you set a schedule, check local watering restrictions and avoid runoff onto sidewalks or driveways. Drip makes this easier, but it is still worth thinking about.
Drip parts, in plain language
You do not need a complicated system. Here is what most perennial gardeners use for a simple, reliable setup.
- Backflow preventer: Keeps garden water from siphoning back into household lines.
- Filter: Essential if you have sediment in your water. It prevents emitter clogs.
- Pressure regulator: Drip tubing likes lower pressure than a typical hose bib provides.
- Header line (main line): Usually 1/2 inch poly tubing that runs through or along the bed.
- Emitter tubing or emitters: Either 1/4 inch lines with built-in emitters, or individual emitters you punch in.
- Fittings and end caps: Tees, elbows, couplers, and a way to close the end of each run.
- Timer: Optional but wonderful for consistency, especially during heat waves or travel.
How to lay out drip lines
Think of drip like setting out little water stations near the root zone. Your goal is even coverage, not one emitter per plant like a houseplant collection.
Step 1: Sketch the bed
Before you buy parts, do a quick sketch and mark:
- Where the water source is
- The shape of the bed
- Large clumps or thirsty areas that need extra attention
- Paths or edges where tubing can tuck neatly
Step 2: Run a 1/2 inch main line
I like to snake the main line a few inches inside the bed edge. It disappears under mulch, and it is easy to access if you need to add a line later.
Step 3: Choose your emitter style
You have two common options:
- Emitter tubing (inline dripline): Great for long, continuous beds. You can loop it through planting areas like stitching.
- Point-source emitters on 1/4 inch tubing: Great for mixed beds with larger gaps, or when you want to target specific plants.
Step 4: Space for soaking
Perennials spread. Water should cover the root zone they will grow into, not just the exact spot they are planted today.
- For average perennials: Place emitters 6 to 12 inches from the crown, often on two sides of the plant.
- For big clumps (peonies, large daylilies, mature salvias): Use multiple emitters or a short loop of emitter tubing around the drip line of the plant.
- For tight plantings: Inline dripline weaving between plants is usually easier than many individual emitters.
Step 5: Stake, test, then mulch
Lay everything out on bare soil first. Turn it on and watch for leaks, weak flow, or a fitting that pops off. Only after you are happy should you cover lines lightly with mulch. You want them protected from sun and easy to find later.
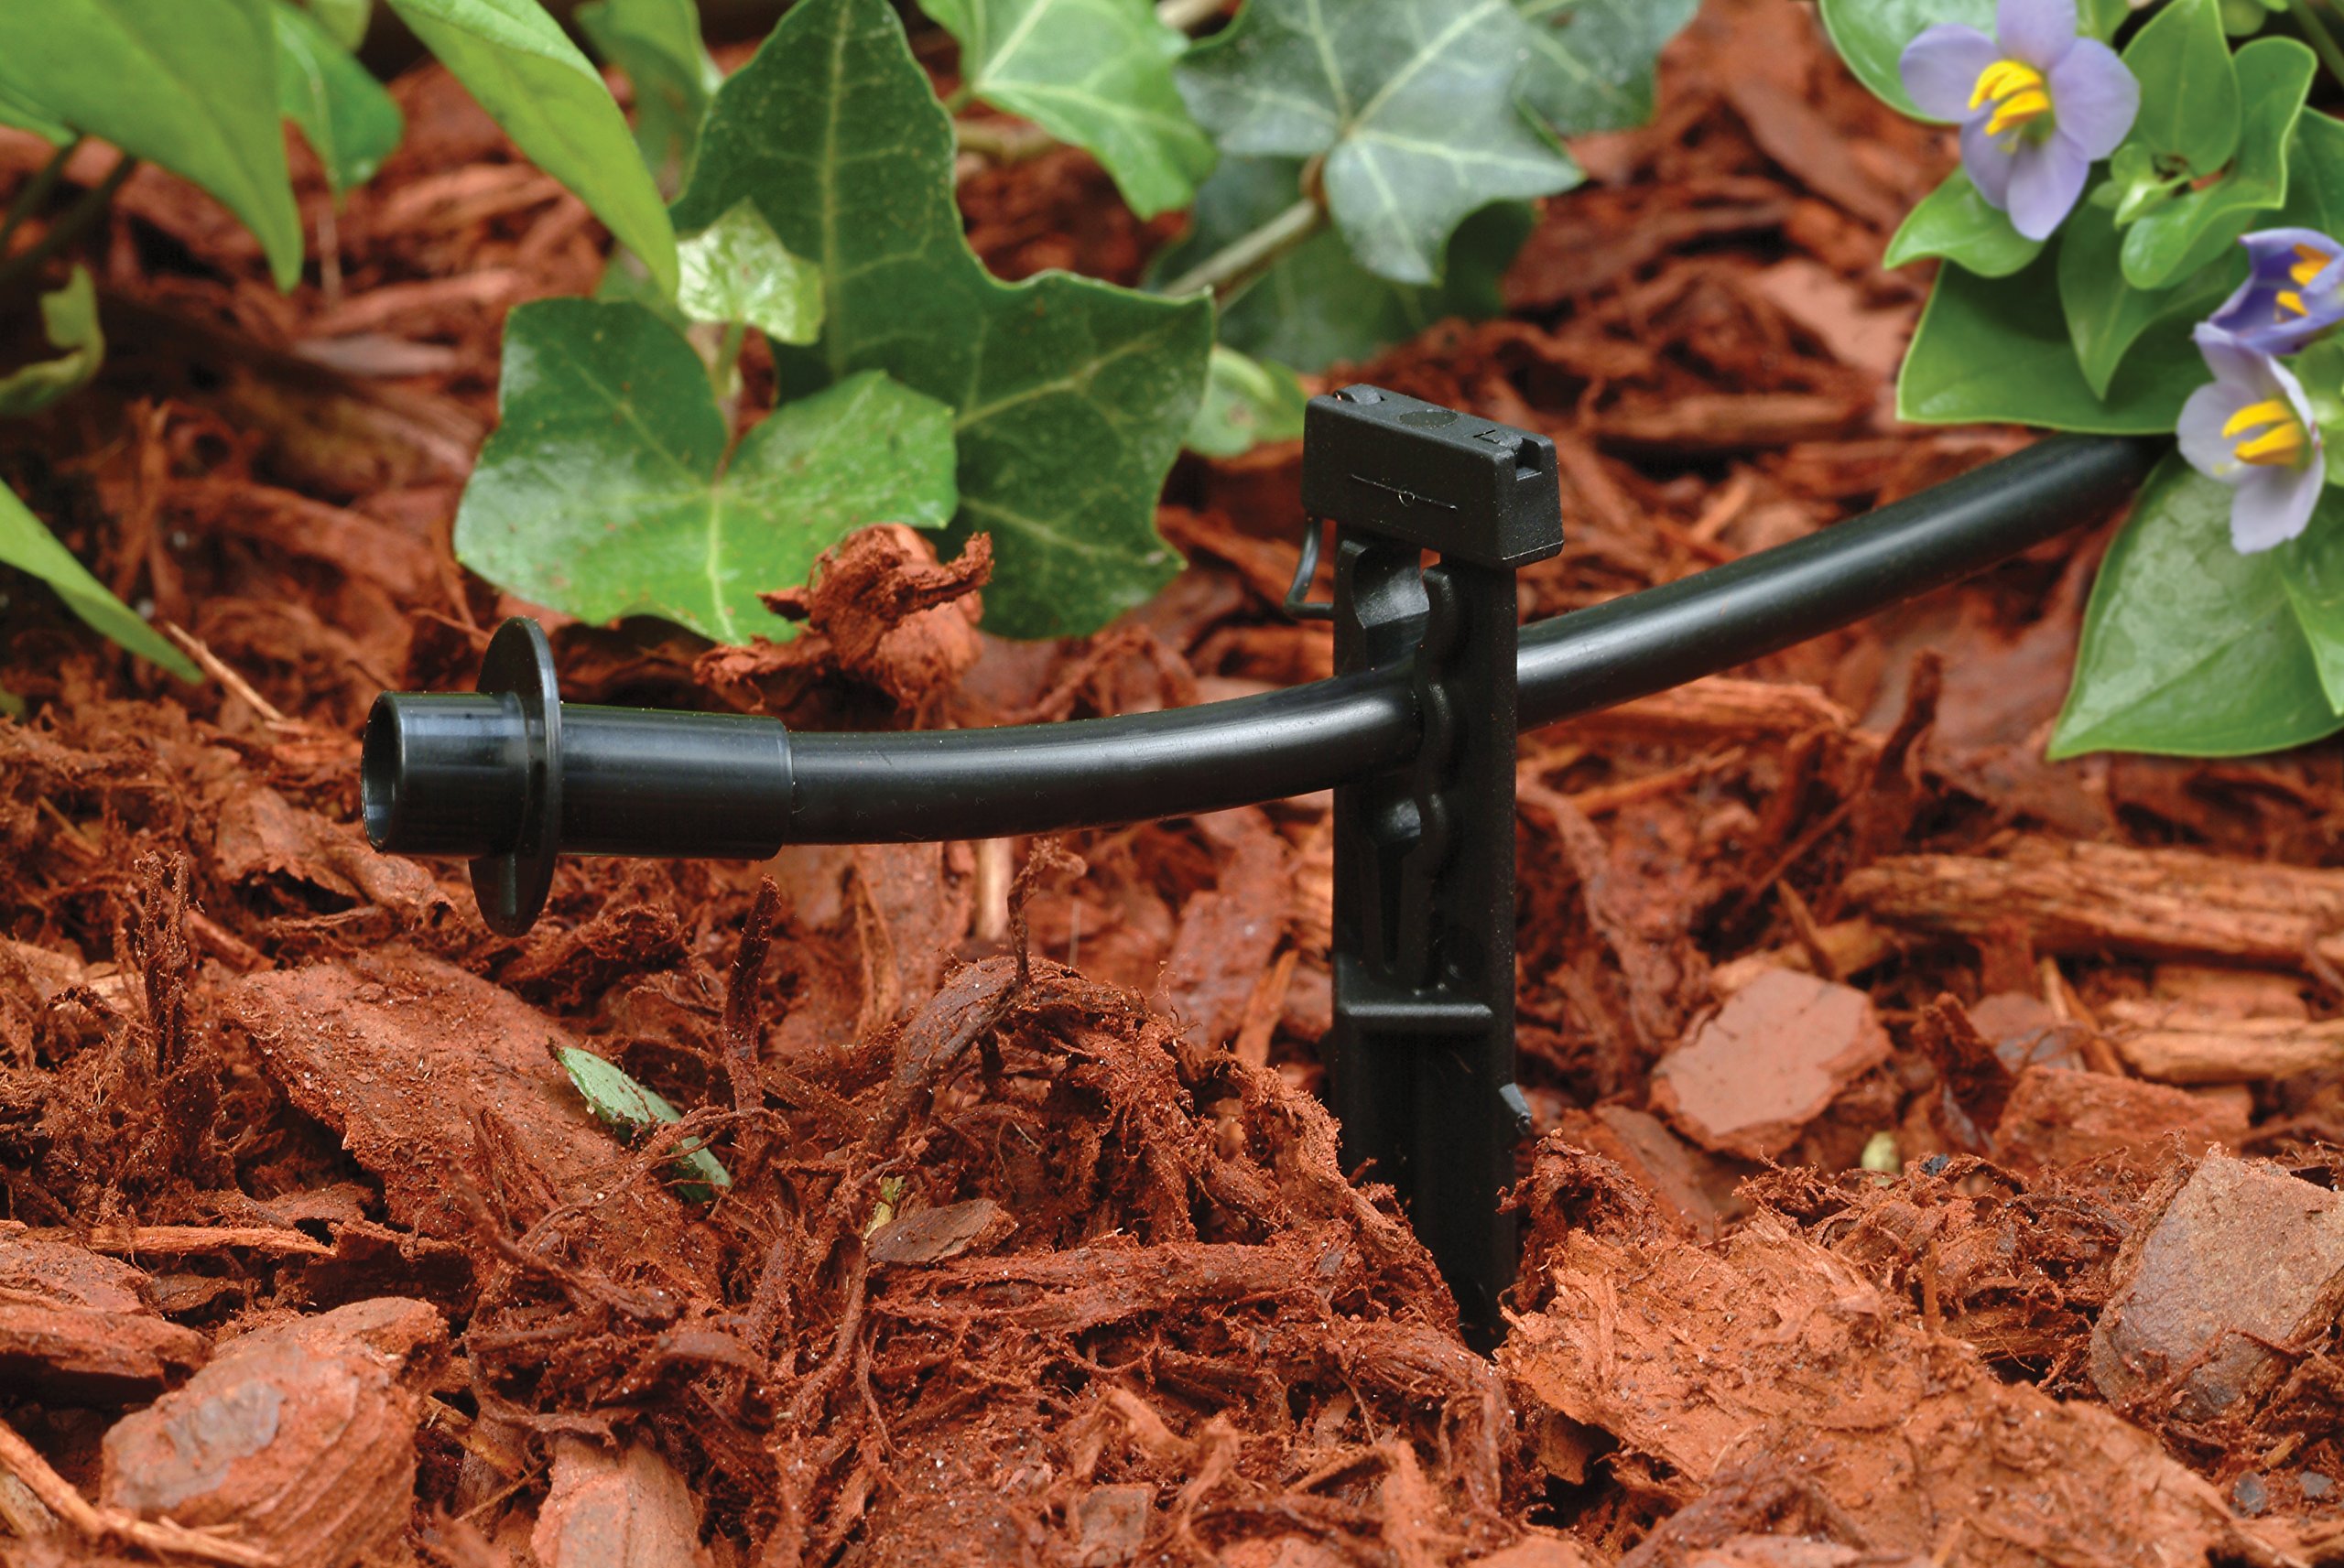
Set a drip schedule
With drip, you are applying water slowly, so run times are often longer than sprinklers. The right schedule depends on emitter output, spacing, soil type, plant size, and weather.
A sensible starting point
- New plantings: Shorter runs more often while roots are small, then gradually extend run time and reduce frequency.
- Established beds in mild weather: 1 to 2 thorough waterings per week, then adjust.
- Heat waves: Add an extra thorough watering, or split into two deeper sessions spaced apart to prevent runoff.
Emitter flow rates, made simple
Most common point-source emitters are labeled in gallons per hour (GPH), often 0.5 GPH or 1.0 GPH.
- If you have a 1.0 GPH emitter and you run it for 60 minutes, it delivers about 1 gallon.
- If that same emitter runs for 2 hours, it delivers about 2 gallons.
What that means in the real world: if a medium perennial has two 1.0 GPH emitters, a two-hour run delivers roughly four gallons to the surrounding root zone. Whether that is perfect depends on your soil and weather, but it gives you a concrete way to adjust: increase time to push moisture deeper, or reduce time if soil stays saturated.
Use soil to set the schedule
After a drip session, dig a small test hole. If moisture is only in the top couple inches, you need longer run time. If the soil is saturated, puddling, or you get that sour, airless smell in clay, reduce run time or frequency.
Clay vs sandy adjustments
- Clay soil: Water infiltrates slowly and can run off. Use slower application and consider split cycles (for example, run 30 minutes, rest 30 minutes, run 30 minutes).
- Sandy soil: Water drains quickly. You may need slightly more frequent thorough watering, and mulch becomes extra important.
Deep watering with a hose
No drip system? You can still water like a pro.
Three easy methods
- Soaker hose under mulch: A nice halfway step. Lay it out, pin it down, then cover lightly with mulch.
- Hose on a trickle: Place the hose near the base of a plant and let it run slowly long enough to soak in.
- Watering wand at low flow: Great for targeted watering when only a section of the bed needs help.
Whichever method you use, the goal stays the same: slow and steady so water moves downward instead of racing away.
Common drip mistakes
“My emitters clog.”
Add a filter and flush the line a few times per season. If you use well water or have sediment, filtration is not optional.
“Some spots are dry, some are soaked.”
Check for kinks, crushed tubing, and uneven pressure. Long runs may need to be looped or shortened. Also make sure mulch is not piled so thick that it sheds water away from the soil beneath.
“I watered and still see wilt.”
Confirm moisture depth with a trowel. Also remember that heat wilt can happen even in moist soil. Check again in the evening and the next morning before you adjust the schedule.
“My plants are rotting at the base.”
Back emitters away from the crown. Perennials generally prefer moisture in the surrounding root zone, not constant wetness at the stem base.
Seasonal tweaks
Spring
Spring soil can be deceptively wet beneath a dry surface. Water only when needed, especially in heavy soils. Too much spring moisture is a quiet invitation to crown rot.
Summer
This is when deep watering pays off. Prioritize new plantings and perennials in full sun. Container perennials and newly divided plants may need extra attention.
Fall
Continue watering during dry autumns. Going into winter well-hydrated helps many perennials handle cold and wind, especially in exposed sites. The caveat is simple: avoid waterlogging in cooling soils, and taper off as the ground approaches freezing so you are not adding water to soil that cannot drain.
FAQ
How do I know if I watered enough?
Dig a small test hole 20 to 30 minutes after watering stops. If soil is evenly moist several inches down, you did it. If only the top is wet, increase run time. If it is saturated for days, smells sour, or you see standing water, reduce.
Is drip better than sprinklers for perennials?
For most perennial beds, yes. Drip is efficient, keeps leaves drier, and makes it easier to water thoroughly without runoff. Sprinklers can still work, especially for establishing seed or covering large mixed areas, but drip is usually the long-term win.
Should I water every day in summer?
Usually not for established perennials. Daily watering often keeps roots shallow. A better baseline is one or two thorough waterings per week, then adjust for extreme heat, wind, container plantings, and fast-draining soil.
Can I leave drip lines out all winter?
In many gardens, yes, but protect your system by disconnecting timers and backflow devices and draining lines if you get hard freezes. In colder regions, open end caps or flush valves and let lines drain, or blow out the system if that is standard practice where you live. Storing timers and filters indoors can extend their life.
A simple goal
If your perennial bed gets a thorough soak, then has time to breathe before the next watering, you are doing the most important thing right. Drip irrigation just makes that routine easier to repeat consistently. And in a garden, consistency is what turns surviving into thriving.