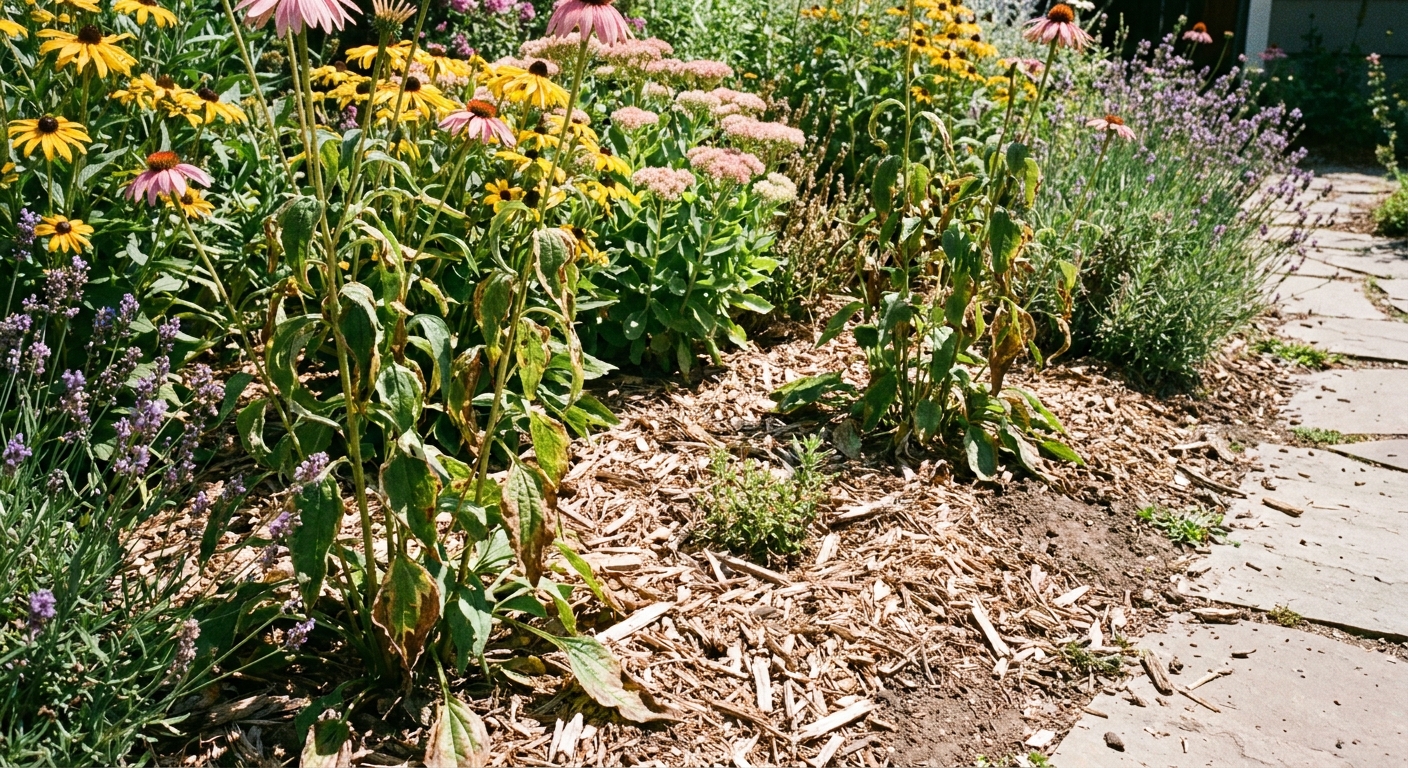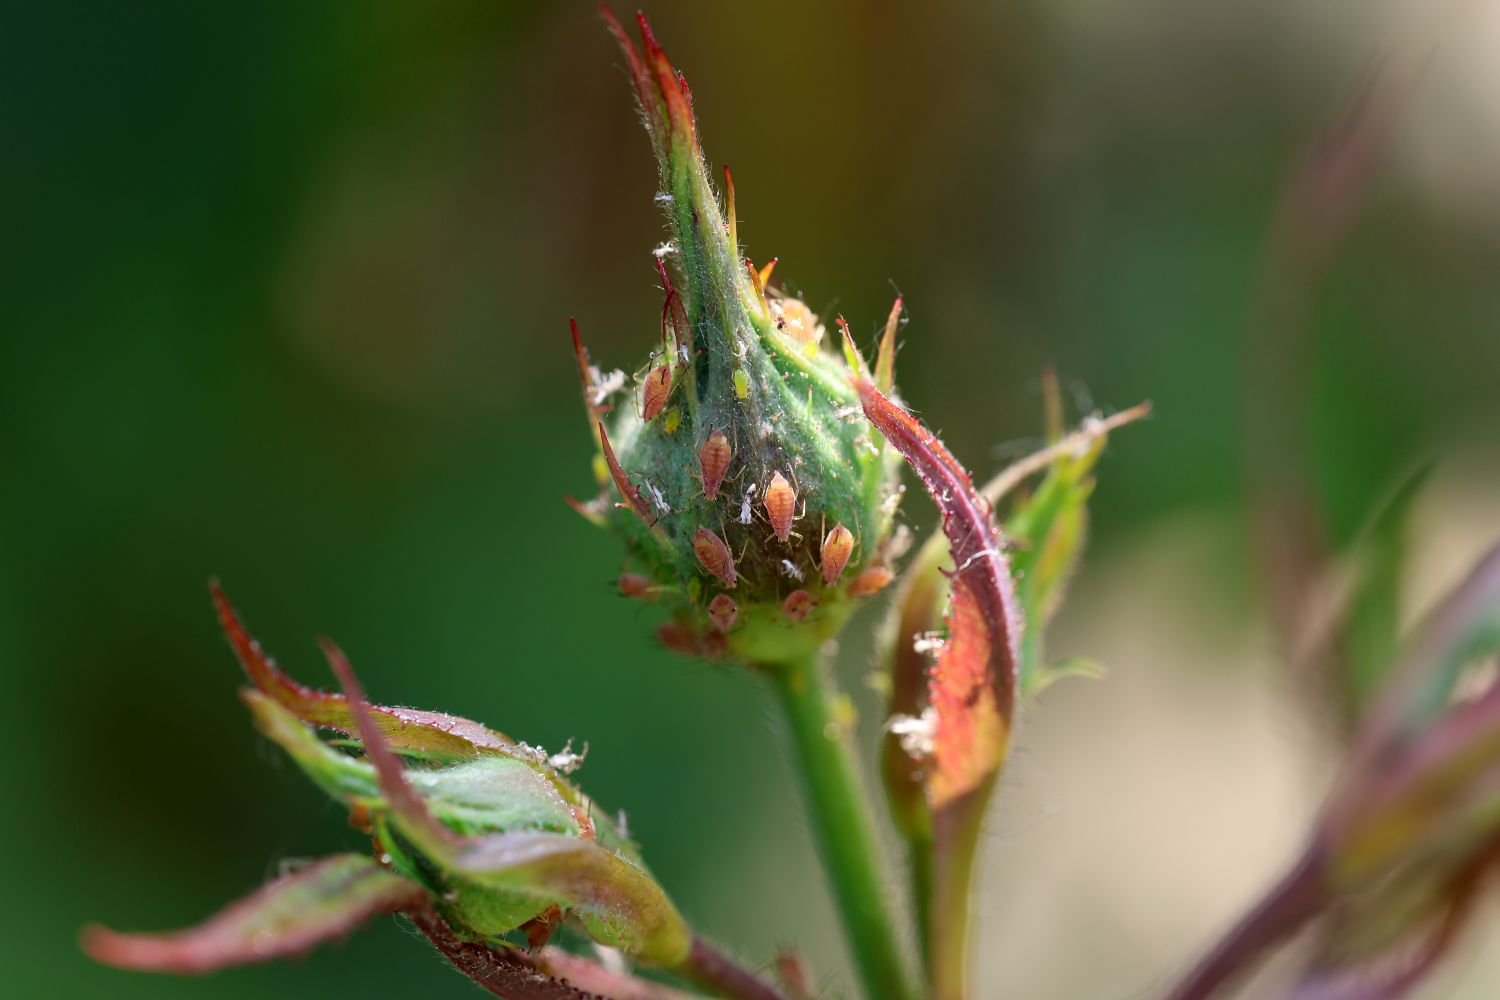

There are a few garden problems that seem to pop up the moment the forecast turns into a string of 90-degree days. Spider mites are one of them. They are tiny, fast-multiplying, and they absolutely adore hot, dry conditions, especially when our perennials are already stressed and running low on moisture.
The good news is you can get ahead of them. The trick is learning what the early damage looks like, confirming you are dealing with mites (not just heat stress), then combining a gentle knockdown (water and oil sprays) with a few environmental tweaks that make your beds less inviting.
Why spider mites explode in summer heat
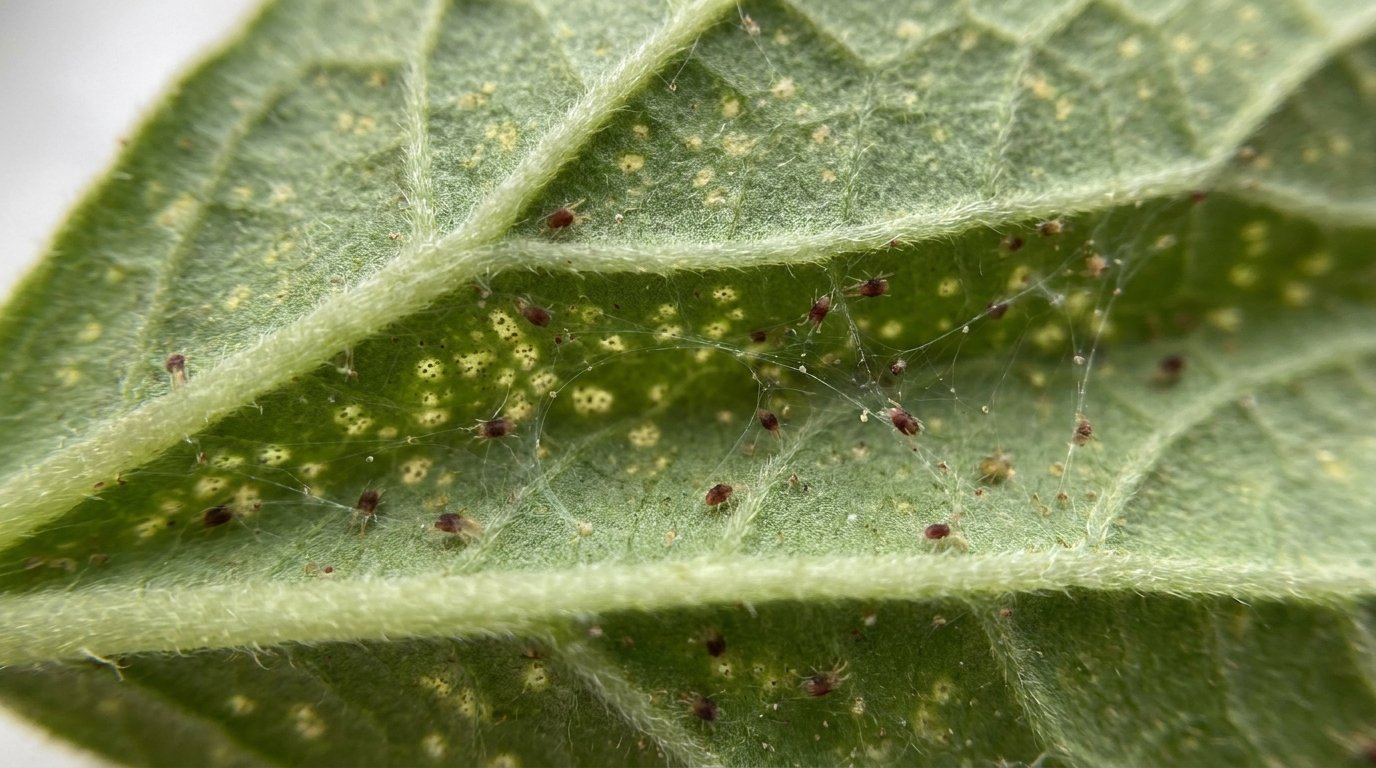
Spider mites are not insects, they are arachnids, more closely related to ticks and spiders. In hot, dry weather, they reproduce quickly, and their feeding style is perfectly designed to make stressed plants look even worse. They pierce leaf cells and suck out the contents, leaving that washed-out, stippled look that can be mistaken for sun scorch at first glance.
In gardens with higher humidity, regular rain, or frequent overhead rinsing, spider mites tend to be less troublesome. They can still show up, but outbreaks are often slower to build than they are in dusty, dry, breezy conditions where predators also struggle to keep up.
Plants that often show damage first
Spider mites will feed on plenty of ornamentals. In my own beds, I most often notice them first on perennials with lots of leaf surface area, plants tucked into reflected heat, and anything in containers that dries out fast.
- Bee balm (Monarda)
- Phlox
- Shasta daisies
- Salvia
- Coreopsis
- Roses (not a perennial, but often nearby and affected)
- Container perennials (dry out faster, get hotter, and mites notice)
And if you also grow veggies or annuals nearby, keep an eye on common mite magnets like beans, cucumbers, squash, marigolds, impatiens, and other thirsty plants that sulk in heat. An outbreak in one corner can easily spill over into another.
How to spot spider mites early
If you wait until you see dramatic webbing, the mites have already been feeding for a while. I try to catch them at the “something looks a little off” stage.
Early signs to look for
- Tiny pale speckles on leaves (called stippling). It is often easiest to see on the upper surface, even though mites feed mostly on the undersides.
- A dull, faded look that does not improve after watering.
- Leaf edges curling or crisping in patches.
- Leaves dropping from the lower or inner parts of the plant.
- Fine dust-like grit on the underside of leaves. It can be mites, shed skins, or plain old dust, which is why I always confirm with a quick test.
The 20-second paper test
This is my favorite quick check when I suspect mites. Hold a sheet of white paper (or a light-colored index card) under a few leaves, then tap or flick the foliage sharply.
- If you see tiny moving dots on the paper, you likely have mites.
- If the dots smear reddish-brown or green when you drag a finger across the paper, that is another clue.
Hand lens check (when you want to be sure)
If you have a cheap hand lens, this is where it shines. Look along the midrib and veins on the underside of a leaf. Spider mites look like tiny moving specks, and you may see translucent eggs.
Spider mites or something else?
Stippling can also come from thrips or leafhoppers. Two quick clues that point toward mites are (1) the dots on the paper test moving like slow dust and (2) fine webbing starting in leaf joints. If you are unsure, use the hand lens and check multiple leaves before you start spraying.
Where to inspect
Spider mites usually cluster on the undersides of leaves first, especially on plants that are sheltered from rain or irrigation splash. Check:
- Lower leaves near the crown
- Inner foliage where air is still
- Plants along hot walls, pavement edges, or gravel paths
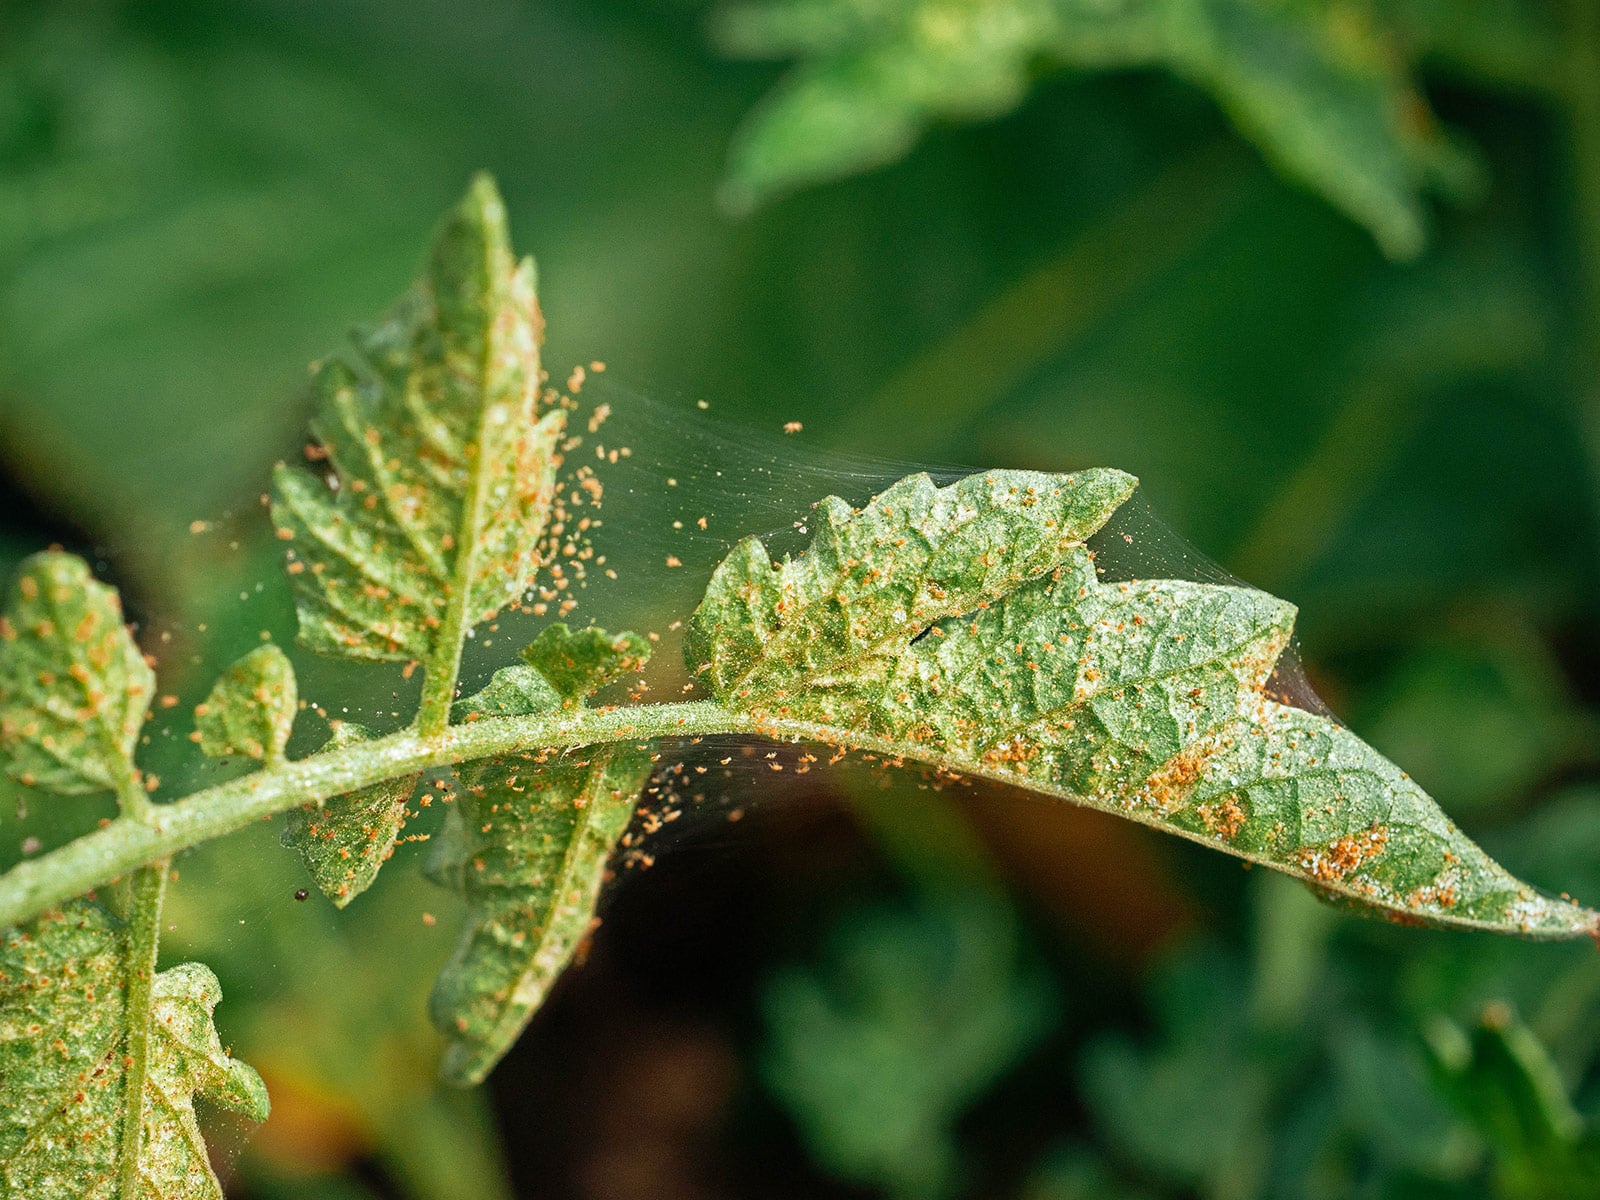
What spider mite webbing looks like
Spider mite webbing is wispy and clingy, like a very fine veil pulled between leaf stems and along leaf undersides. In bright morning light, you may catch it shimmering.
Two common mix-ups:
- Regular spiders make thicker, more obvious webs, usually spanning larger gaps, not hugging the plant like a gauze layer.
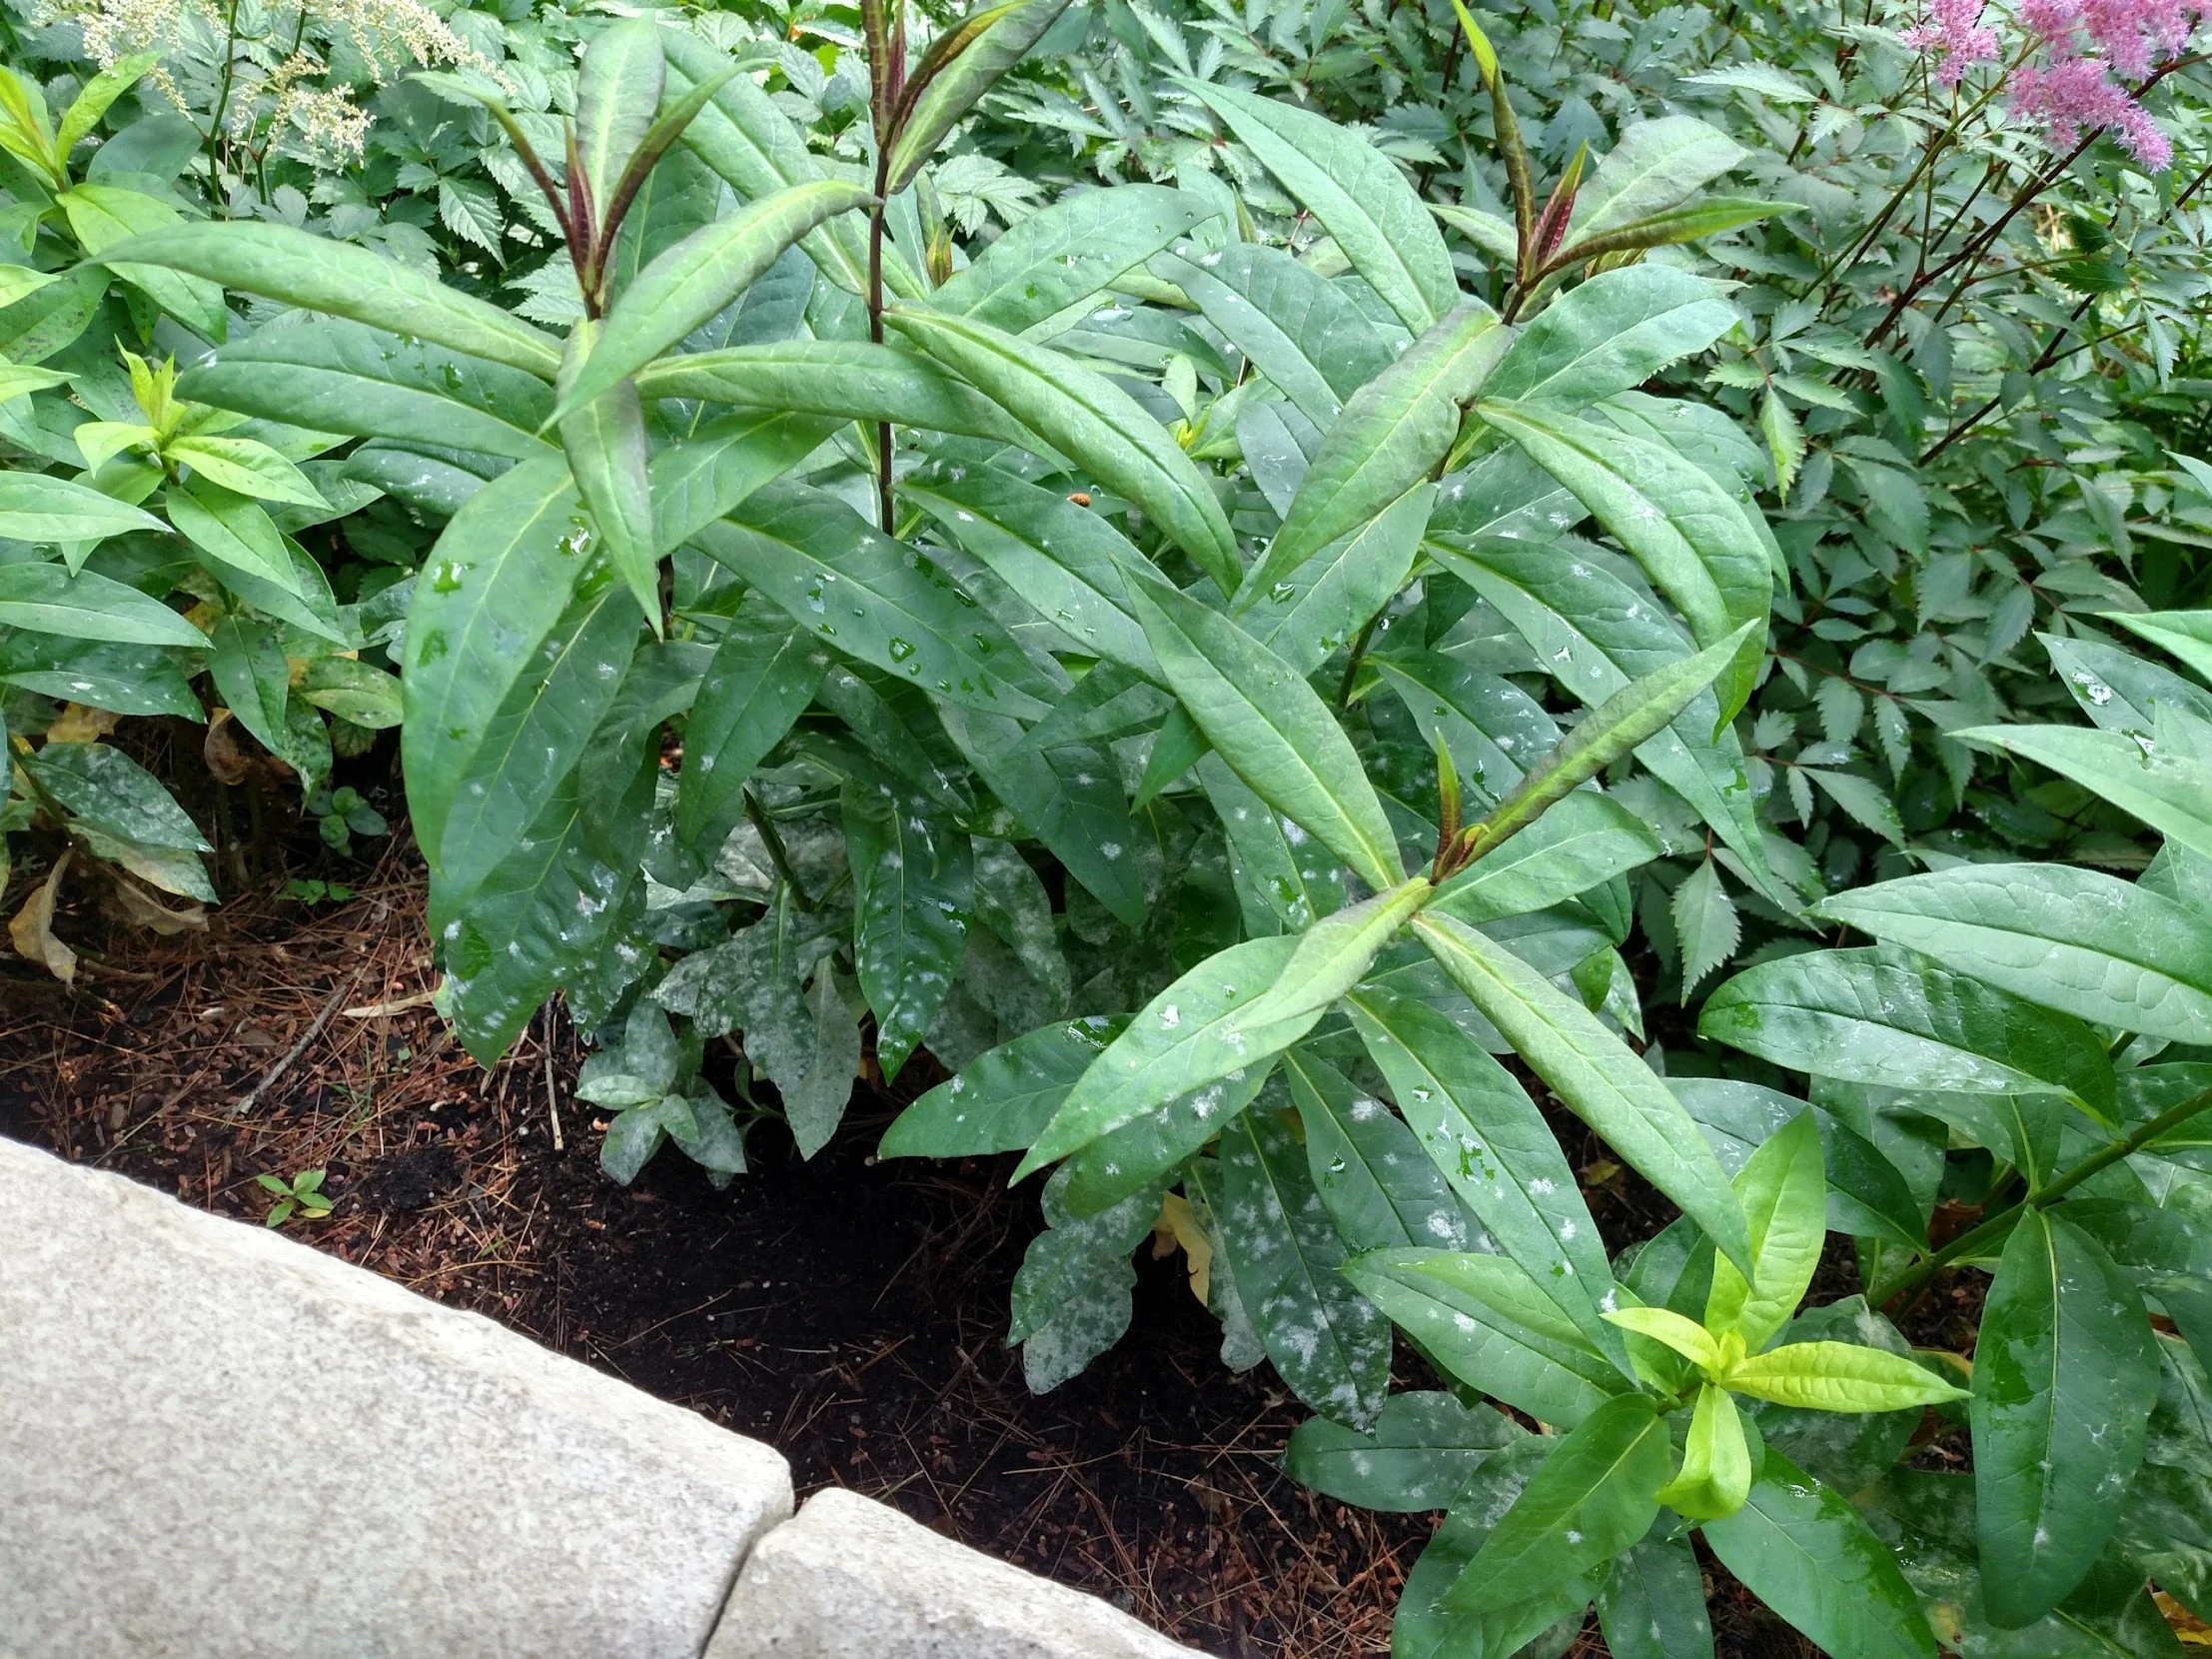
- Powdery mildew looks like flour dusted on the leaf surface, not threads between stems.
Step-by-step: getting rid of spider mites
My most reliable approach is a simple sequence: reduce the population quickly, then make the plant harder to re-infest. You do not have to do everything on this list to see improvement, but combining two or three tactics works far better than relying on a single spray.
Step 1: Isolate the hot spots
If only one clump is heavily infested, keep your tools and hands mindful as you move around. Spider mites can hitch a ride on clothing, gloves, and pruners.
- Start your garden chores in clean areas first, then deal with infested beds last.
- If you are deadheading, toss mite-heavy trimmings into the trash. If your compost pile does not reliably get hot, do not count on it to kill pests.
Step 2: Rinse the plant hard, especially the undersides
Before you spray anything, use a strong stream of water to physically knock mites off. This alone can significantly reduce numbers, and it helps your oil spray contact what is left.
- Spray early in the morning so foliage can dry.
- Aim at the underside of leaves, not just the top.
- Repeat every couple of days during a flare-up.
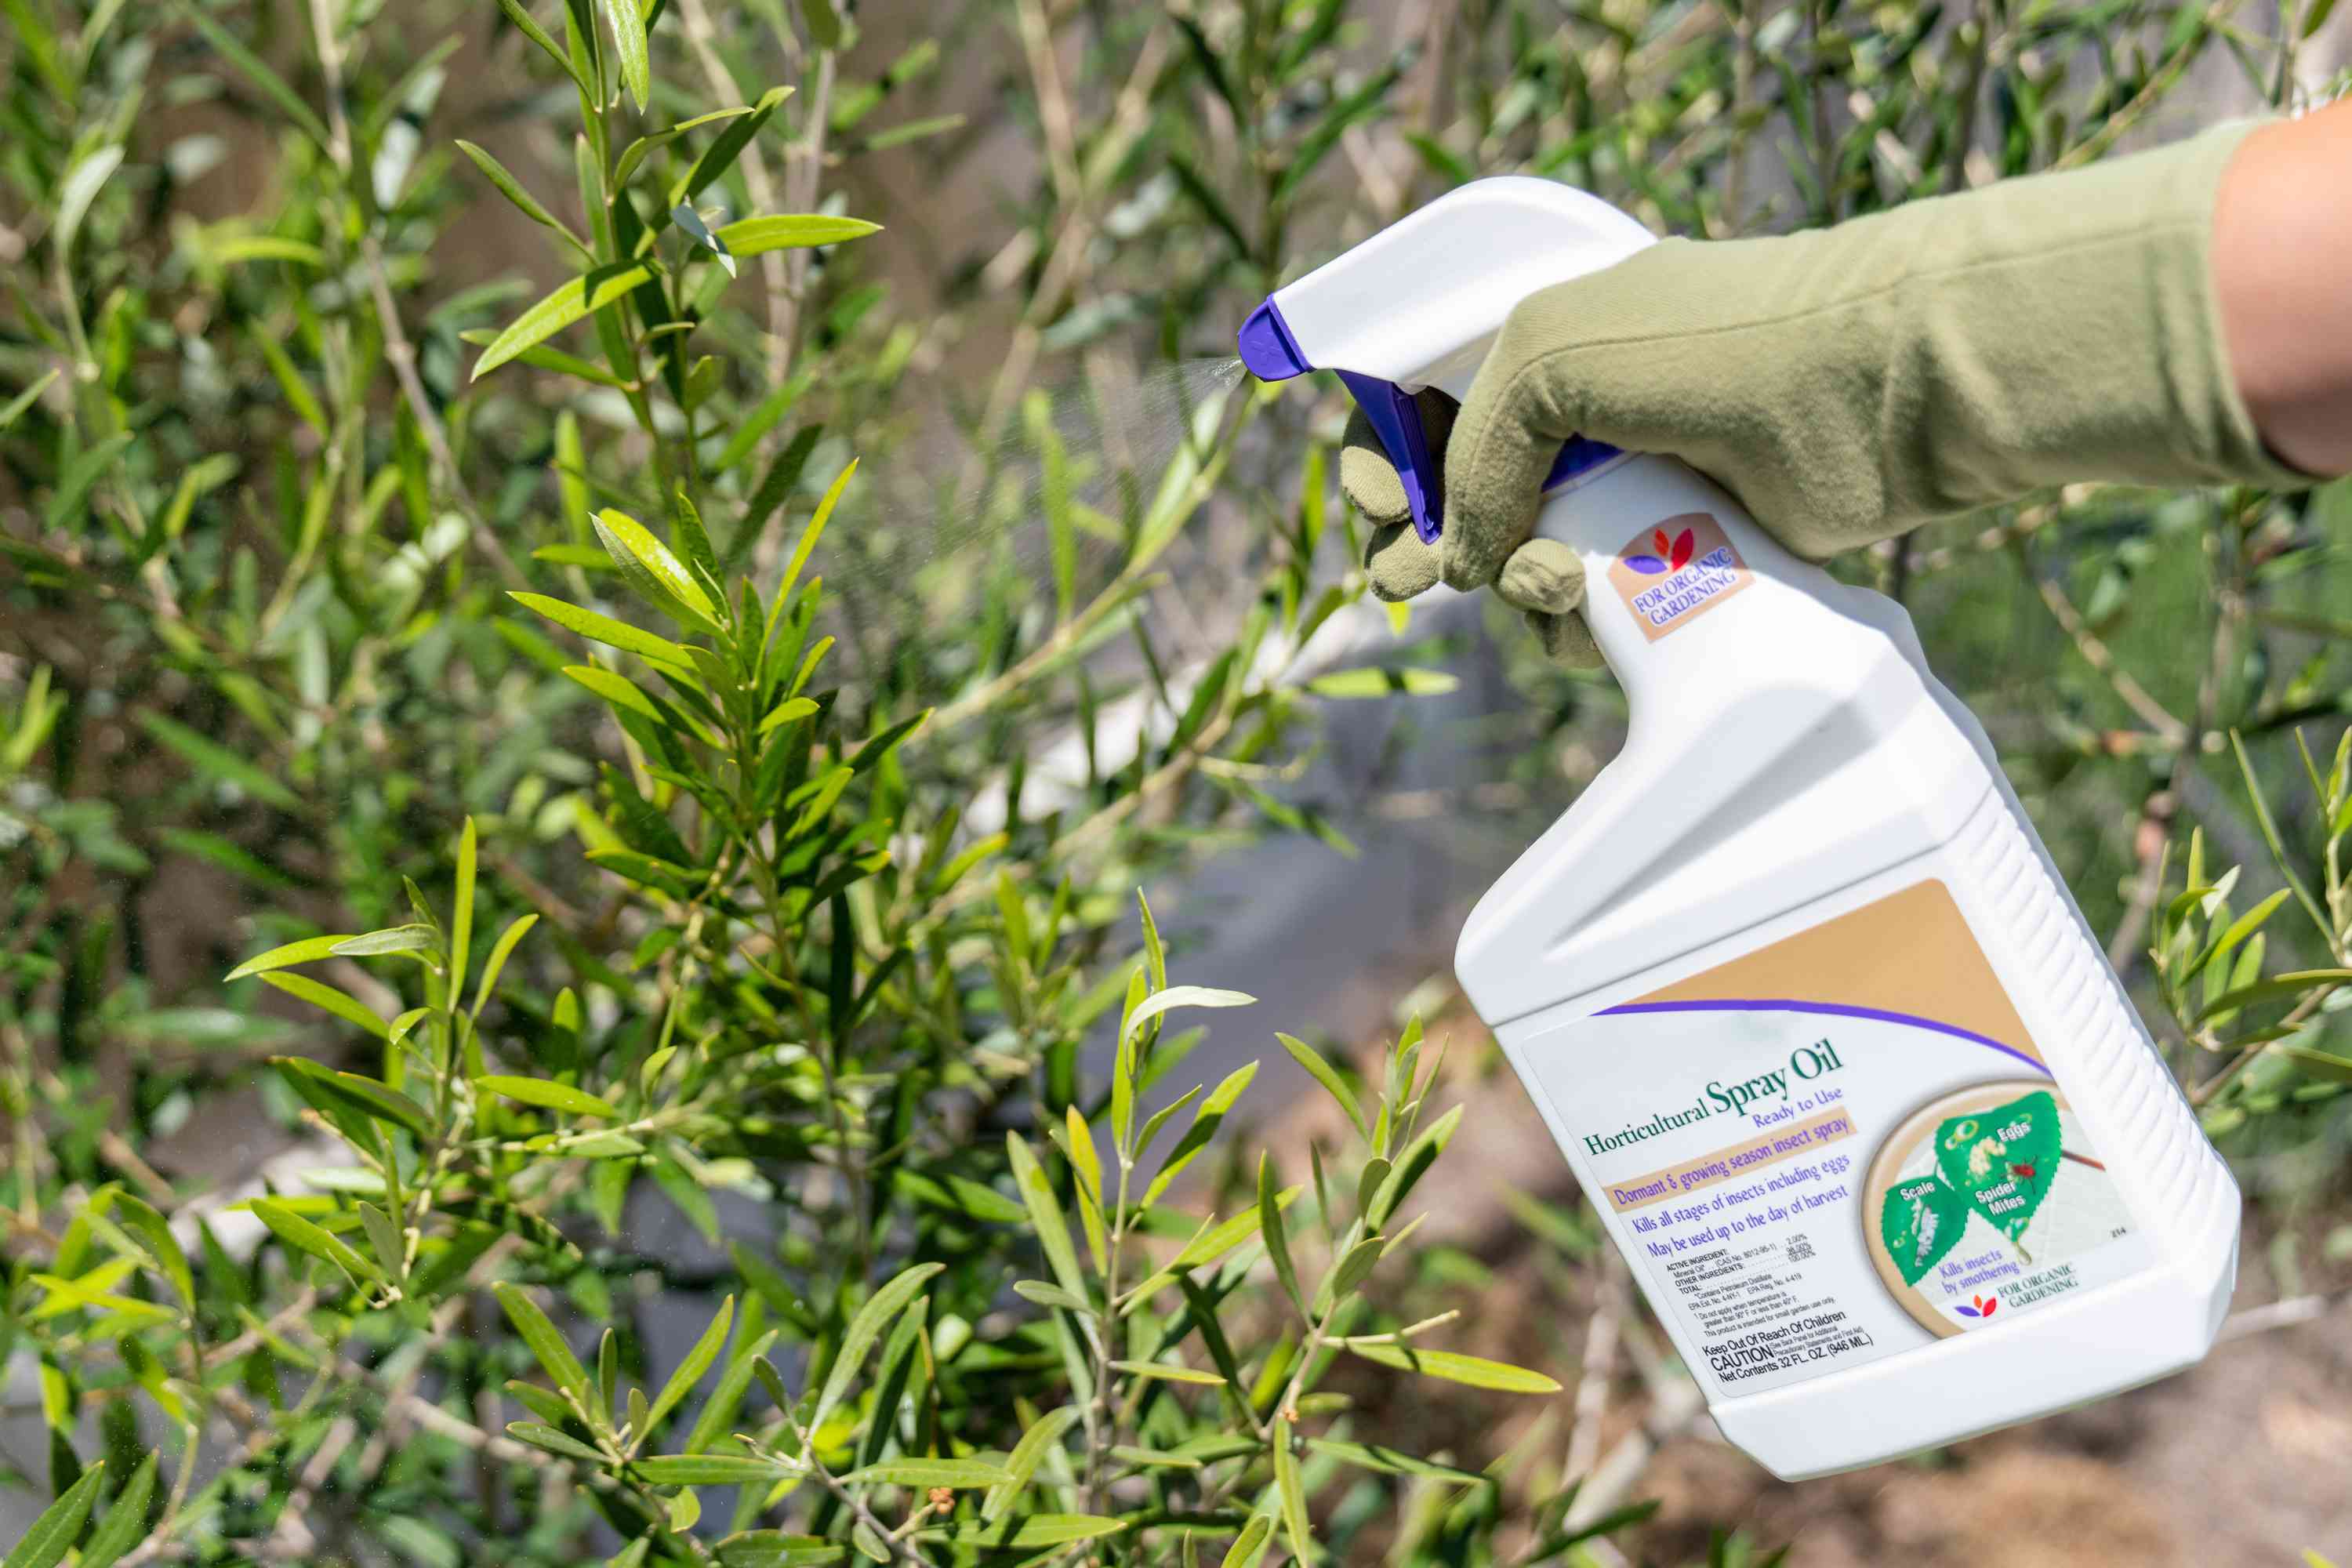
Step 3: Use horticultural oil (the right way)
Horticultural oils work by coating mites and interfering with gas exchange. They can be very effective in perennial beds when used with care.
What to use
- Horticultural oil (often sold as “horticultural oil” or “all-season oil”)
- Neem oil can work too, but in very hot weather it can be trickier to use without stressing leaves. If you have plain horticultural oil available, that is my first choice for mid-summer outbreaks.
- Insecticidal soap (labeled for mites) can also help, especially if you cannot use oil due to temperature or plant sensitivity.
How to apply for spider mites
- Read the label and mix at the labeled rate for mites.
- Cover thoroughly, especially leaf undersides and stem joints where webbing starts.
- Spray in the cooler part of the day, ideally morning or early evening.
- Repeat based on the label interval, often every 7 to 10 days, for 2 to 3 rounds. If pressure is high, some products allow shorter intervals, but the label is the rulebook.
Temperature and drought cautions (important)
Oils and soaps can cause leaf burn when plants are stressed or when temperatures are high.
- Avoid spraying when it is very hot (many labels warn against application above about 85 to 90°F).
- Do not spray a plant that is wilted. Water it the day before and let it recover.
- Test spray a small section first if you are unsure how a particular perennial reacts.
Pollinator and beneficial safety
Oils and soaps can harm soft-bodied beneficials on contact too. Spray when pollinators are not active, avoid spraying open blooms when you can, and follow label directions closely.
Step 4: Prune the worst foliage (when it makes sense)
On some perennials, removing the most damaged leaves can help you reset the plant and reduce the mite load quickly.
- For plants like bee balm or phlox, selective thinning improves airflow and removes heavily webbed stems.
- For plants that rebound well after a haircut, you can cut back by a third, then keep up with rinsing and sprays as fresh growth appears.
Environmental management
Spider mite control is not just about what you spray. It is also about what kind of summer conditions you are creating around your plants. Mites love heat, dryness, and dusty foliage. We can work with that.
Water for the plant, not the mite
You do not need to keep everything soggy. But consistent deep watering reduces stress and makes perennials less vulnerable.
- Water deeply rather than sprinkling lightly every day.
- Morning watering is best for disease prevention.
- Soaker hoses or drip keep roots steady without constantly wetting leaves, while targeted rinses during outbreaks handle mite knockdown.
Mulch like you mean it
A 2 to 3 inch layer of organic mulch (shredded bark, leaf mold, composted fines) helps keep soil temperatures down and moisture in, which reduces that drought-stress spiral.
- Keep mulch a couple inches away from crowns to prevent rot.
- Refresh thin spots mid-summer if soil is baking.
Reduce dust
This is an underrated one. Dusty leaves are mite heaven.
- If your beds border gravel drives or dusty paths, rinse foliage occasionally during dry spells.
- Mulch pathways or use a groundcover to cut down on airborne dust.
Encourage natural predators
Predatory mites, lacewings, lady beetles, and minute pirate bugs all help. Broad-spectrum insecticides can wipe out these allies, leaving spider mites with a clear runway.
- Avoid routine insecticide spraying.
- Let a little diversity happen in your garden. Mixed plantings support beneficial insects better than single-variety blocks.
What not to do
- Spraying only the tops of leaves. Mites are mostly underneath. If you are not getting coverage under the foliage, you are missing most of them.
- Spraying in midday heat. This is where oil burn and extra stress happen.
- Using a harsh insecticide and calling it done. Many common insecticides do not control mites well, and some can trigger worse outbreaks by killing predators.
- Assuming webbing means it is too late. It is not. It just means you should start today and plan on repeat treatments.
When to escalate
If you have repeated outbreaks, heavy webbing across multiple plants, or a valuable plant that is declining fast, it is worth stepping up your response.
- Double-check the diagnosis with the paper test or a hand lens.
- Use a labeled product intended for mites (not just general insects). Insecticidal soap or horticultural oil is often enough, but severe infestations may require a miticide labeled for ornamentals.
- Be cautious with broad-spectrum sprays, especially pyrethroids. They can knock back predators and make mite problems worse.
- Consider local extension advice for plant-specific options and timing in your region.
Quick plan for a typical outbreak
If you are staring at stippled leaves right now and you want a simple action plan, here is what I would do in my own beds.
- Morning: Rinse plants thoroughly, focusing on leaf undersides.
- Evening or next cool morning: Spray horticultural oil (or insecticidal soap), covering undersides well.
- Days 2 to 5: Keep the plant watered at the root zone so it is not fighting drought and mites at the same time.
- Day 7 to 10: Repeat per label.
- Ongoing: Mulch, reduce dust, and check nearby plants so the outbreak does not hop around the bed.
FAQ
Will spider mites kill my perennials?
Heavy infestations can absolutely weaken plants, reduce blooms, and cause leaf drop. Most established perennials recover if you lower the mite population and relieve drought stress. Young plants and container perennials are at greater risk.
Do I need to remove the whole plant?
Usually, no. I only remove a plant when it is severely stressed, repeatedly reinfested, and acting like a mite magnet for everything around it. In most cases, pruning plus repeat sprays is enough.
Can I use dish soap as a spray?
I do not recommend DIY dish soap mixes on perennials. Some soaps and detergents can damage leaf waxes and cause burn, especially in heat. If you want a soap-based option, use an insecticidal soap labeled for plants and follow the temperature cautions on the label.
How long does it take to see improvement?
You may see mites drop quickly after a strong rinse and the first spray, but visible leaf damage does not reverse. Look for improvement in new growth over the next couple of weeks: greener leaves, less stippling, and no fresh webbing.
Can spider mites overwinter in the garden?
Some species can overwinter as eggs or adults in plant debris and protected areas. Fall cleanup helps, but the biggest driver of summer outbreaks is still hot, dry weather plus stressed plants.
A gentle reminder from one sweaty gardener to another
When summers are brutal, it is easy to feel like you are failing your plants. You are not. Spider mites show up when weather conditions tip in their favor, and even very experienced gardeners deal with them.
Stay calm, start with a good rinse, then follow up with horticultural oil or insecticidal soap when temperatures cooperate. Pair that with mulch and consistent watering, and your perennials have an excellent chance of bouncing back and putting on a second act later in the season.