
Bare-root perennials look a little spooky the first time you open the package. No soil, no leaves, just a knobby crown with strings of roots. I promise they are not dead. They are simply dormant, and once you plant them correctly, many will wake up quickly and grow with surprising vigor.
Over the years, I have learned that bare-root success comes down to three things: a sensible soak, correct crown placement, and gentle early care that encourages rooting without drowning the plant. Let’s walk through it together.
What bare-root perennials are (and why they ship this way)
A bare-root perennial is a dormant plant shipped without soil. Growers lift it from the field while it is resting, trim it, and send it while it is lightweight and resilient. That often means:
- Less stress in shipping and handling than a leafy potted plant, especially in heat
- Lower shipping cost and often a better variety selection
- Fast root establishment once planted into your garden soil
Common bare-root perennials include daylilies, hostas, peonies, astilbe, bleeding heart, hardy geranium, coneflower, and many ornamental grasses.
Before you start: timing and a quick inspection
Best time to plant
Plant bare-root perennials in cool, workable weather, usually early spring or fall. If your order arrives and the ground is frozen or waterlogged, you can hold the plants briefly (more on that below) rather than forcing a bad planting day.
Unpack and check the plant
Open your box right away. Healthy bare roots usually look tan to brown and feel firm. A little dryness is normal. You want to be cautious about plants that are:
- Mushy or foul-smelling at the crown
- Completely hollow or snapping like brittle straw
- Coated in fuzzy mold that keeps spreading after a rinse
Do not panic over dark roots. Many species have naturally darker roots. Focus on firmness at the crown and any visible buds or growing points.
Also, a light surface mold from packing material is not always a dealbreaker. I have had plants arrive with a bit of harmless fuzz. A gentle rinse, a wipe with a paper towel, and good airflow while you prep the bed can be enough.
Soaking bare roots: how long is right?
Think of soaking as rehydrating, not marinating. The goal is to plump up the roots so they can make good contact with soil.
My simple soaking rule
Supplier instructions come first, because some genera and some growers have very specific preferences.
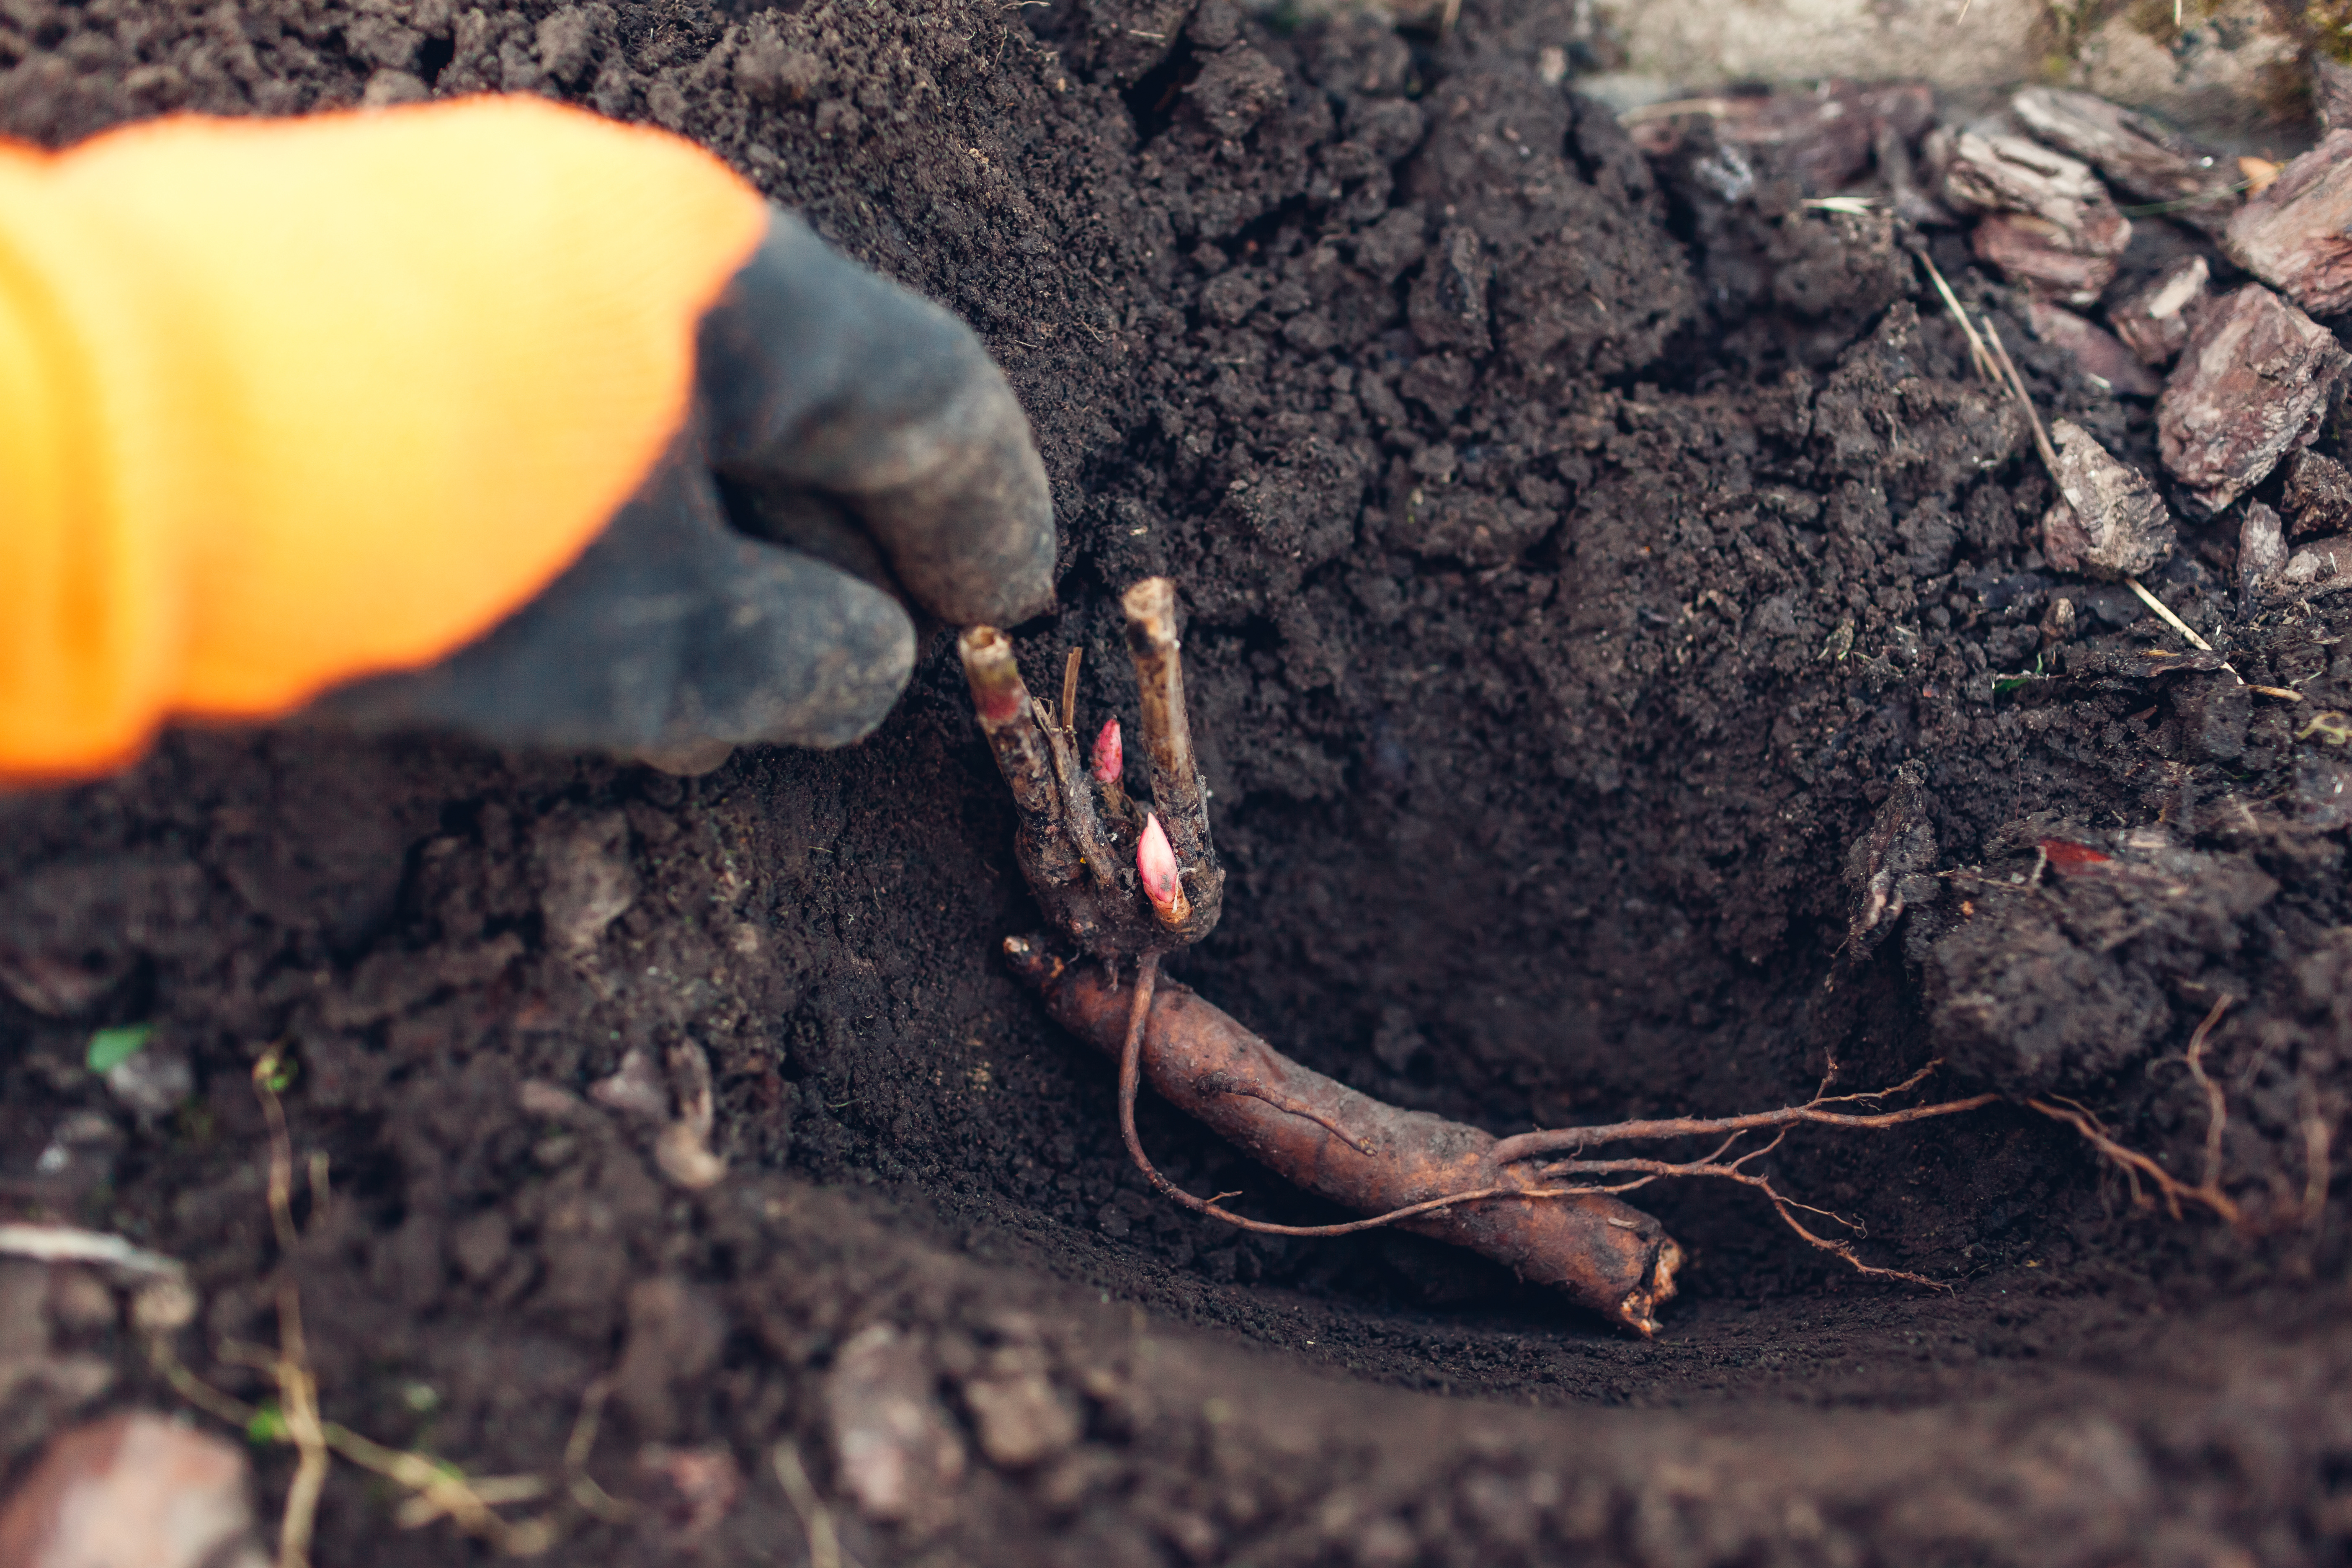
- Most bare-root perennials: soak in clean water for 30 minutes to 2 hours.
- Very dry, shriveled roots: you can soak up to 4 hours if needed.
- Avoid overnight soaking unless the seller specifically instructs it. Over-soaking can reduce oxygen around tissues and invite rot in some plants.
If you like using a bucket, keep the crown above the waterline when possible, especially for plants with thick crowns. I often set the crown on the rim of the bucket and let the roots dangle into the water.
Crown placement: the make-or-break detail
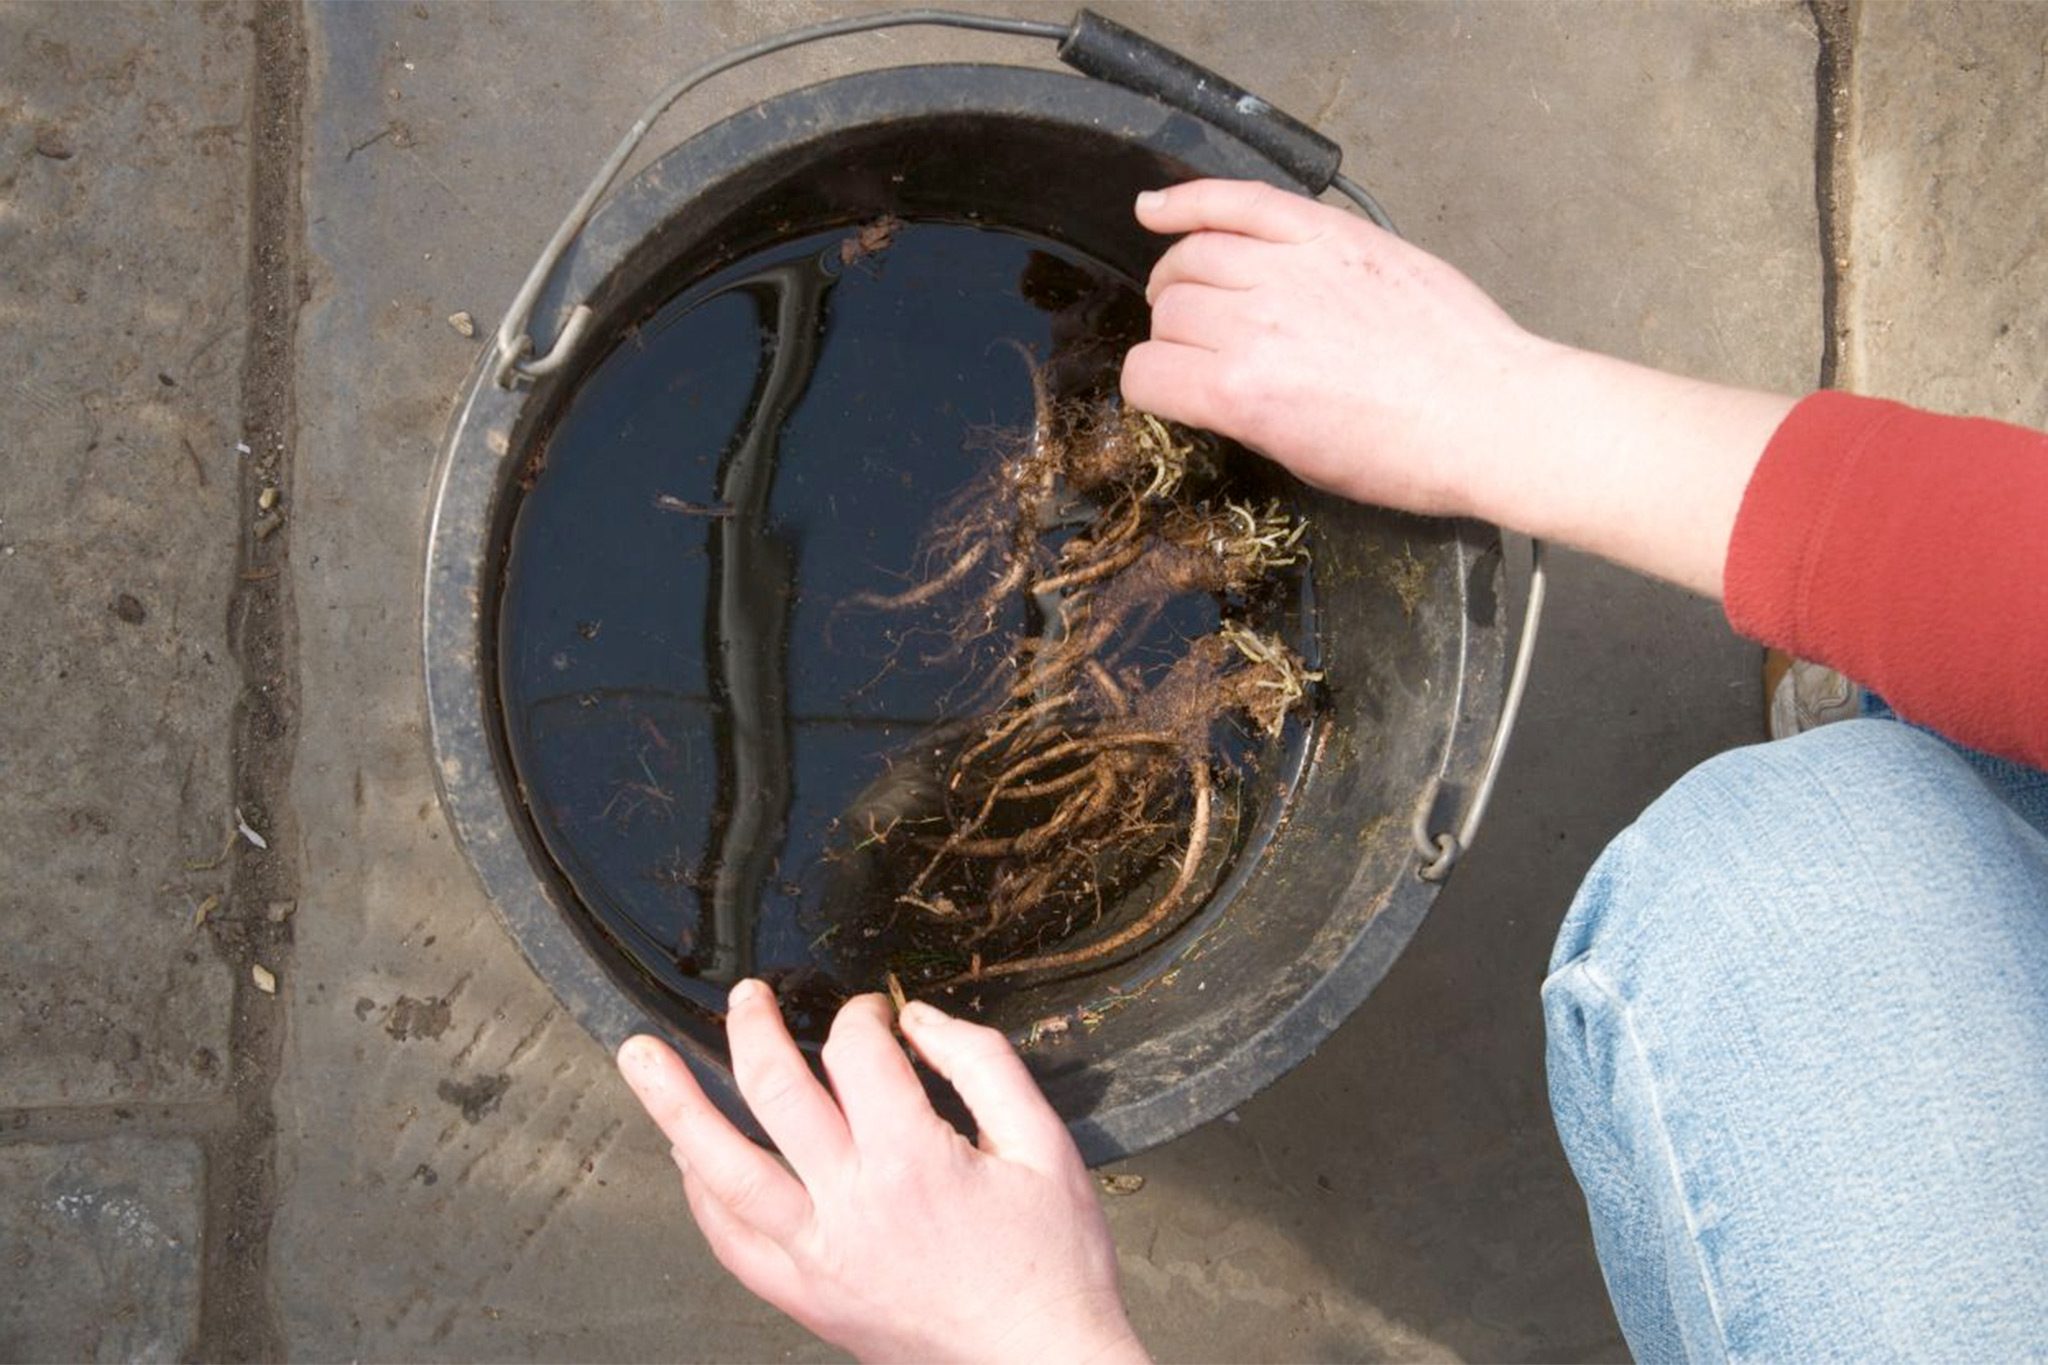
The crown is the transition point where roots meet stems or buds. Planting depth is not just a detail with bare roots. It is the difference between a plant that thrives and one that sulks or rots.
How to find the crown
Look for the chunky, knobby section with buds, eyes, or small pinkish nubs. The true roots extend below that point.
General depth guidelines
Use these as a starting point, then adjust for the specific plant you are holding. When in doubt, check the tag or supplier directions.
- Many clump-forming perennials (hosta, daylily, coneflower): set the crown so buds sit at soil level to about 1 inch below.
- Plants that hate being buried (and rot easily): keep the crown right at soil level.
- Peonies: keep the eyes shallow, typically around 1 to 2 inches below soil in colder climates. Too deep can mean leafy growth but few or no blooms.
Common exceptions to know
- Bearded iris: plant the rhizome very shallow, with the top of the rhizome at or slightly above the soil surface. Burying it is a classic reason for rot and no blooms.
- Oriental poppy and some taprooted types: plant the crown shallow and avoid sinking it into heavy, wet soil.
- Ornamental grasses: generally plant the crown at soil level, but follow the label if it specifies otherwise.
If you are unsure, err on the shallow side. You can always add a light topdressing later. Digging up and correcting a too-deep crown after rot begins is much harder.
A quick note about crown rot
Crown rot is most often a combination of deep planting plus wet conditions. Keeping the crown at the right height, using well-draining soil, and watering thoughtfully are your best defenses.
Step-by-step: planting bare-root perennials
This is the method I use for almost every bare-root perennial in my own beds.
- Pick the right spot. Match sun and moisture needs now, while the plant is small. Most flowering perennials prefer at least half-day sun, but there are many wonderful shade lovers too.
- Check spacing. Planting too close causes crowding, mildew, and weaker flowering later. If your plant tag lists a mature width, use it. If you have no tag, a safe rule is to give most medium perennials 18 to 24 inches and larger ones more room, then adjust as you learn the plant.
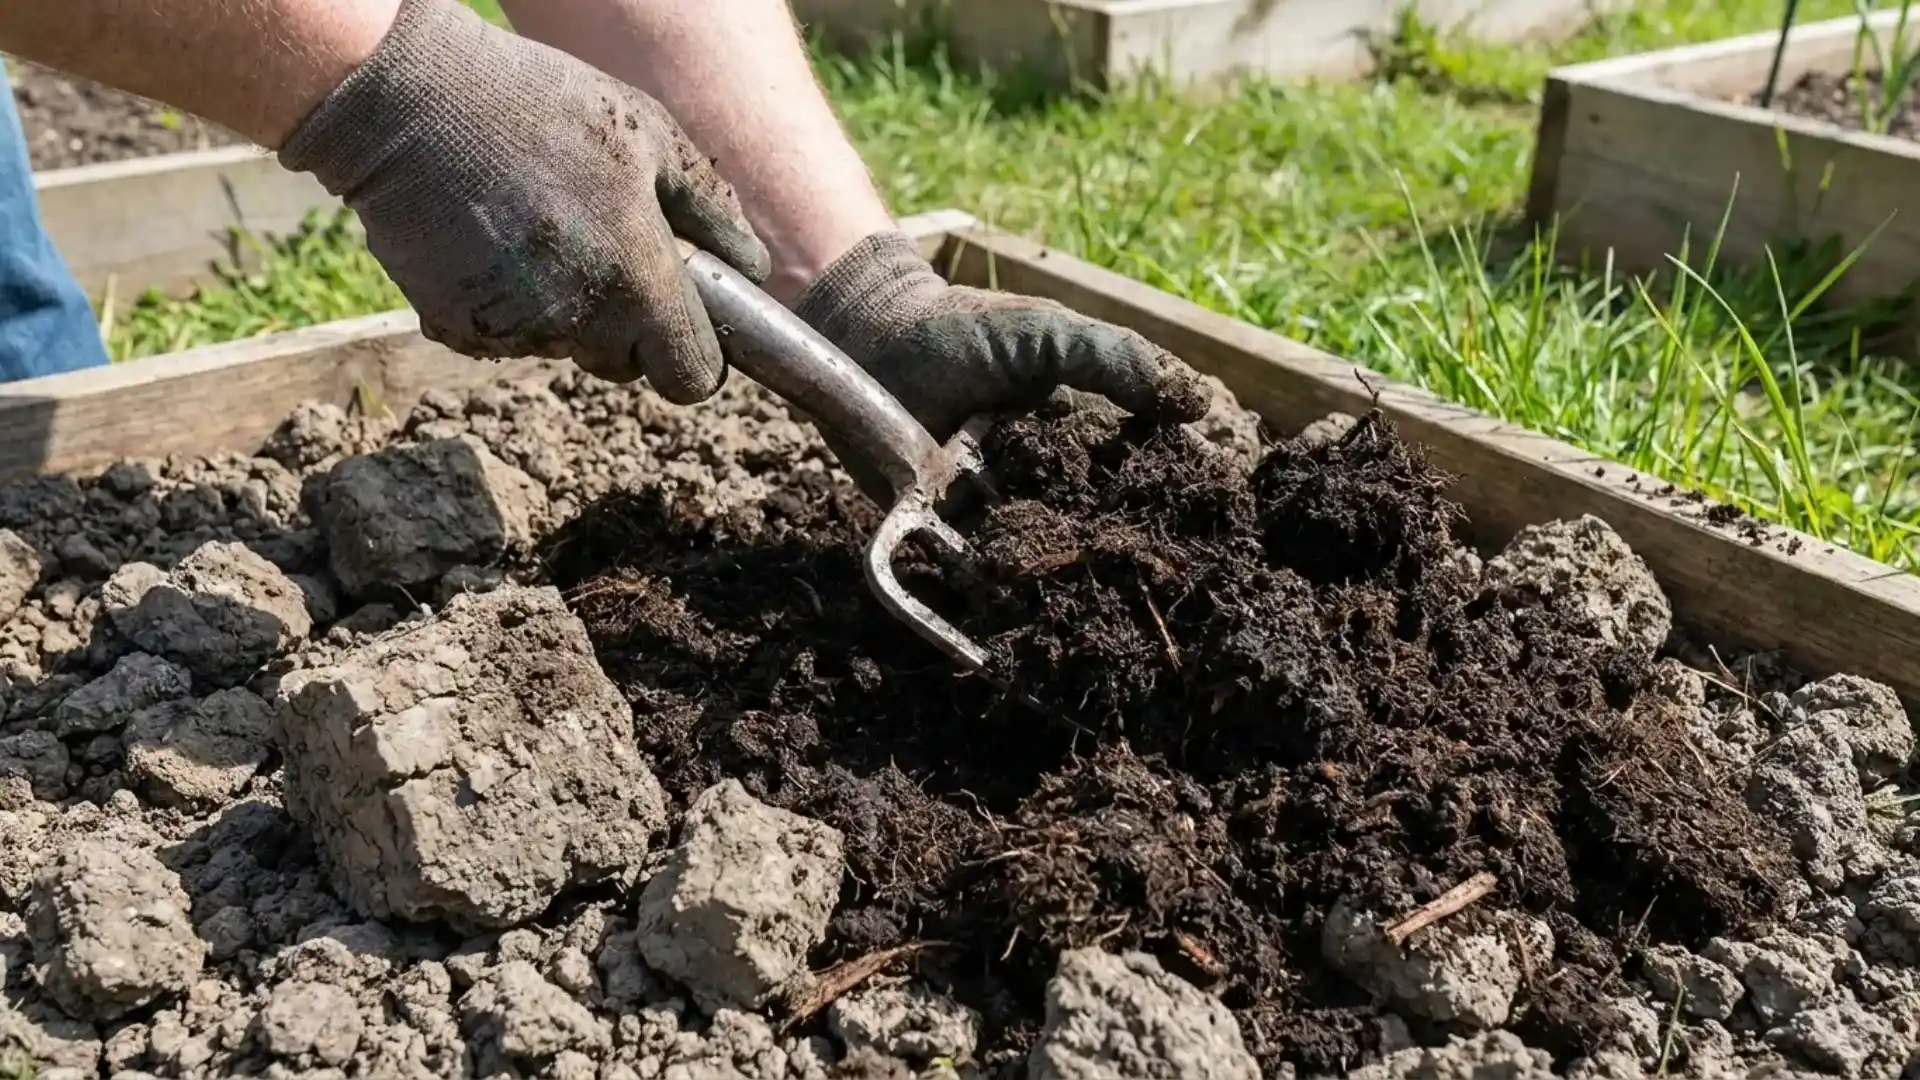
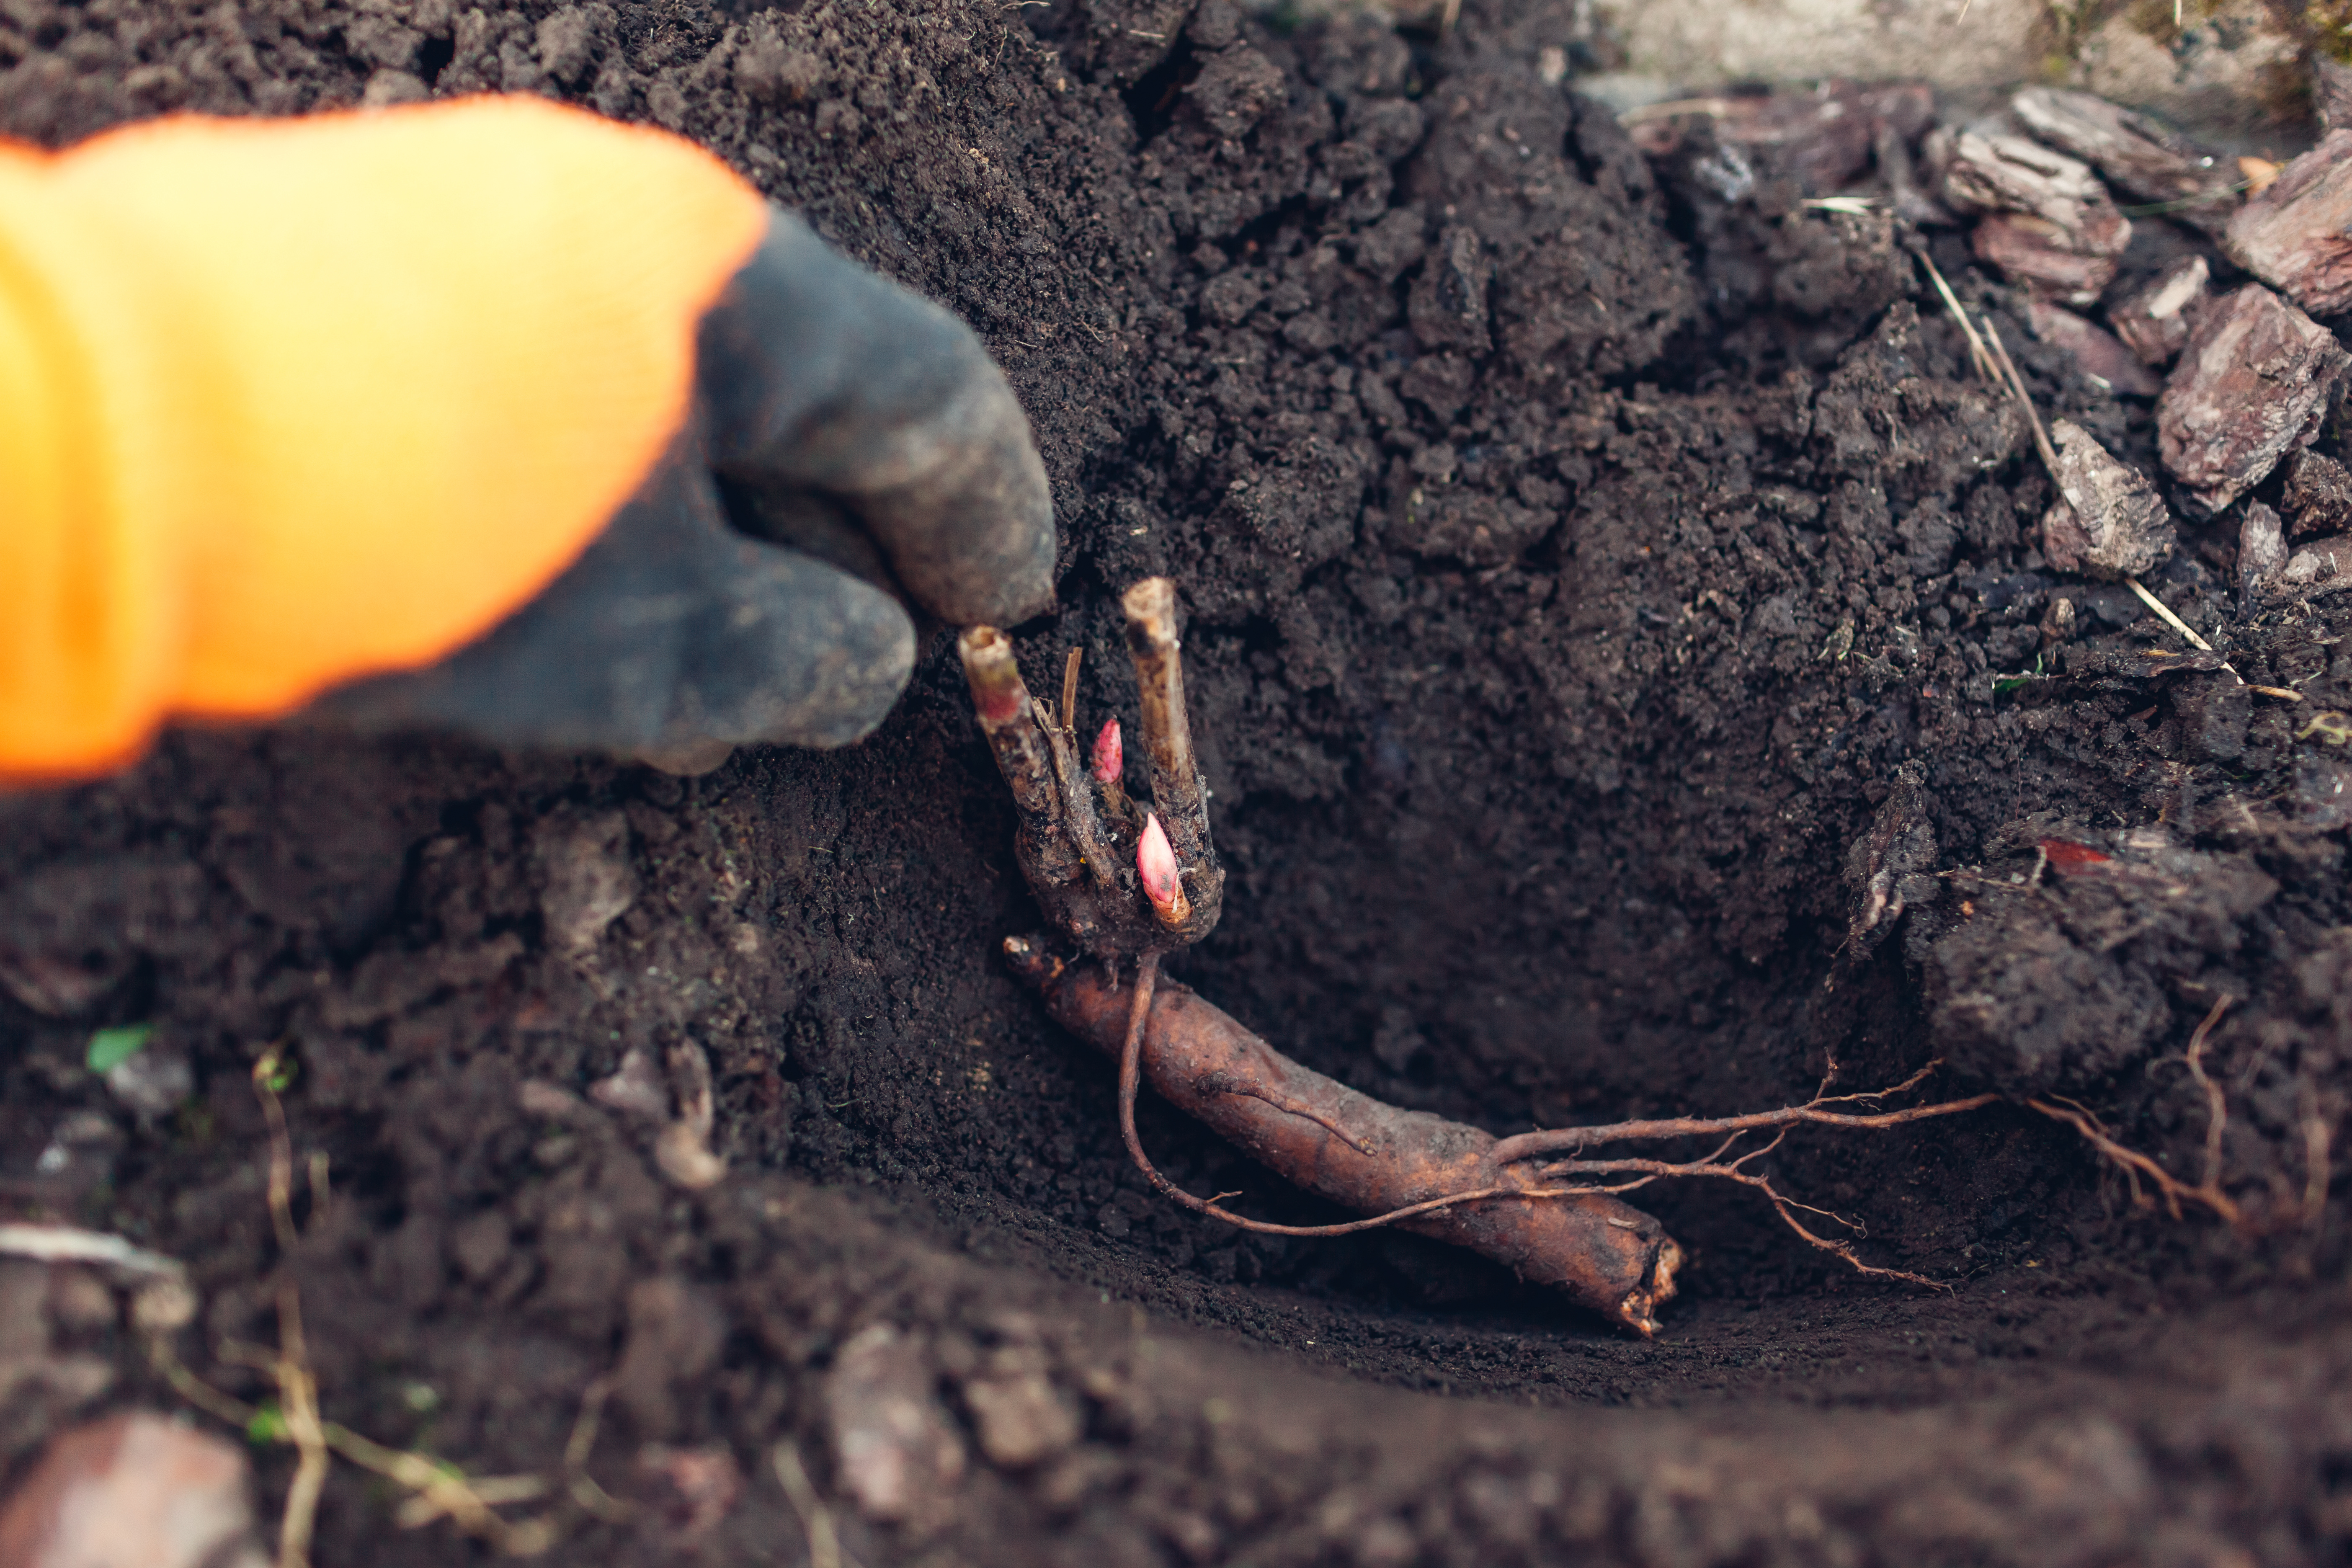
- Dig a wide hole. Aim for a hole wide enough to spread roots without bending them sharply. Depth depends on crown placement, not root length.
- Loosen the bottom of the hole. Break up compacted soil so roots can grow down and out.
- Make a small mound in the center. This helps you drape roots naturally downward.
- Set the crown at the correct height. Hold it in place while you fan roots over the mound.
- Backfill gently. Work soil in around the roots with your fingers. You want good soil contact without packing it into a brick.
- Water thoroughly. This settles soil around the roots and removes air pockets.
- Mulch lightly. Keep mulch pulled back from the crown by an inch or two. Mulch piled against the crown can trap moisture right where rot begins.
Watering after planting: steady, not soggy
Freshly planted bare roots need consistent moisture while they establish, but they also need oxygen in the soil. Here is the balance I aim for:
The first two weeks
- Check moisture every day or two.
- Water when the top couple inches of soil are dry.
- Water deeply enough to moisten the root zone, then let the soil breathe.
Weeks three through eight
- Water about once a week in average spring conditions.
- Increase during warm spells or windy weather that dries beds quickly.
In heavy clay or rainy periods, do less. If water sits in the planting area for hours after rainfall, consider planting on a slight mound or improving drainage before you lose plants to rot.
Early care: what helps (and what hurts) in year one
Skip heavy feeding at planting
I know it is tempting to “give it a boost,” but strong fertilizers in the hole, especially high-salt synthetic types, can burn new roots or push top growth before the plant is anchored. If your soil is decent, most bare-root perennials do best with:
- Compost mixed into the top few inches of soil, if you have it
- A light, slow-release feeding later, once you see active growth
Stake expectations
Many bare-root perennials are slow to show themselves. Some pop up in two weeks. Others take a full month or more, especially if spring is cold. Hostas, for example, can be maddeningly slow in a chilly spring, then suddenly appear almost overnight once soil warms. Mark the planting spot so you do not accidentally dig it up thinking nothing is there.
Protect from late frost and sudden heat
New shoots can be tender. If a surprise freeze is coming, a light covering overnight (like a clean bucket turned upside down) can help. If you get an early heat wave, shade cloth for a few afternoons can prevent stress while roots are still forming.
Keep weeds away
Weeds steal moisture and nutrients, and newly planted bare roots do not like competition. A tidy ring of weed-free soil around the plant makes a bigger difference than most people expect.
If you cannot plant right away
Sometimes life happens, or the weather refuses to cooperate. Most bare-root perennials can be held for a short time if you keep them cool and slightly moist.
Holding for a few days
- Keep them in their packaging or wrap roots in slightly damp paper.
- Store in a cool spot out of sun, like a garage, basement, or refrigerator.
- Do not let roots dry to a crisp, and do not leave them sitting in water.
Heeling in as a temporary solution
If you need more time, heel them in by planting them temporarily in loose soil or pots, just deep enough to cover roots while keeping the crown at a sensible level. This buys you a week or two until your garden bed is ready.
Troubleshooting common bare-root problems
“My bare root has no visible buds.”
Many perennials hide their growing points until warmth arrives. Plant it at the correct crown depth, keep the soil evenly moist, and give it time. If nothing happens after 6 to 8 weeks of good conditions, gently check for firm tissue at the crown.
“The roots are tangled or too long.”
Tease them apart if you can. If a few roots are extremely long and would have to be sharply bent, you can trim a little to fit the hole. A clean snip is better than cramming roots into a tight knot.
“The crown is soft after planting.”
Soft, collapsing crowns usually point to rot. Check drainage, reduce watering, and make sure mulch and soil are not covering the crown. In some cases, lifting and replanting higher in drier soil can save a plant if caught early.
“Leaves appeared, then flopped over.”
This can happen if the top grows faster than roots can support it, especially in warm spells. Provide consistent moisture, temporary shade, and avoid fertilizing until the plant stabilizes.
Quick reference: bare-root planting checklist
- Unpack immediately and keep roots cool
- Follow supplier instructions first
- Soak roots 30 minutes to 2 hours (longer only if very dry)
- Dig a wide hole and make a small mound
- Spread roots downward and outward
- Place crown at soil level (or slightly below, unless the plant is an exception like bearded iris)
- Space plants based on mature size
- Water deeply, then water steadily without keeping soil soggy
- Mulch lightly, pulled back from the crown
- Mark the spot and be patient
FAQ
Should I add bone meal or fertilizer to the hole?
I avoid strong fertilizers directly in the planting hole because they can burn new roots or encourage top growth before the plant is anchored. If you want to enrich, mix a little compost into the surrounding soil instead, then consider a gentle feeding once you see active growth.
Is it normal for bare-root perennials to take weeks to emerge?
Yes. Dormant plants wake up on their own schedule, and cool soil slows everything down. As long as the crown stays firm and you keep moisture consistent, patience is often the best “treatment.”
How do I know if I planted the crown too deep?
If the crown is buried under several inches of soil or mulch, that is usually too deep. Slow emergence, yellowing, and a crown that stays wet can all be warning signs. When in doubt, gently scrape back soil until the crown is closer to grade.
Can I plant bare roots in containers?
Absolutely. Choose a pot with drainage holes, use a quality potting mix, and pay close attention to watering. Container soil dries faster than garden beds, especially in wind.
If you take nothing else from this guide, remember this: keep the crown at the right height and do not overwater. Those two habits will carry you a long way, and they turn that odd little bundle of roots into a returning, blooming friend.