
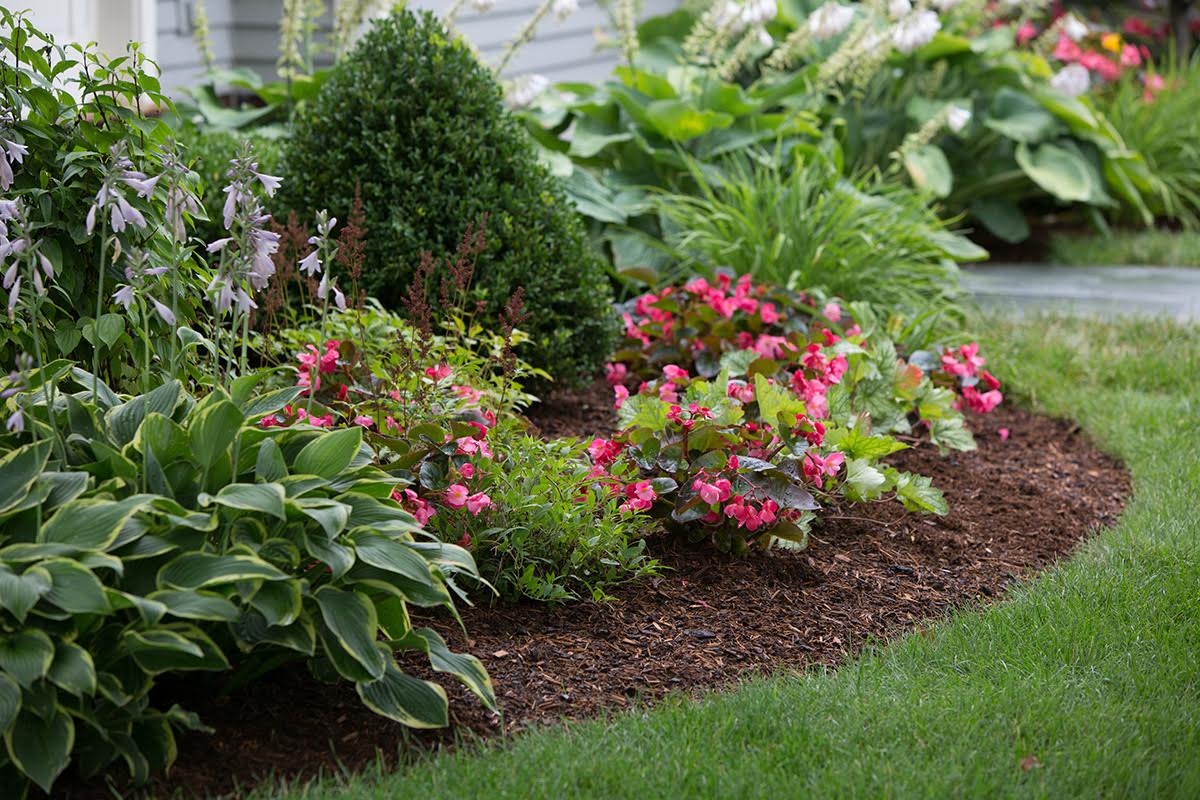
Weeds in a perennial bed feel personal, don’t they? You spend years building a planting that finally looks full and settled, and then a patch of crabgrass or a sneaky vine pops up right in the crown of your favorite plant. The good news is you can get a lot of control without digging deep or playing tug-of-war with delicate roots. The trick is knowing when to pull, when to cut, and how to use mulch like steady help instead of a smothering layer.
Know your weeds
Not all weeds behave the same, and your removal method should match the weed’s personality. In perennial beds, I sort weeds into three practical groups:
- Seedling weeds (tiny sprouts): easy wins. Remove early, and you prevent hundreds later.
- Taproot weeds (dandelion, dock): one main root that needs a clean pull or a careful pry.
- Spreading weeds (creeping Charlie, bindweed, Bermuda grass in warm regions): these spread by runners, rhizomes, or both. Yanking can snap pieces that regrow, so you often combine cutting, targeted pulling, and persistence.
If you only take one thing from this guide, let it be this: in established perennial beds, shallow and frequent beats deep and dramatic.
Hand-weed safely
Perennial roots tend to live right where weeds love to hide: in that top several inches of soil where moisture, oxygen, and organic matter hang out. Here are removal methods that keep disturbance low.
Weed after a soak
Plan weeding after a good rain or a deep watering. Moist soil releases roots more cleanly, which means less tugging and less accidental loosening of the perennials nearby. If the surface is crusty-dry, I wait or water first and come back later.
Use the pinch-and-wiggle pull
For small weeds, pinch low at the soil line and pull slowly while wiggling side-to-side. That little wiggle breaks the soil’s grip so you do not yank up a chunk of soil or a neighboring perennial’s shallow feeder roots.
Loosen taproots first
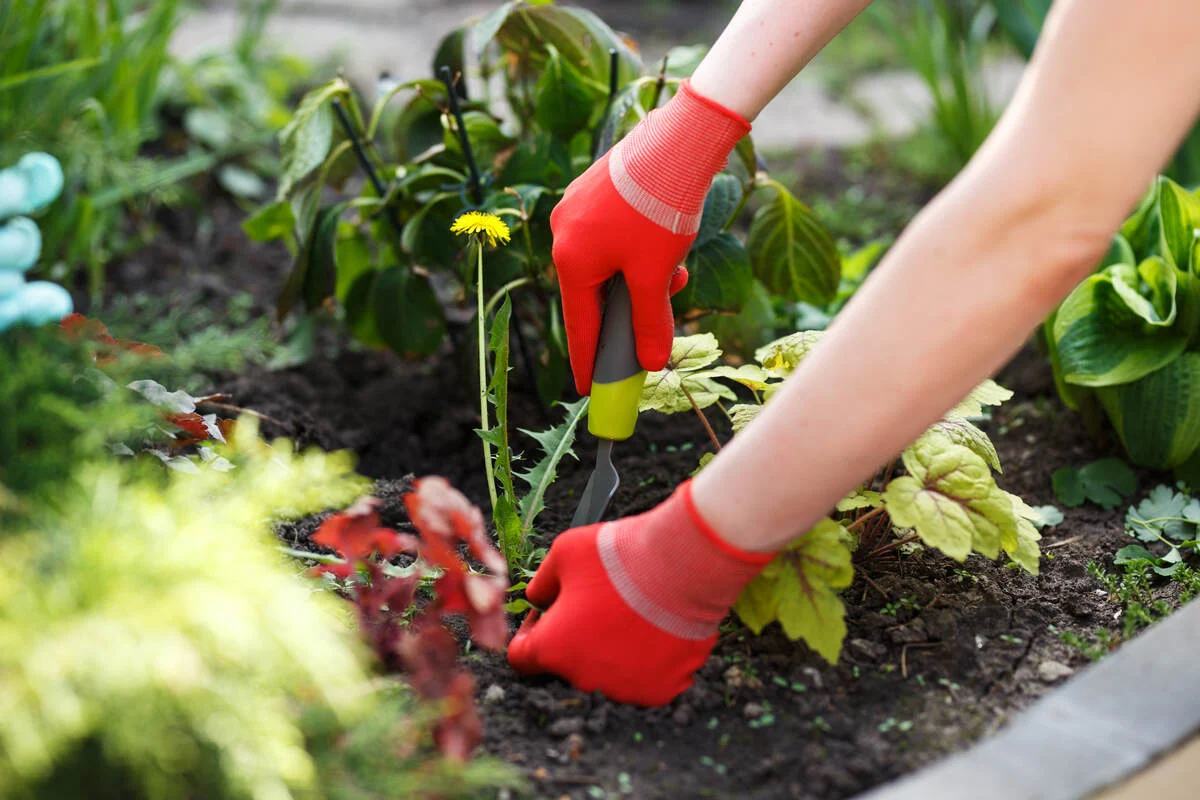
When a weed has a taproot, pulling straight up often snaps it. Instead, slide a narrow tool down alongside the root and gently lever it loose. Good options include:
- A dandelion digger
- A hori hori or narrow garden knife
- A thin hand fork (used carefully)
Angle the tool away from the perennial crown, not toward it. Your goal is to loosen the weed, not cultivate the bed.
When weeds are in crowns, cut at the base
This is the move that saves a lot of perennials. If a weed is growing right through a clump of phlox, daylily, sedum, coral bells, or any plant with a dense crown, do not yank. Instead:
- Hold the weed steady.
- Use snips or a sharp knife to cut it at soil level.
- If it regrows, cut again.
This “cut to starve” method works best on seedlings, annual weeds, and many grassy weeds threading through fibrous-rooted perennials. For deep-rooted perennials like bindweed, cutting helps, but it can take a long time. Whenever you can, remove runners and as much root as you can reach to speed results.
For spreaders, follow the runner
If you are dealing with runners or rhizomes, pull slowly and try to trace the stem back to its origin. If it snaps, that is okay, but it tells you the bed needs repeated sessions. The win here is consistency, not perfection in one day.
Protect crowns and surface roots
- Work from the edge in so you are not stepping into the bed and compacting soil around roots.
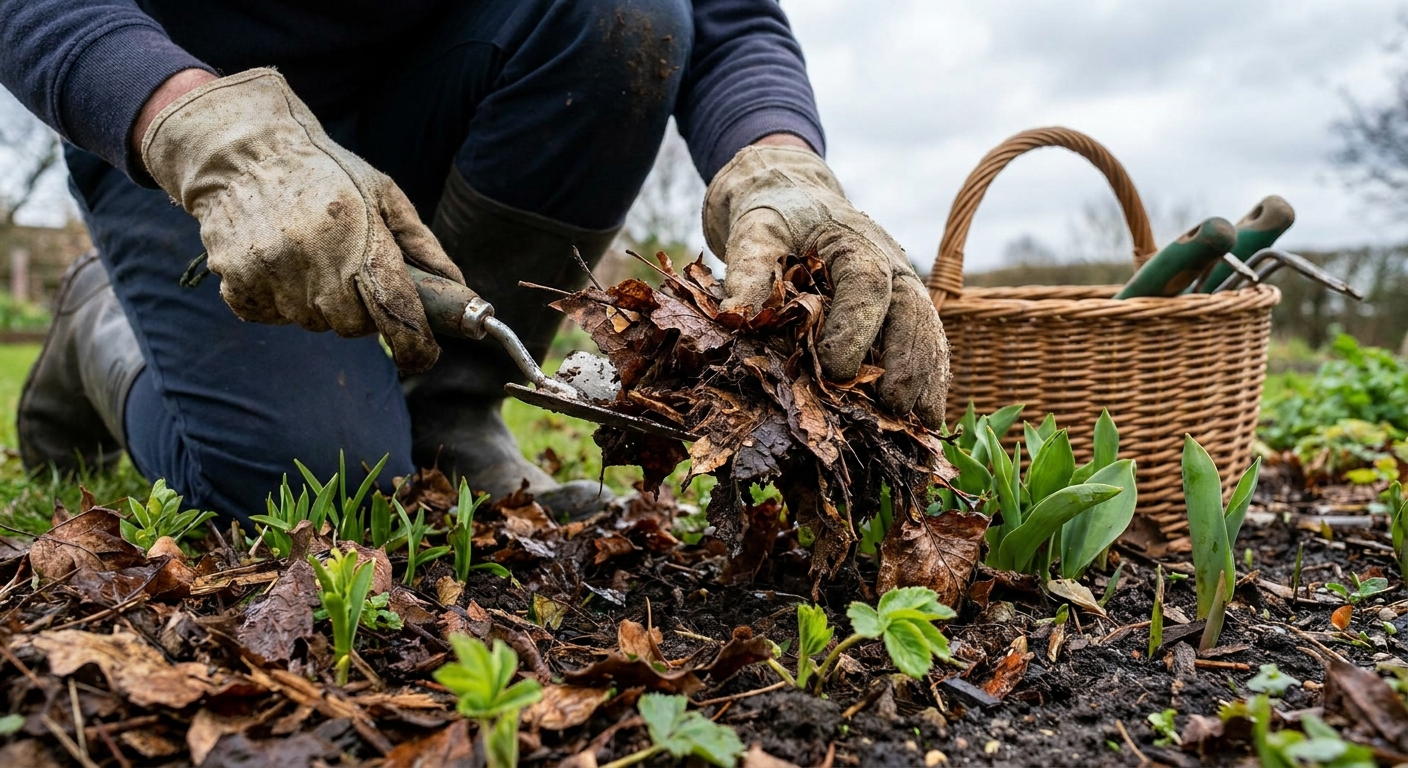
- Move mulch aside first, weed the soil surface, then replace mulch. This keeps you from mixing mulch into the soil.
- Avoid deep hoeing in perennial beds. Hoes are wonderful, but many perennials have shallow surface roots you do not want to slice.
Keep it manageable
In my own beds, the difference between “I can handle this” and “this is chaos” is a quick routine done often.
- Early spring: walk the beds weekly and remove tiny seedlings before they root deeply.
- Late spring into summer: do 10 to 15 minutes after watering, focusing on weeds that are about to flower or set seed.
- Late summer: target persistent spreaders and anything that has slipped under plant canopies.
- Fall: weed once more before mulching for winter so you do not tuck weeds in under a protective layer.
If you only have time for one pass, prioritize weeds that are flowering. Stopping seed production is how you make next year easier.
Mulch to prevent weeds
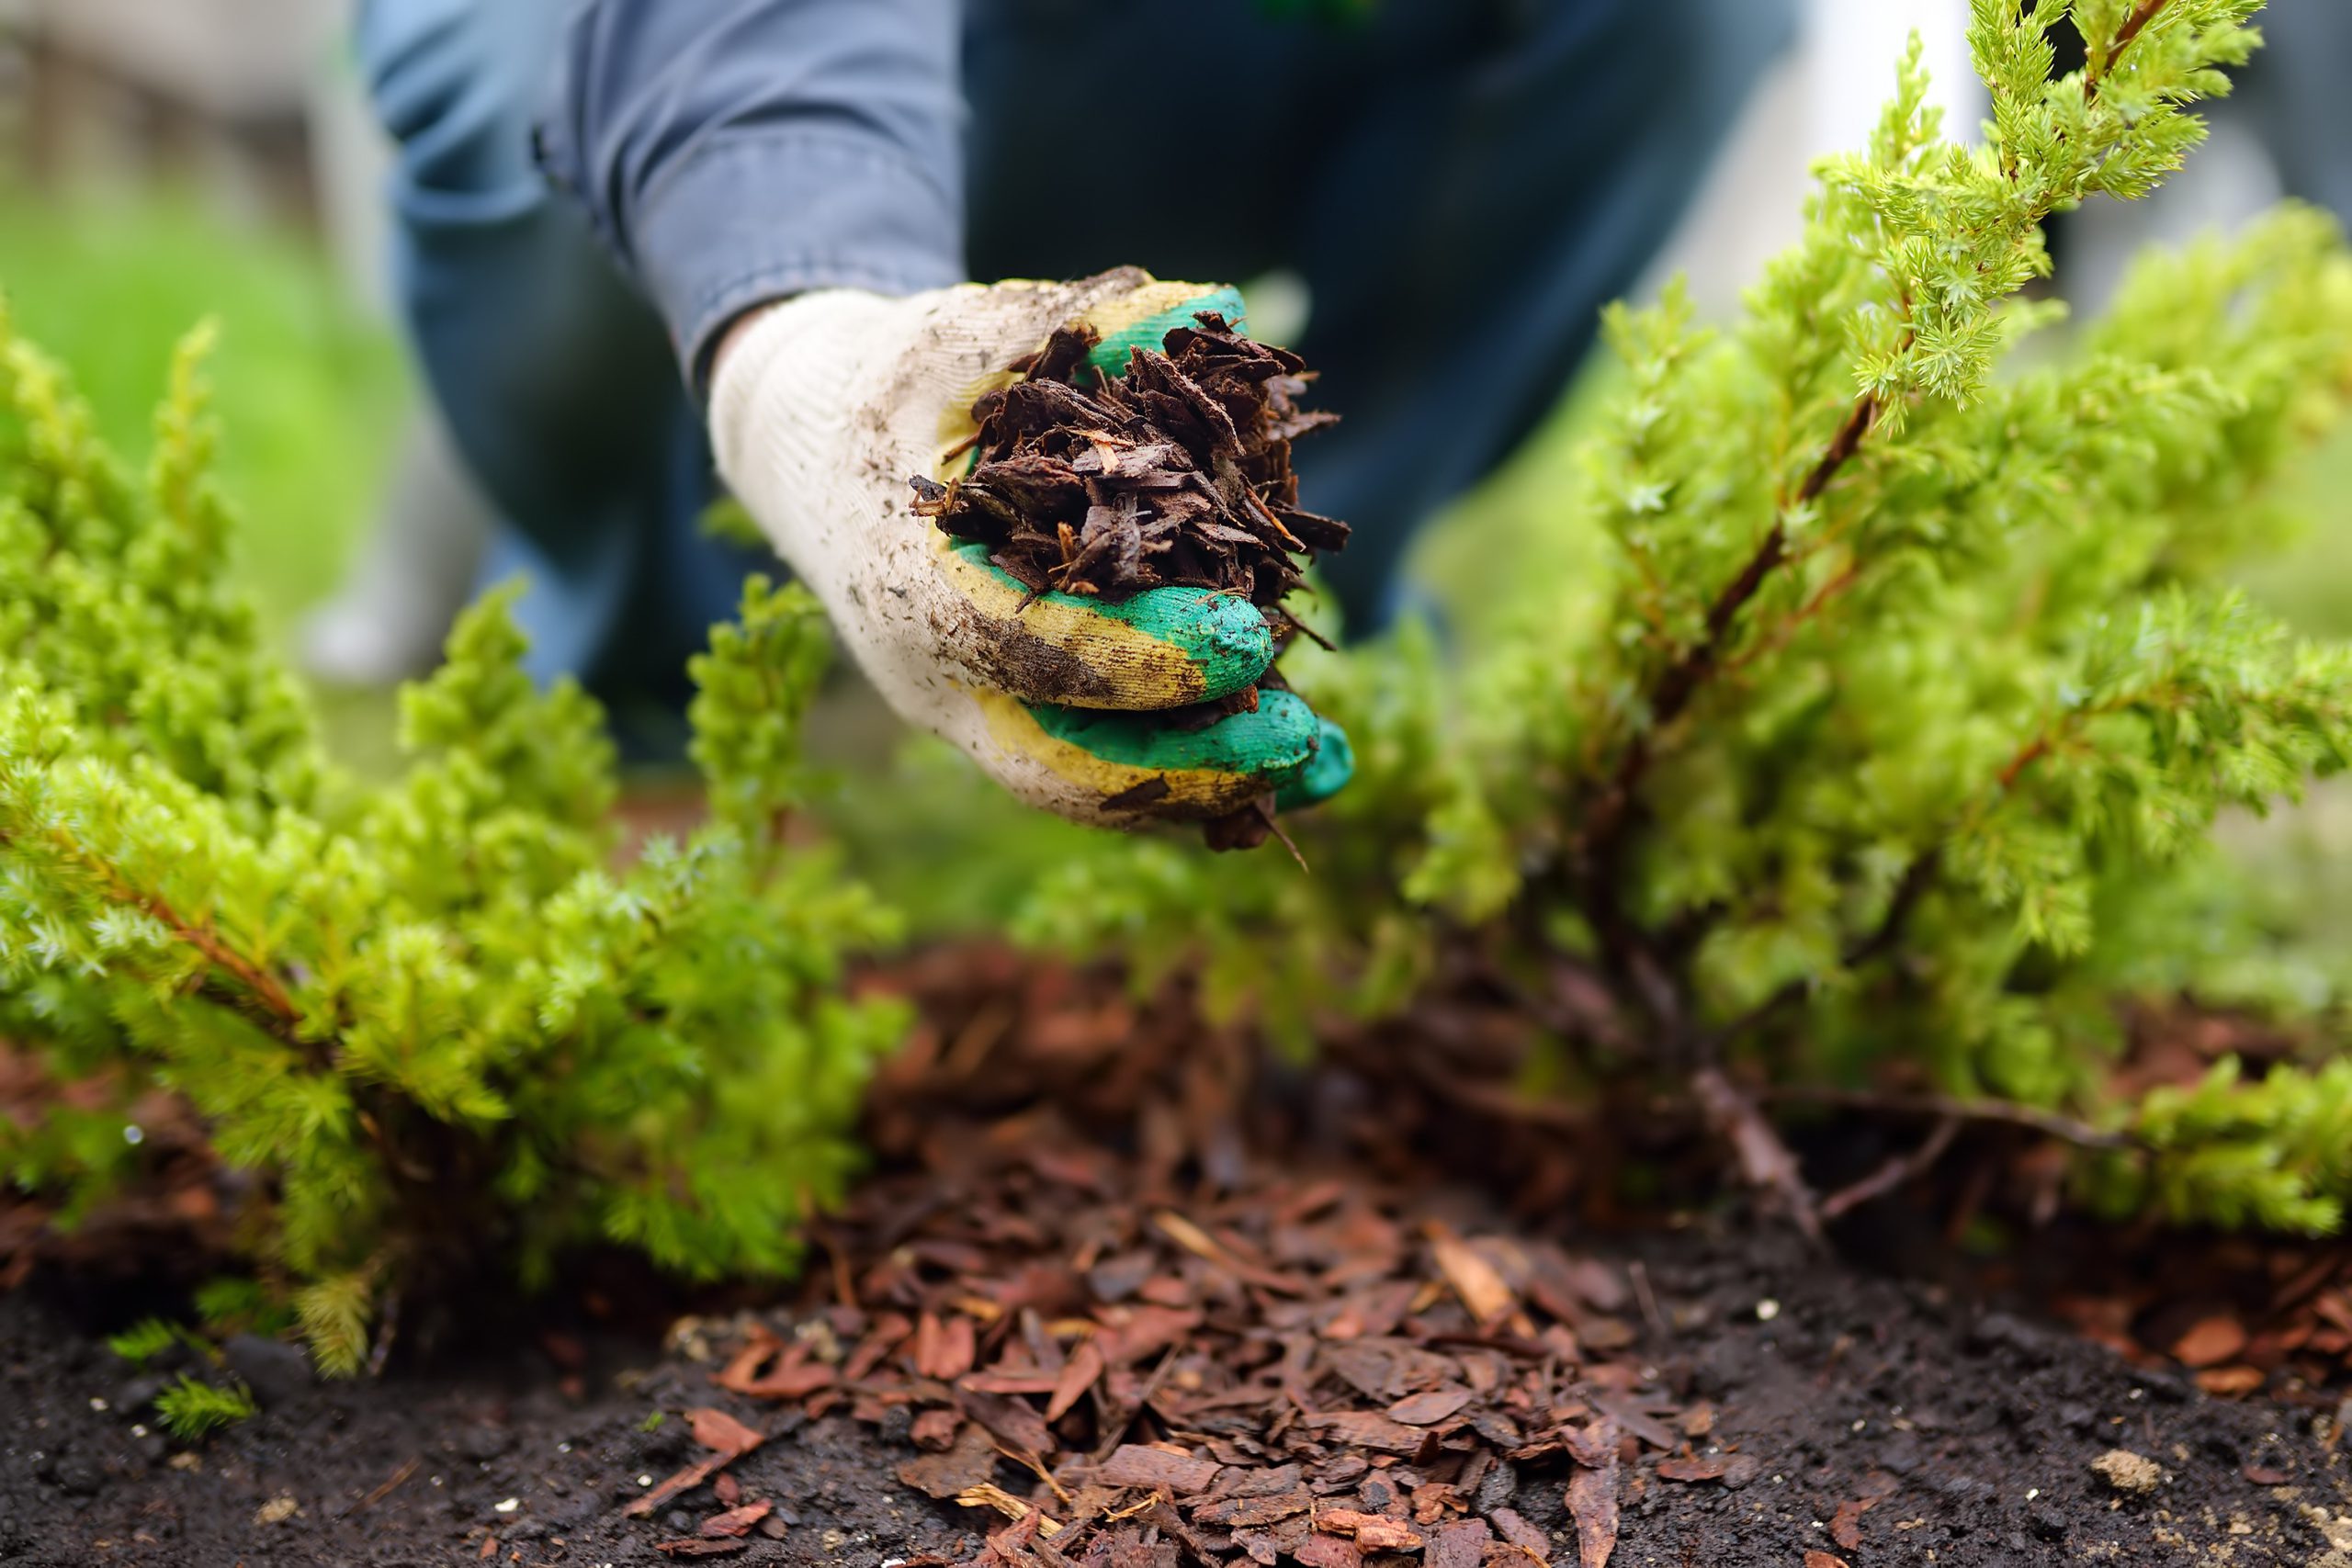
Mulch is one of the most reliable weed prevention tools in an established perennial bed, but it works best when it is applied with intention. Too little and weeds pop through. Too much and you can invite crown rot, slugs, and stressed plants.
Best mulch depth
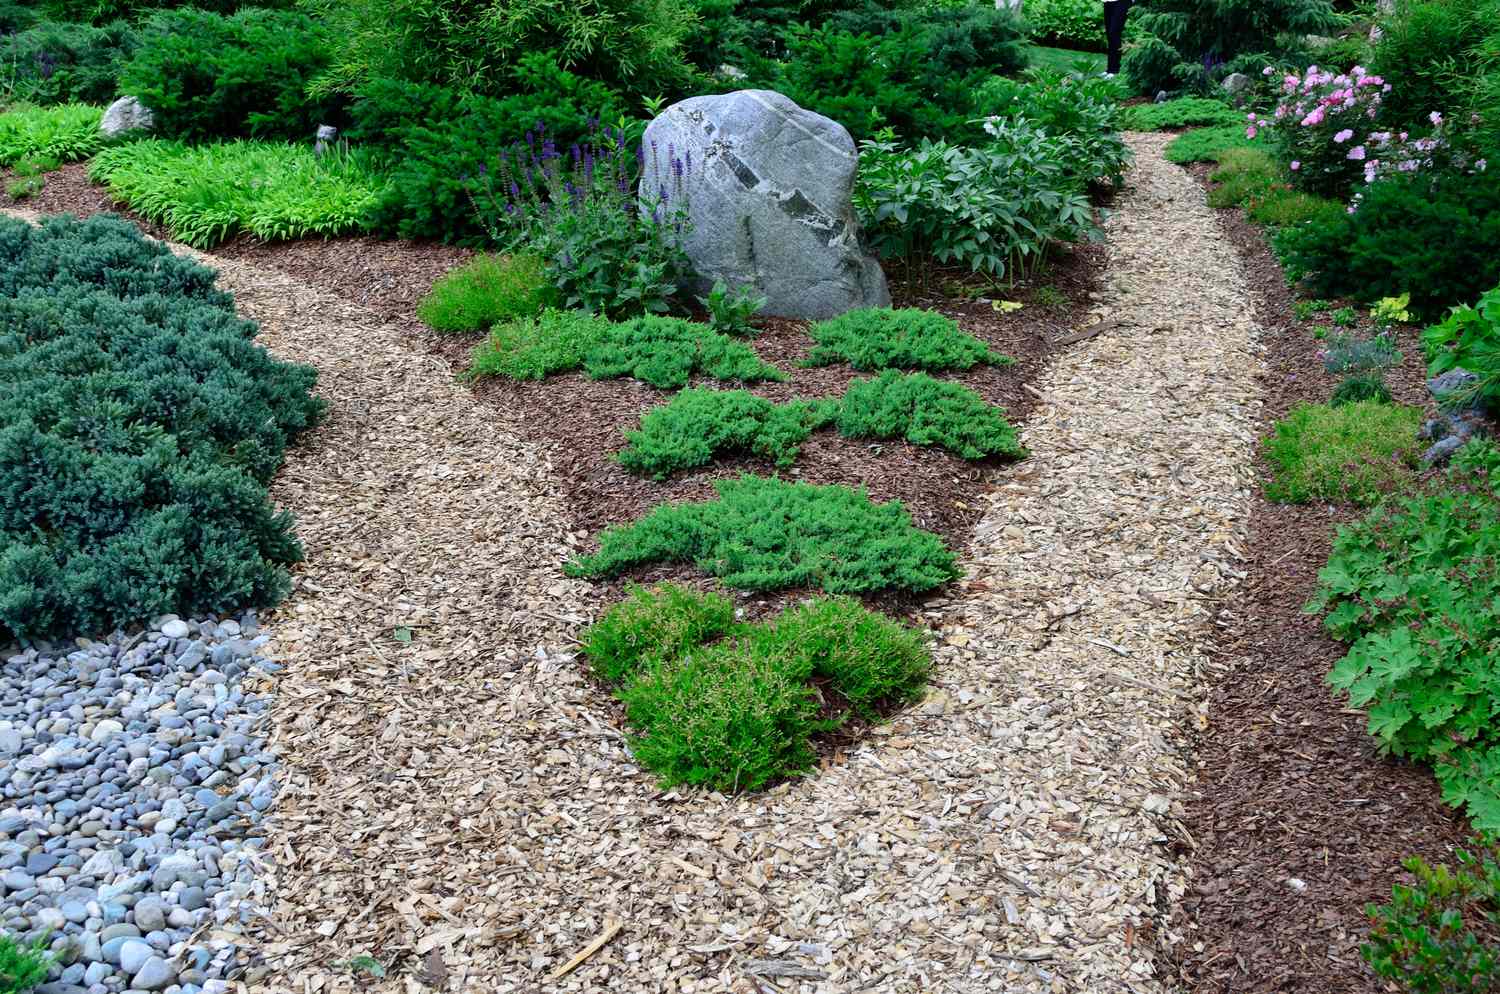
- Shredded bark or arborist wood chips: 2 to 3 inches is ideal for most established beds.
- Leaf mold or shredded leaves: 2 to 3 inches (packs down, so you can start closer to 3 inches).
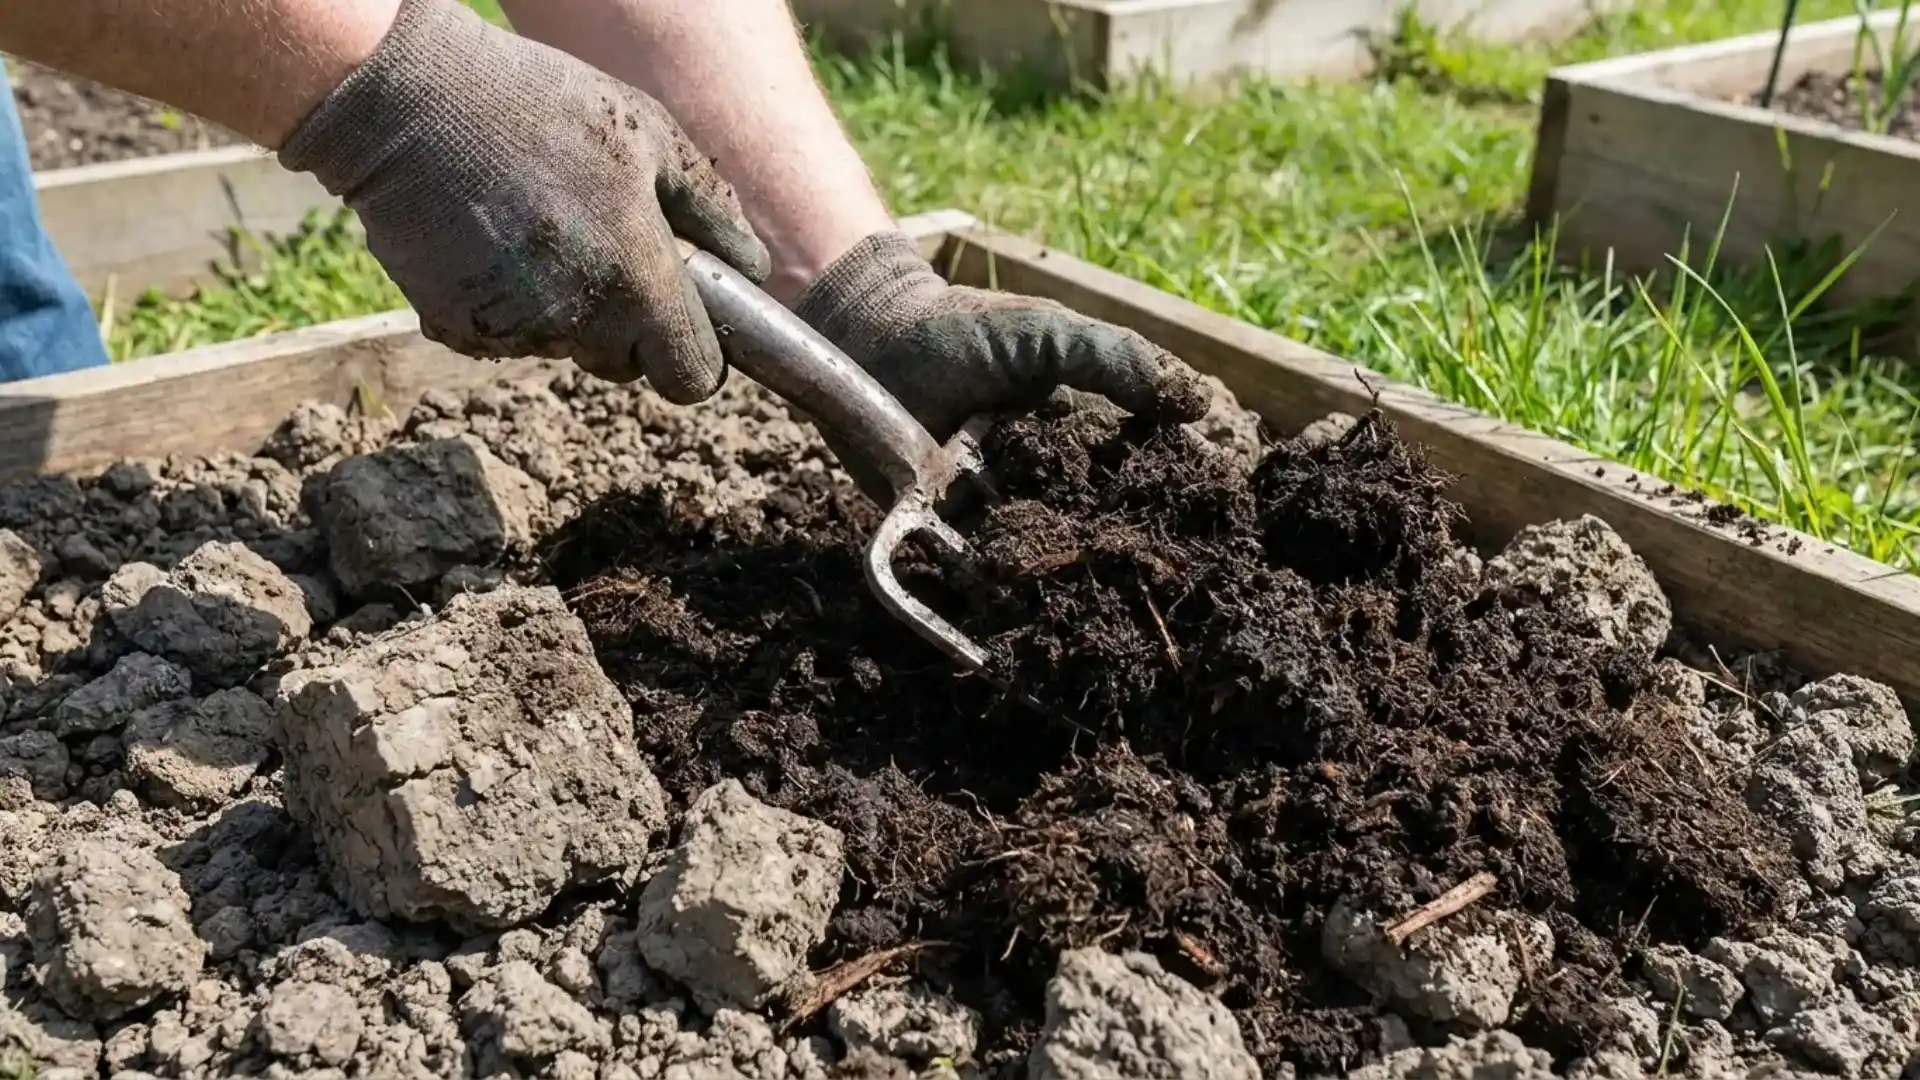
- Compost: 1 to 2 inches as a soil-feeding topdress, then add a thinner mulch layer over it if needed.
- Pine straw: about 3 inches, fluffed. It settles quickly.
If weeds are currently a big problem, it is tempting to go thicker. I have learned to resist that urge. In perennial beds, very thick mulch (often over 4 inches) can hold too much moisture at the crown and reduce healthy air movement in that zone, especially in heavier soils or irrigated beds. Stick with 2 to 3 inches and refresh as it breaks down.
Keep mulch off crowns
This is the most common mistake I see, and I have made it myself. Mulch piled against the base of a plant holds moisture right where you do not want it. When you spread mulch, leave a small ring of bare soil around each crown, roughly 1 to 2 inches wide for smaller perennials and a little wider for big clumps.
When to mulch
- Spring: mulch after the soil warms a bit and perennials are clearly emerging, so you do not bury tiny shoots. In cold climates, that often means mid to late spring.
- Early summer: a touch-up layer (an inch or so) helps block summer weed flushes, especially after you have done a thorough weeding.
- Fall: mulch after a hard frost if you use mulch for winter protection. Weed first so you are not insulating weeds.
Use the weed-water-mulch order
Here is the sequence that keeps mulch working as a weed barrier rather than a weed nursery:
- Weed thoroughly, including small seedlings.
- Water deeply (or time it after rain) so perennials are hydrated and soil settles.
- Mulch evenly to the appropriate depth, keeping crowns clear.
Landscape fabric
In most perennial flower beds, I skip it. Landscape fabric can reduce weeds at first, but over time, in many beds:
- Mulch breaks down into compost on top of the fabric, and weeds often root right into that layer anyway.
- Perennials self-seed and spread, which becomes frustrating when fabric blocks natural growth.
- Weeding becomes harder because roots tangle with the fabric.
If you are battling a very aggressive area and want a temporary reset, a better approach is often sheet mulching in an empty bed area: overlapping plain cardboard topped with mulch. Keep cardboard away from the crowns of existing plants, and do not use glossy or heavily printed material.
Extra prevention
Edge to stop lawn creep
Many “weeds” in perennial beds are actually grass creeping in from the lawn. A clean bed edge is a weed strategy, not just a design choice. A simple spade-cut edge in spring and again in midsummer, about 2 to 4 inches deep, can dramatically reduce grass invasion.
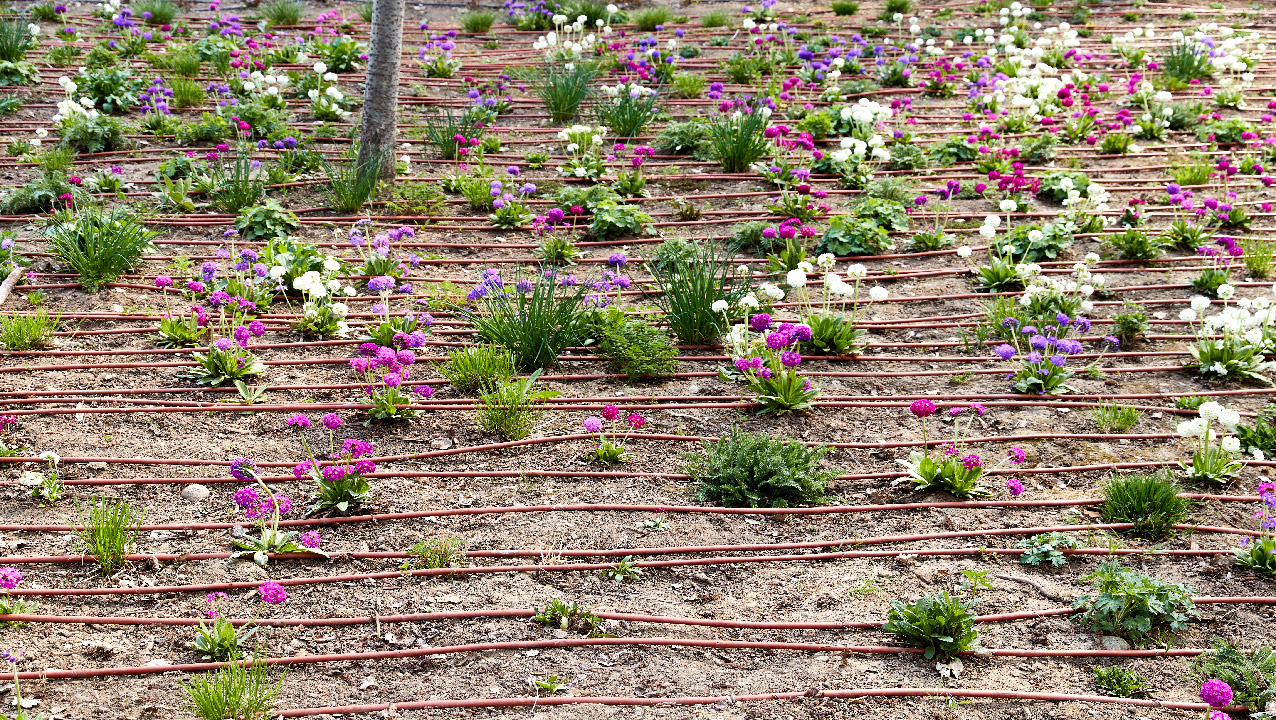
Fill bare soil fast
Weeds love open space. If you have gaps between perennials, consider:
- Adding compatible, clump-forming perennials to close openings over time
- Using well-behaved groundcovers in problem spots (especially along edges)
- Dividing and replanting vigorous perennials to widen your clumps
A fuller bed casts shade on the soil, and shade is a quiet weed suppressant.
Deadhead before weeds seed
It is not just about weeds you see today. The seed bank is always waiting. When you keep weeds from flowering, you cut next year’s workload in a very satisfying way.
Know your self-seeders
In cottage-style beds especially, some “weeds” are really just enthusiastic self-seeding perennials. Before you pull, take a second to check leaf shape and placement. If you are not sure, let a mystery seedling grow until it shows clearer traits, or move it to a nursery corner to decide later.
Weed disposal
How you handle pulled weeds matters, especially in a mature bed where you are trying not to reintroduce problems.
- Bag or trash weeds with seed heads (or anything close to seeding), plus aggressive spreaders with rhizomes or runners such as bindweed and Bermuda grass.
- Compost only soft, non-seeding weeds if your compost pile gets hot and you are confident it will break them down fully.
- Do not leave pulled spreaders on the mulch surface to “dry out” unless you are sure they are truly dead. Many can reroot after a watering.
Troubleshooting
My mulch is full of weeds
This usually means the weeds are germinating in decomposed mulch and dust that has built up on top, not breaking through from below. Rake lightly to disturb seedlings, hand-pull what is larger, then top up with a fresh inch of mulch. If the mulch layer has turned into soil, it is time to refresh it.
When I pull weeds, I loosen my perennials
Switch to cutting at the base in tight spots, and weed when the soil is damp. You can also brace the perennial with one hand while gently pulling with the other to keep the crown steady.
I keep snapping the roots and the weeds come back
That is common with taproots and runners. Loosen first with a narrow tool, and for spreading weeds, accept a strategy of repeated cuts and pulls. Consistency drains the plant’s stored energy over time, and removing runner pieces whenever you can speeds the process.
Mulch keeps washing away
On slopes or areas that get heavy runoff, use chunkier wood chips (they lock together better than fine mulch), apply a slightly thicker layer within the safe range, and consider adding more plants to hold soil. A thicker planting is often the long-term fix.
Quick FAQ
How deep can I dig around established perennials?
In most established beds, stay shallow. Think surface work: scraping, loosening just enough to lift a root, and avoiding turning the soil. Deep digging can cut perennial roots and wake up buried weed seeds.
Is it okay to mulch right after planting new perennials?
Yes, but keep the mulch thinner at first, about 1 to 2 inches, and keep it off the crowns. Once plants are established, you can maintain the typical 2 to 3 inches.
What is the safest way to weed around bulbs mixed into perennials?
Treat the area like it is full of shallow roots, because it is. Hand-pull seedlings, cut bigger weeds at the base, and avoid stabbing tools deeply where bulbs might be resting.
Are pre-emergents worth it in perennial beds?
Sometimes. A pre-emergent can reduce annual weed seedlings, but it can also block desirable self-seeding perennials. If you rely on self-seeders, or if you are overseeding groundcovers, skip it. If you use one, follow the label exactly and treat it as one tool in the kit, not a replacement for mulch and routine weeding.
A gentle goal
A mature perennial bed is a living, changing little ecosystem. A few weeds will always sneak in, especially after storms, windy days, or a busy week when you miss your usual walk-through. If you keep weeding sessions small and regular, and you mulch at the right depth with crowns kept clear, you will feel the balance shift. Each season gets a bit easier, and your perennials get to be the stars again.