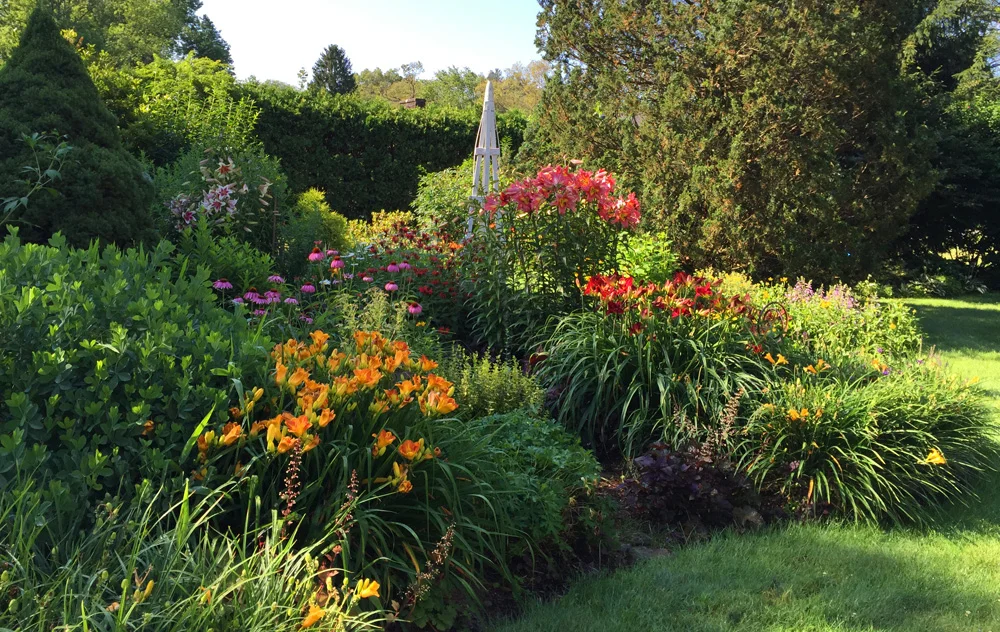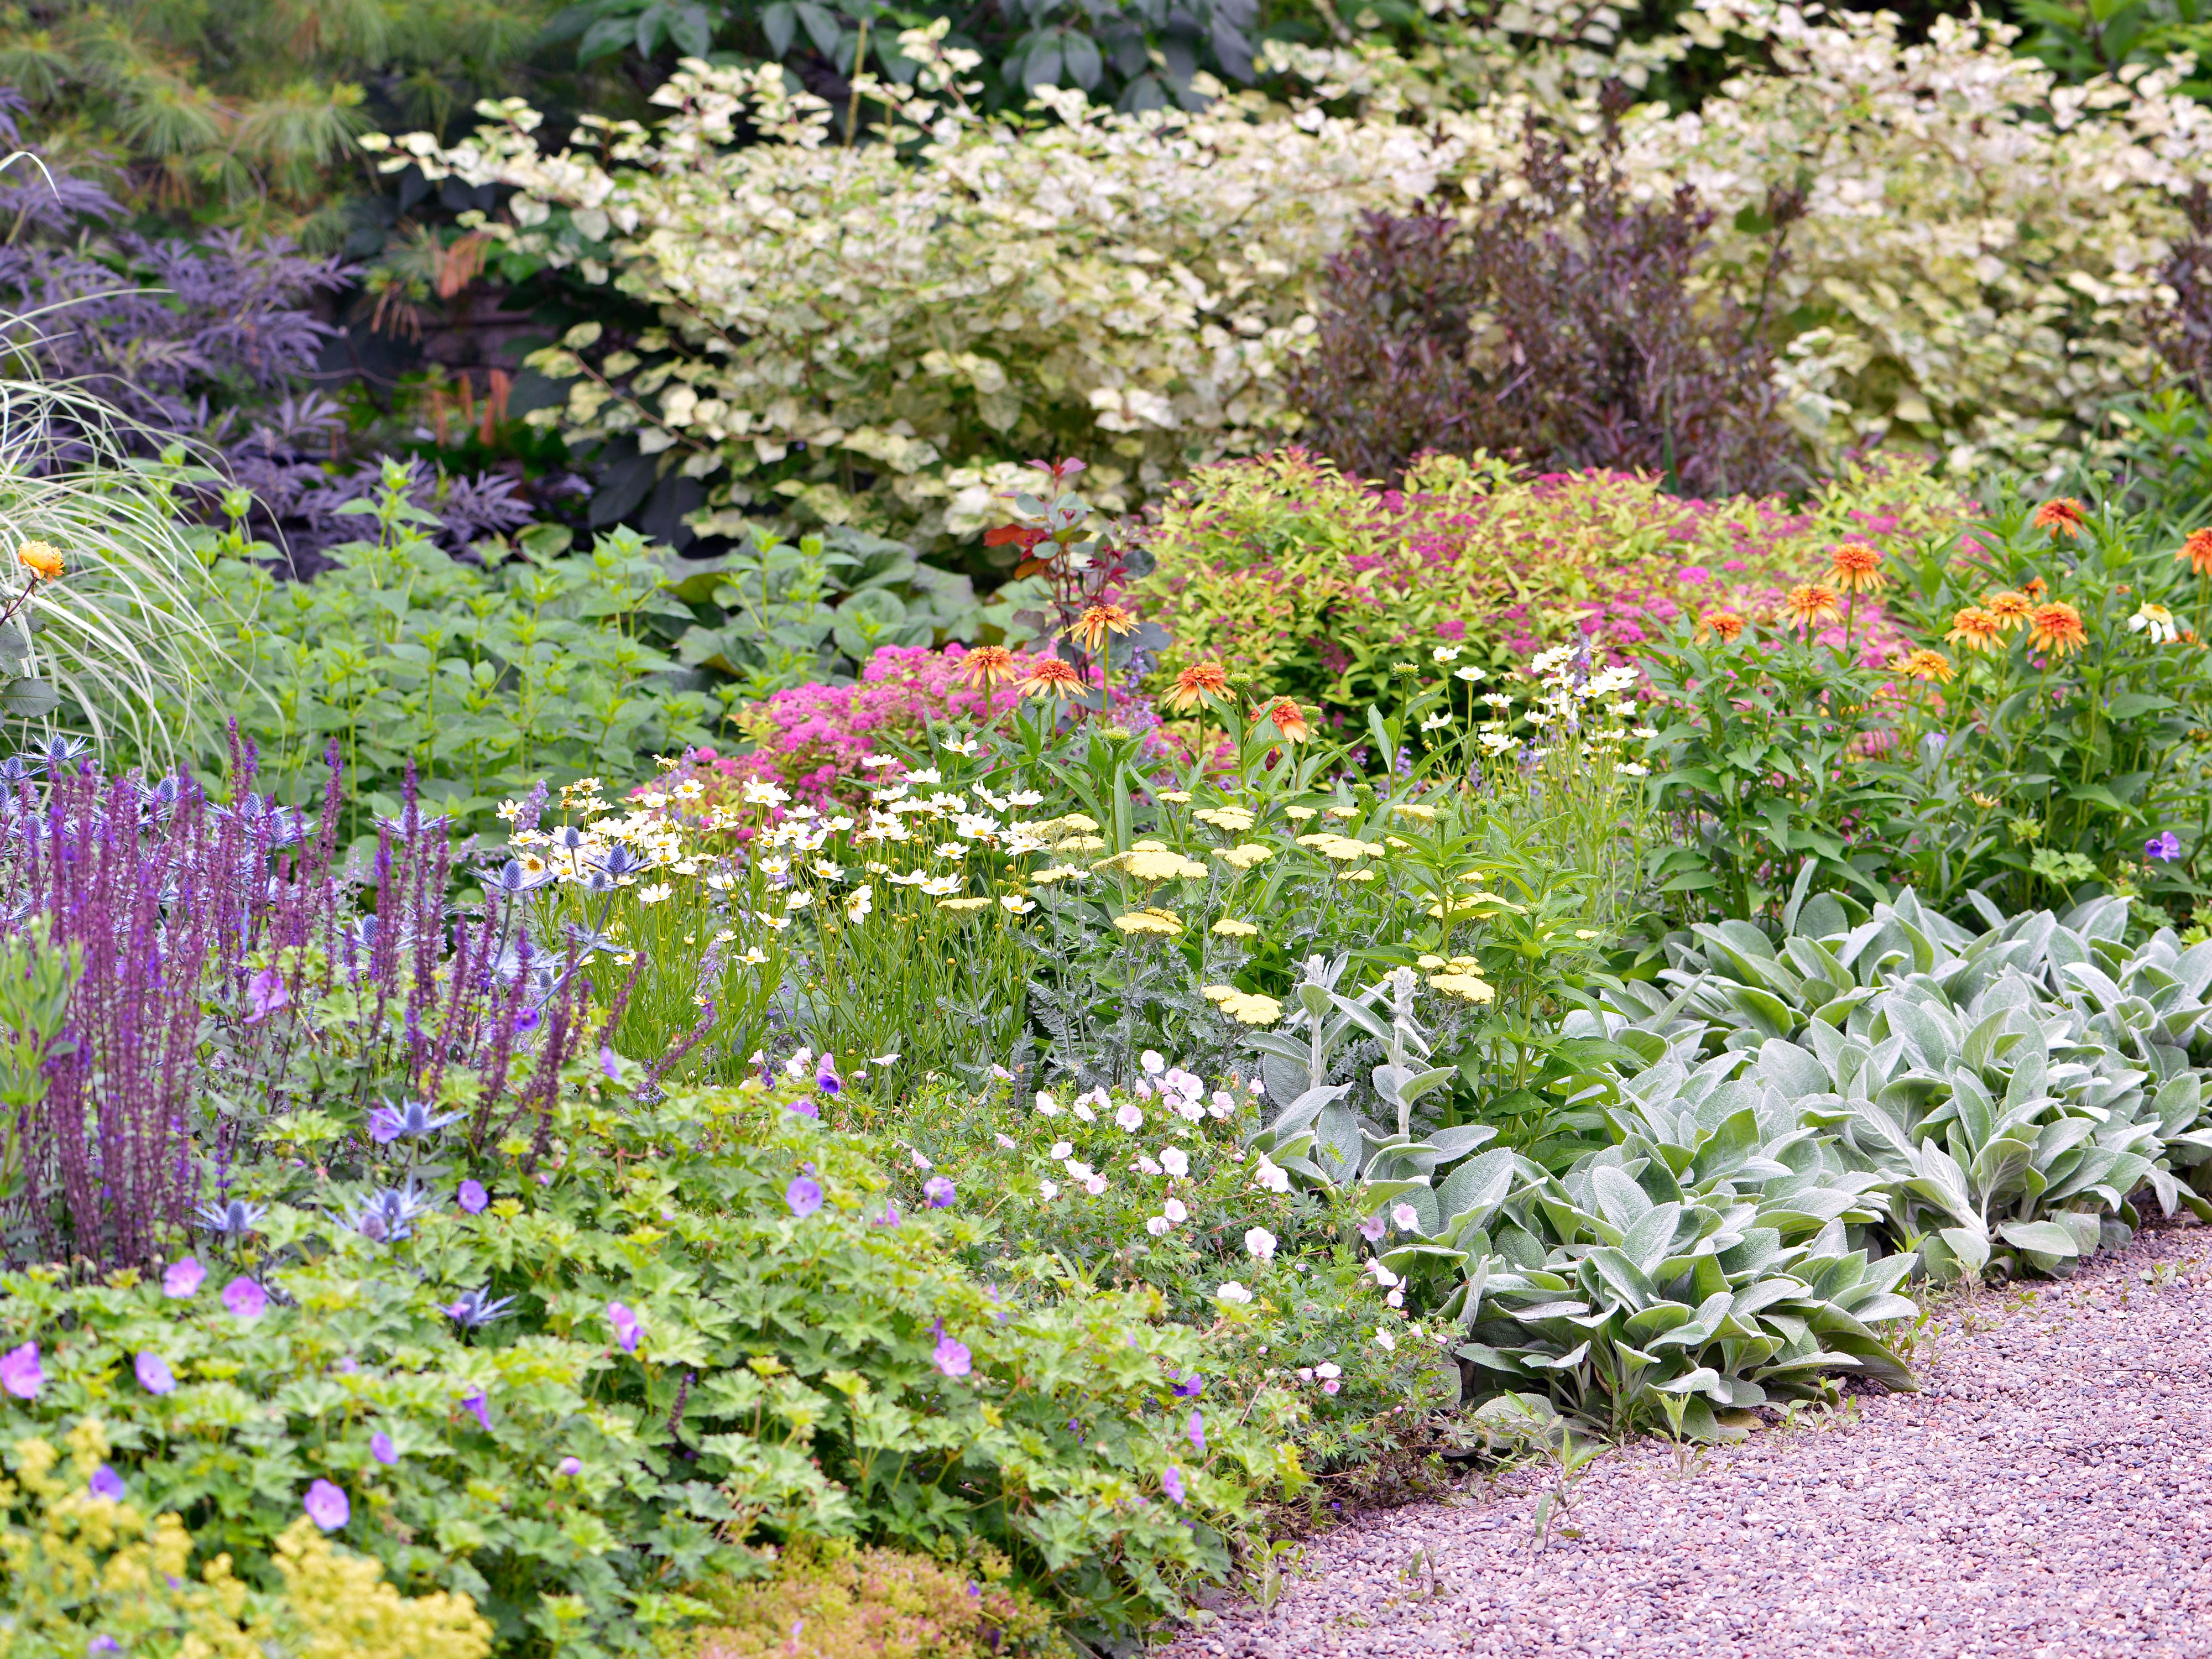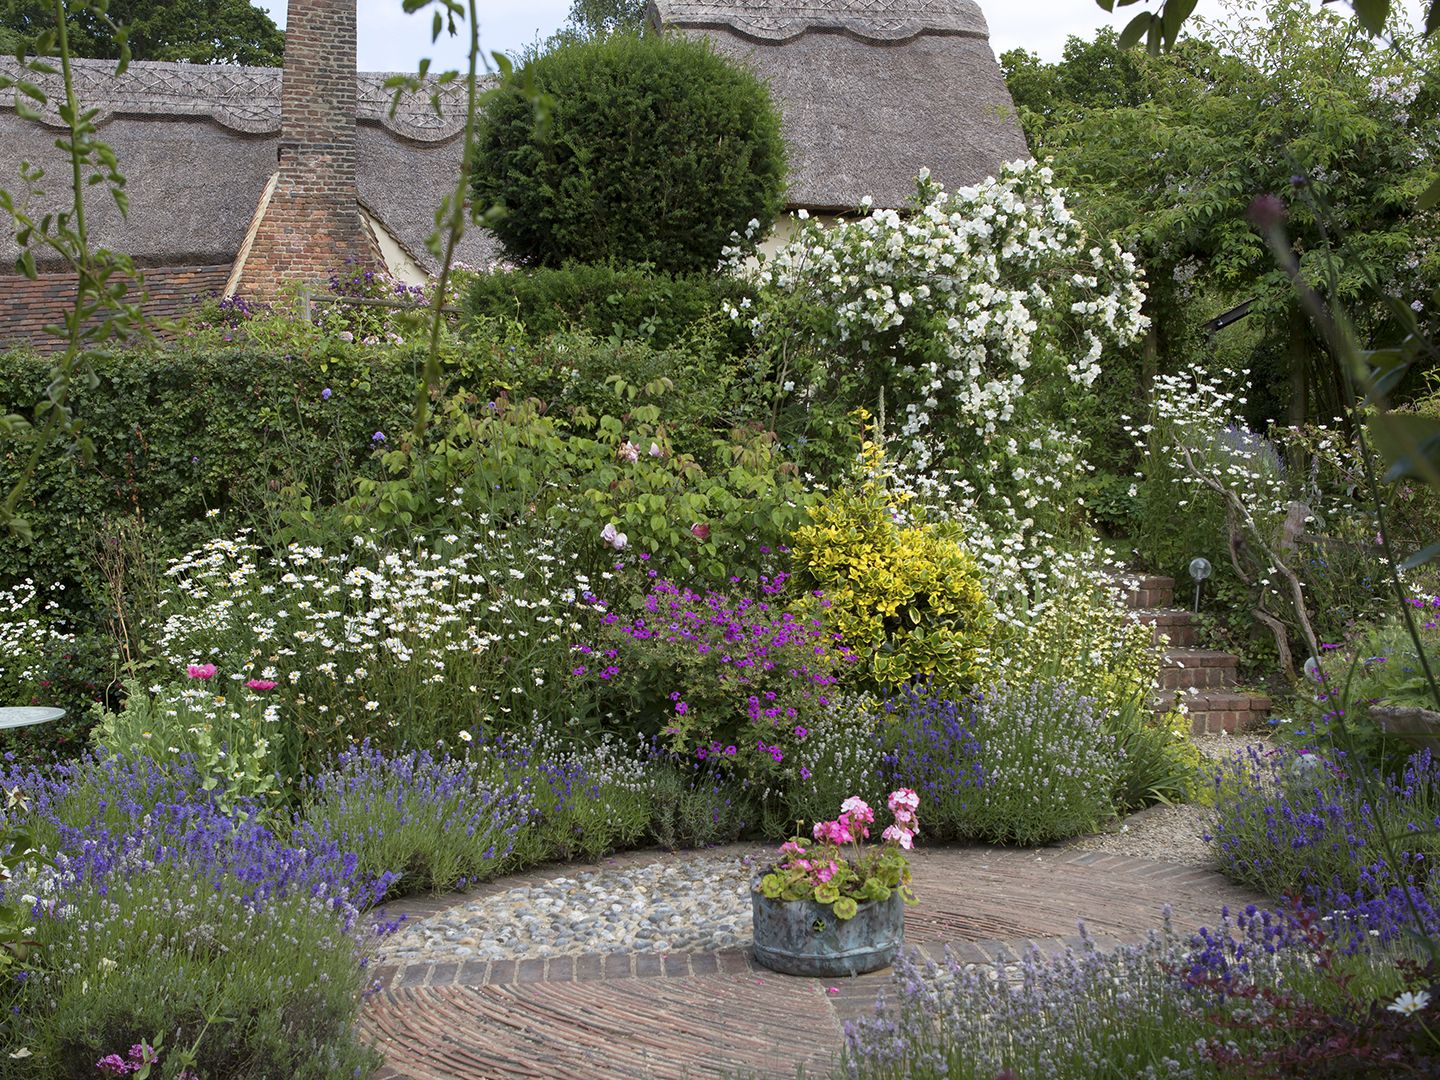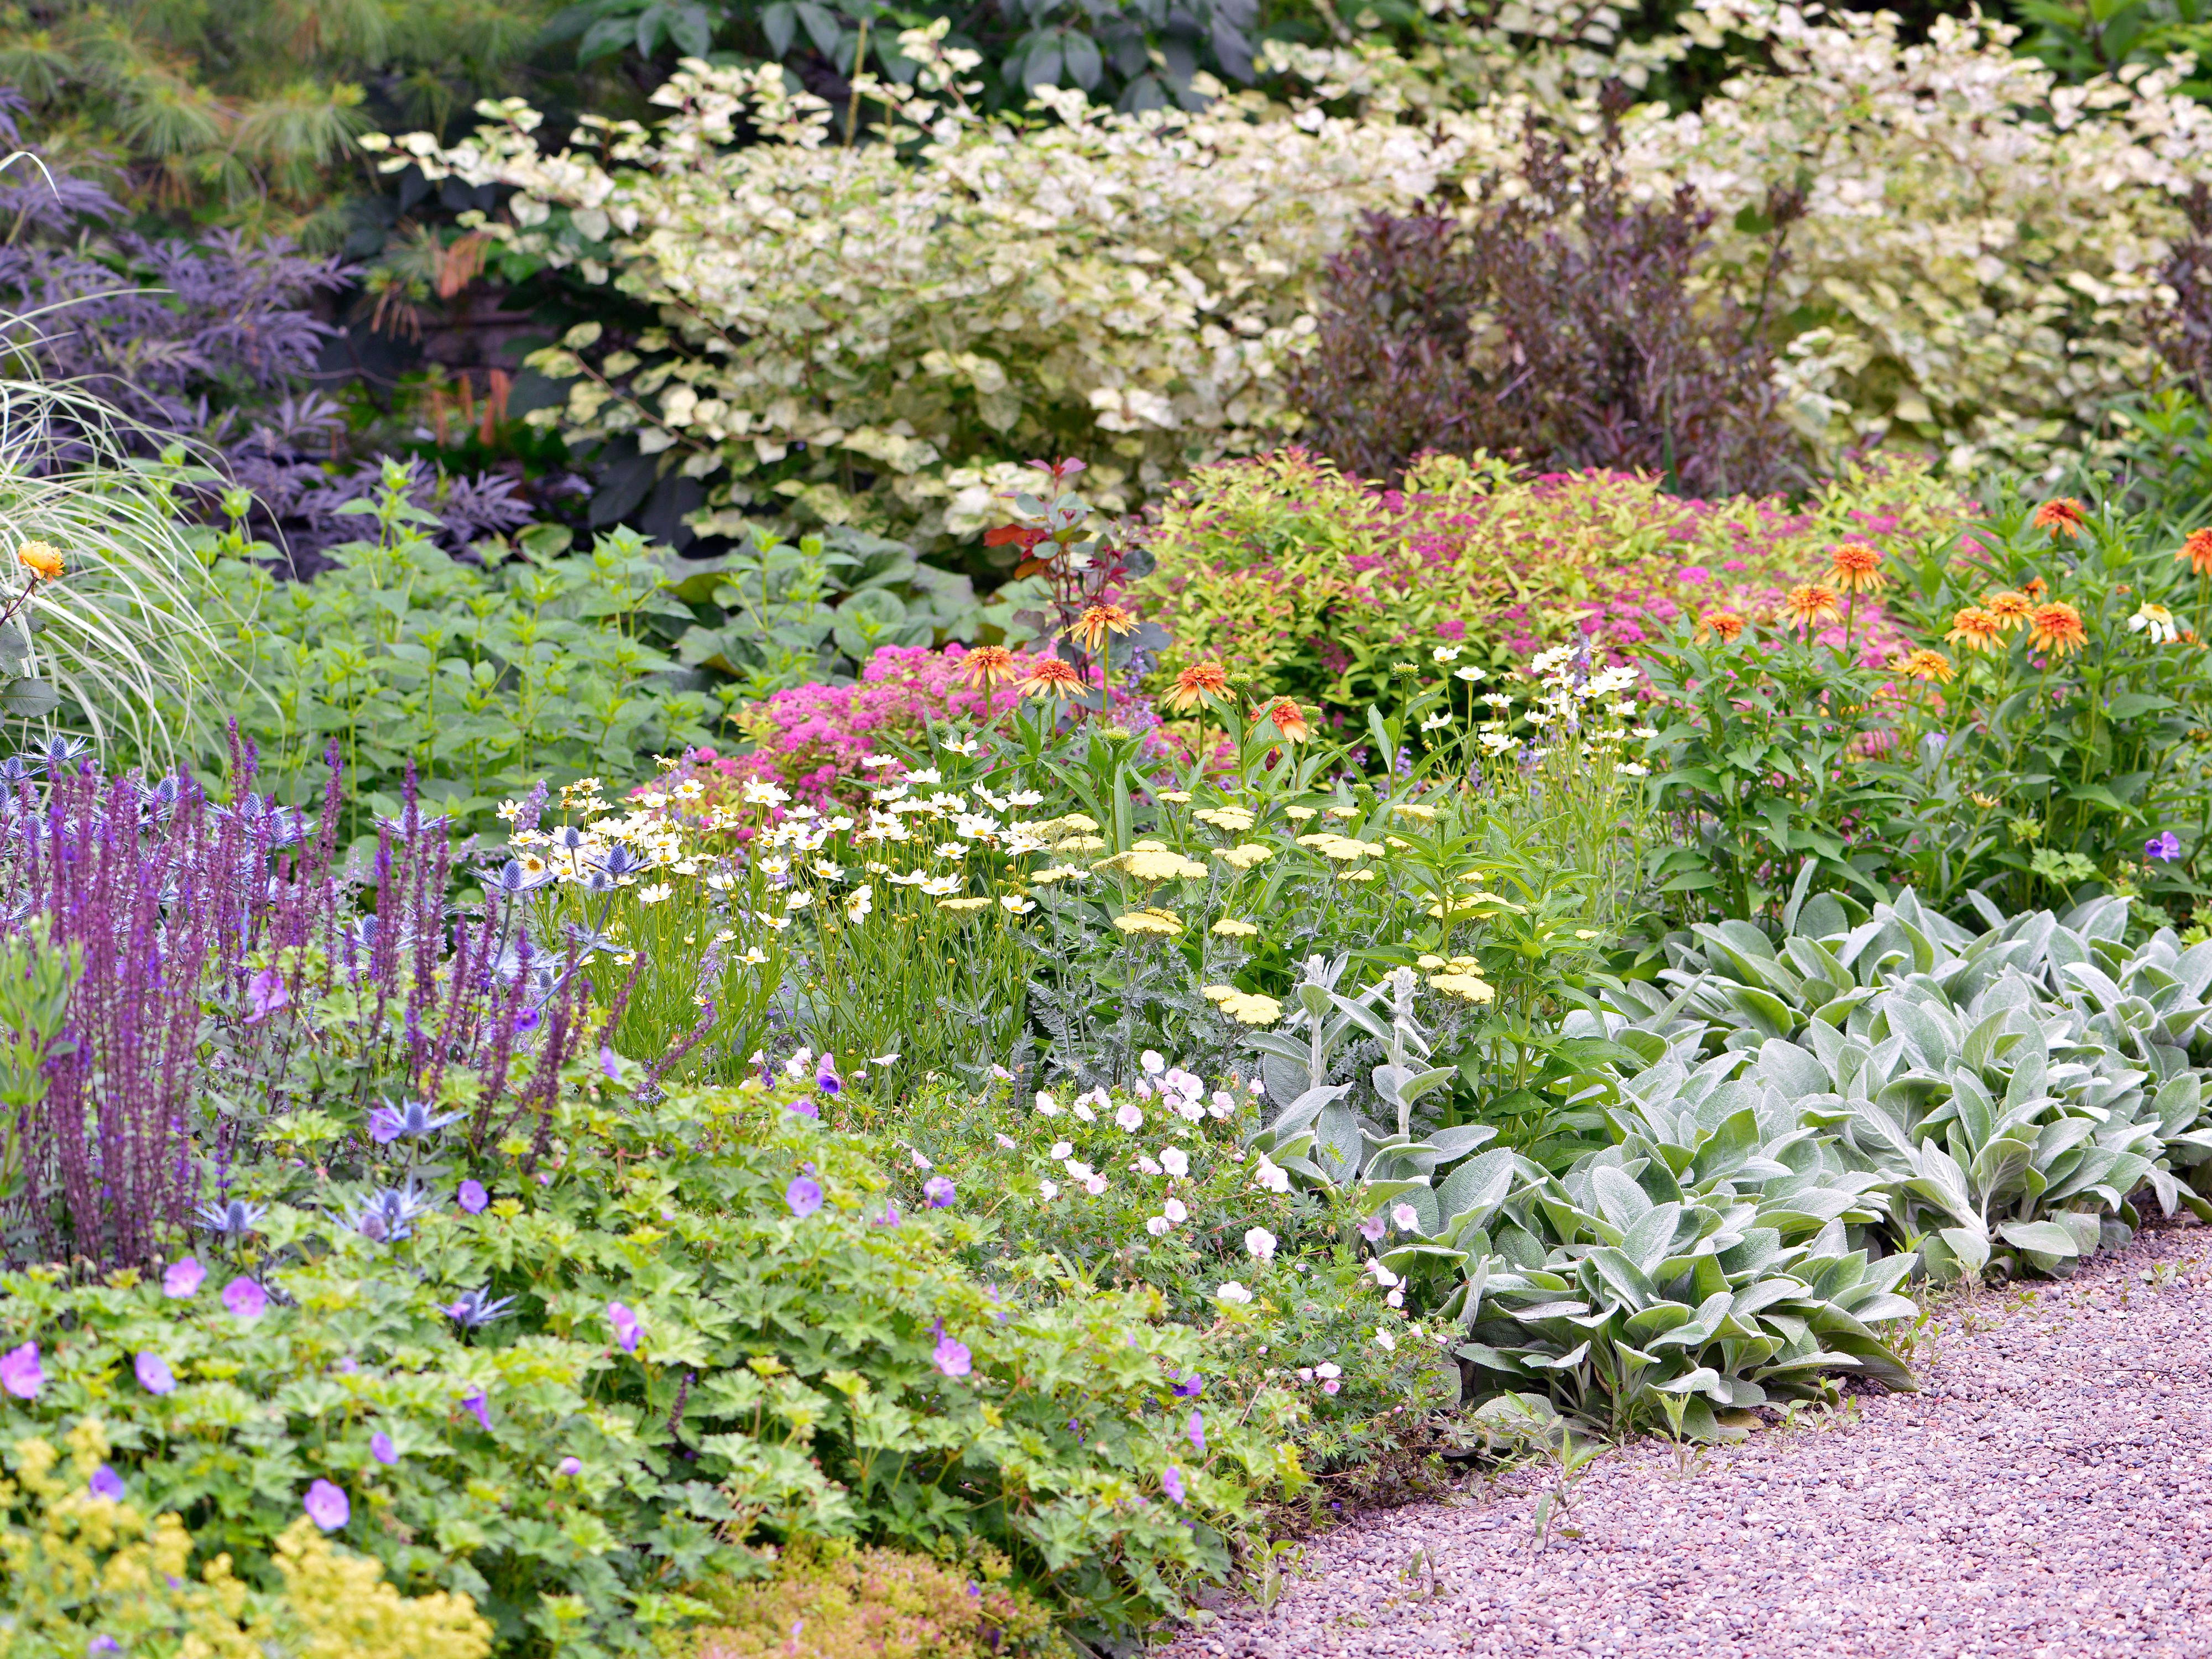

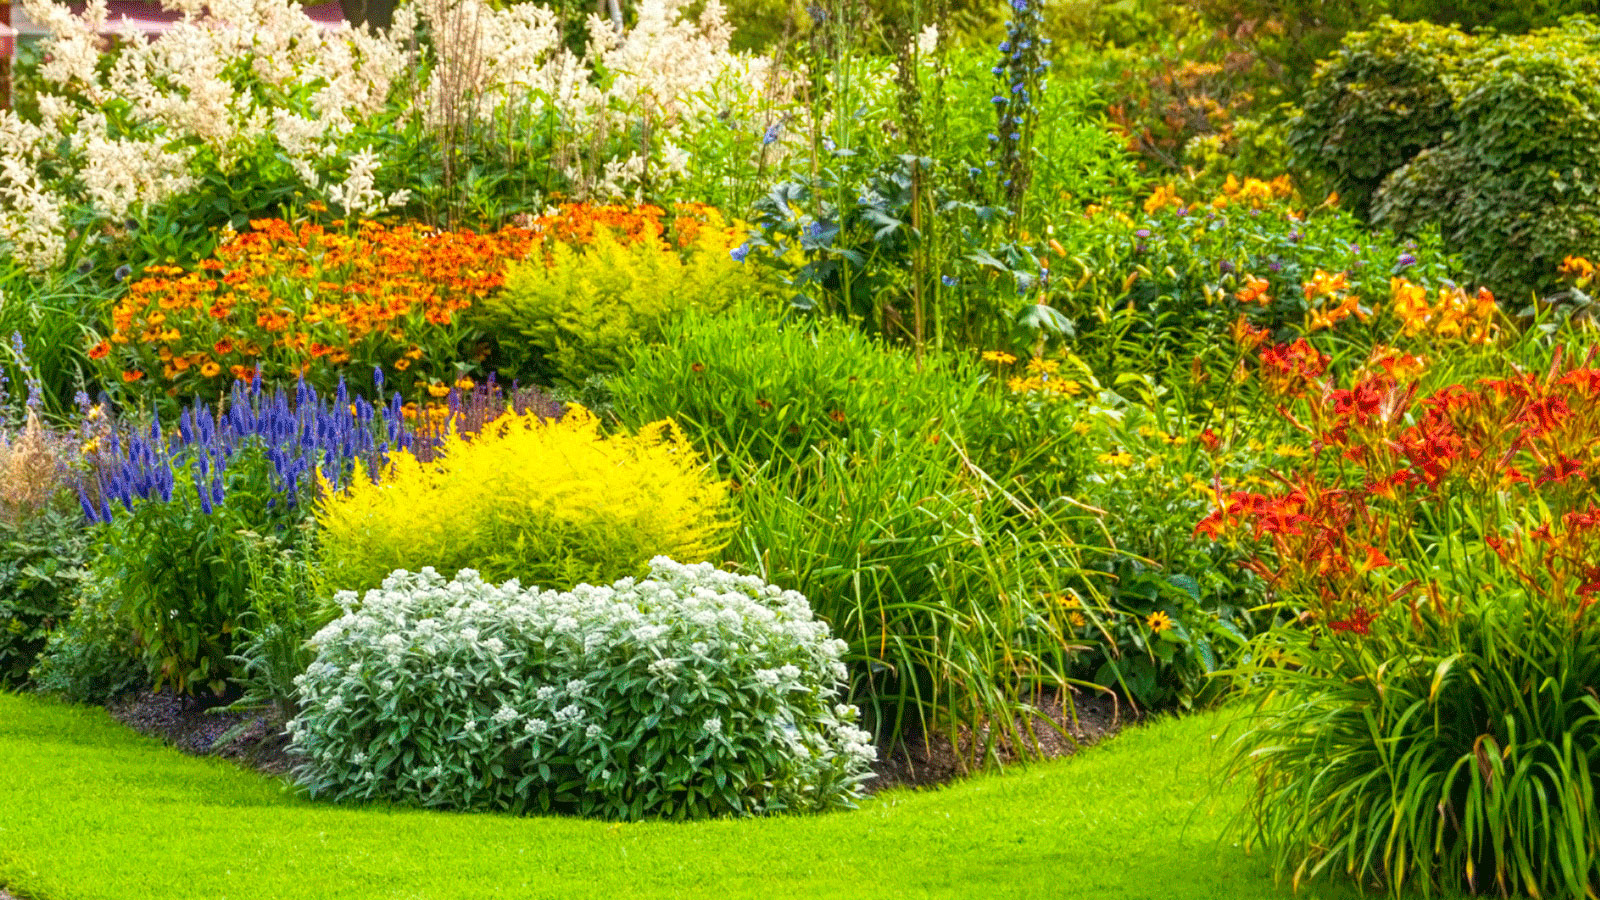
An island bed is one of my favorite ways to make a lawn feel like a garden without committing to big hardscaping. It is simply a freestanding planting bed surrounded by grass, which means you see it from every angle, every day. The secret to making it look “finished” from 360 degrees is planning for height, season, and spacing before you ever cut the sod.
I learned this the hard way after my first attempt: I built a gorgeous “front” and forgot there was no back. A month later, the bed looked lopsided from half the yard. The good news is that an island bed is very forgiving once you understand a few layout rules. Let’s walk through them step by step.
Start with the view, not the plants
Because an island bed is visible from all sides, I begin by deciding where you will look at it from most often. That determines the bed’s main axis and helps you place your tallest plants so the bed feels balanced instead of like a cone.
Choose the best spot
- Sun first: Many sun-loving, blooming perennials do best with six or more hours of sun. In hotter climates, some will appreciate afternoon shade, so do not panic if you are closer to four to six hours. If you have part sun, plan for shade-tolerant perennials and accept a softer, foliage-heavy look.
- Distance matters: If the bed is far from the house, you need bolder shapes and plants with bigger flower forms. If it is near a patio or walkway, you can use finer textures and smaller blooms.
- Think mowing and maintenance: Give yourself enough room to mow comfortably around it. I like at least 4 feet of grass between the bed and fences, trees, or hard edges so you are not constantly trimming.
- Avoid thirsty tree roots: Planting in the middle of a lawn sounds open, but big trees can reach surprising distances. If the grass struggles there, perennials will, too.
Do a simple sightline check
Stand at your kitchen sink window, your patio chair, and the spot where you pull into the driveway. If the island bed will be a focal point, make sure it is not hiding behind a parked car, a trash bin, or the neighbor’s hedge that grows like it is training for a marathon.
Pick a shape that reads well
You can build an island bed in almost any shape, but some shapes behave better visually in the middle of a lawn.
Easy shapes that look natural
- Oval: My go-to for beginners. It looks intentional, it is easy to edge, and it gives you a natural center.
- Kidney: Great if you want the bed to feel more organic. It also creates two peaks where you can repeat taller plants for balance.
- Circle: Beautiful but tricky. Circles show mistakes fast, especially uneven edging. Keep it large enough to layer plants properly.
A sizing rule that prevents the “tiny dot” effect
Island beds that are too small look like a plant display dropped in the grass. As a practical guideline, aim for about 8 to 12 feet across at the widest point if you want three clear layers (center, mid-layer, edge) without crowding. Smaller can work, but it reads more like a specimen bed and needs very disciplined plant choices.
Lay it out before you dig
This is the part that saves you from living with an awkward shape for years. Do not skip it.
Tools I use
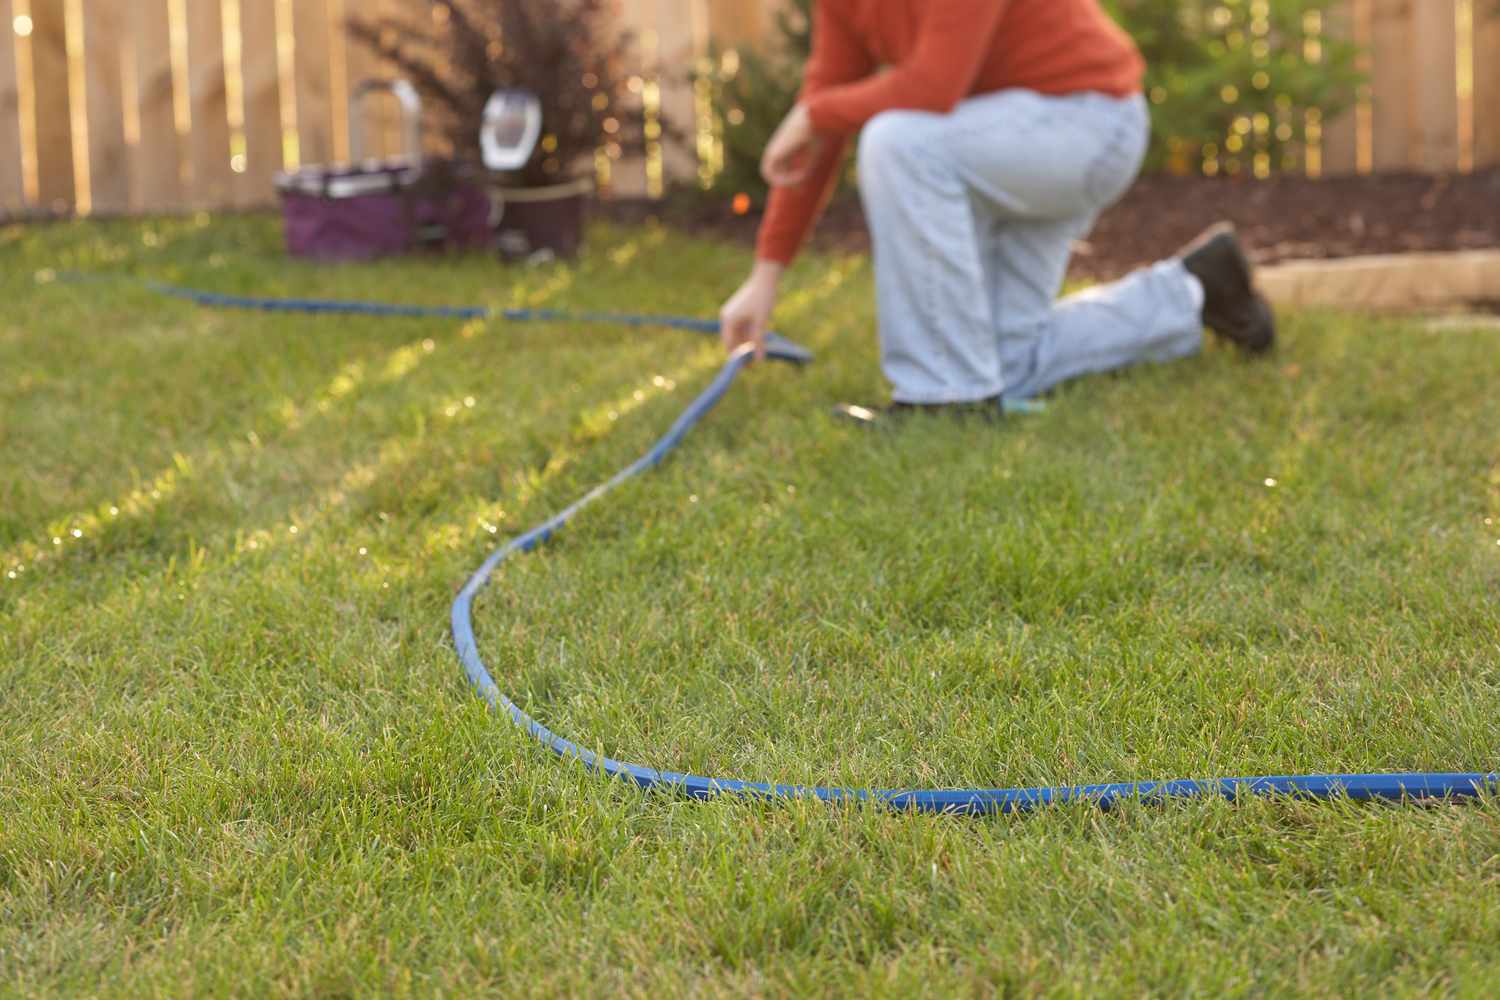
- Garden hose or soft rope
- Landscape marking paint or flour
- Measuring tape
- A stake for finding center points
Step-by-step layout
- Mark the rough footprint. Start bigger than you think, then refine. It is easier to shrink a bed outline than to convince yourself later that “small is fine.”
- Walk the outline. Circle it from the spots you will see it most (patio, windows, driveway). If you catch yourself wanting to straighten an edge, adjust it now.
- Check symmetry and flow. Ovals and circles should feel even. Kidney shapes should have gentle curves, not sharp pinch points that are miserable to edge.
- Measure key widths. Confirm you have enough width for layers. If your bed is 6 feet across, you have very little room for a tall center, mid-layer, and edge plants without crowding.
- Mark the final line. Paint it or dust flour along the hose line, then remove the hose.
If you are unsure, leave the outline overnight and look again the next morning. Fresh eyes are gardening’s underrated superpower.
Build structure in three rings
When people ask how to make an island bed look good from all sides, my answer is simple: think in rings. You are creating a gentle mound of height, texture, and bloom time that looks intentional no matter where you stand.
Ring 1: The center anchor
This is your backbone. Choose sturdy perennials that do not flop easily and will still look good after bloom.
- Height goal: typically 3 to 6 feet, depending on bed size and viewing distance
- Placement: one central clump for small beds, or two to three repeated clumps for larger beds
- Great perennial anchors: peonies (spring structure), ornamental grasses (late-season movement), baptisia, Joe-Pye weed for truly roomy beds, tall garden phlox with good airflow
Tip from my trial and error: If you love tall plants, do not put all of them dead center like a totem pole. In bigger island beds, I repeat tall plants in a loose triangle so the height feels stable from every direction.
Ring 2: The mid-layer
This is where you get fullness and long bloom. Most of your plants live here.
- Height goal: 18 to 36 inches
- Job: bridge the tall center and the low edge without creating a sharp drop
- Reliable mid-layer perennials: coneflower, salvia, daylilies, coreopsis, nepeta, upright sedum, bee balm (Monarda; choose mildew-resistant varieties), heuchera for part shade
Ring 3: The edge
The edge is what makes an island bed look crisp from 20 feet away. I like plants that stay relatively low, bloom generously, and tolerate a bit of heat reflected from the lawn.
- Height goal: 6 to 15 inches
- Job: hide bare stems, soften the bed line, and keep the shape readable
- Edge favorites: creeping thyme (sun, light foot traffic), hardy geranium, dianthus, compact catmint varieties, low sedums, ajuga for part shade (use it where you can contain its enthusiasm)
Plan bloom without chaos
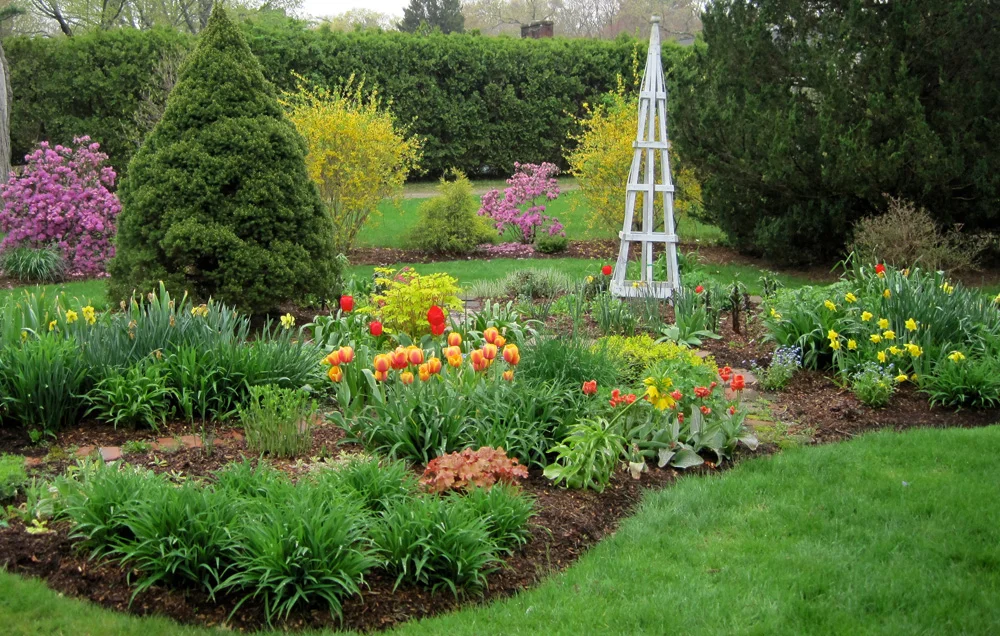
Island beds can turn into a visual jumble if every plant is shouting at once. The goal is steady color with repeating shapes, not every color in the paint box in one ring.
Use repeats like a rhythm
Pick 3 to 5 main perennials and repeat them around the bed, especially in the mid-layer. Repetition reads as intentional from all sides, even when some plants are between bloom cycles.
Stagger bloom times on purpose
I like to make sure each ring has at least one strong performer in each part of the season:
- Spring: peonies, iris, creeping phlox (at the edge), early salvia
- Summer: coneflower, daylily, garden phlox, yarrow
- Late summer to fall: asters, rudbeckia, sedum, ornamental grasses
If you want to tuck in bulbs for early color, island beds are perfect for it. Plant daffodils and species tulips in clusters throughout the mid-layer and let the emerging perennials hide fading foliage.
Pick a simple color plan
For 360-degree viewing, cohesive color helps the bed look good from every angle. Two easy approaches:
- One main palette: for example pink, purple, and white with silver foliage.
- Warm-to-cool flow: warmer colors on one side of the oval and cooler on the other, blended through the middle with a bridging color like soft yellow or white.
Spacing makes the difference
New gardeners almost always plant too close. I get it. Tiny nursery pots look lonely in a big bed. But perennials are honest. They will fill in, and then they will ask for more space.
My spacing method
- Read the mature width. Use the plant tag as a starting point. If it says 18 inches wide, believe it.
- Place pots on top of the soil first. Arrange everything before digging, then stand back and check the bed from a few key viewing spots.
- Group in odd numbers. Three or five of the same perennial reads natural and balanced from multiple angles.
- Leave room for air. Good airflow helps discourage powdery mildew, especially on bee balm and garden phlox. Sun and cultivar choice matter too, so do not be shy about choosing resistant varieties.
If you crave an instant full look, use a few annuals as temporary fillers the first season, especially near the edge. By year two, you will be glad you did not cram the perennials together.
Make the edge look finished
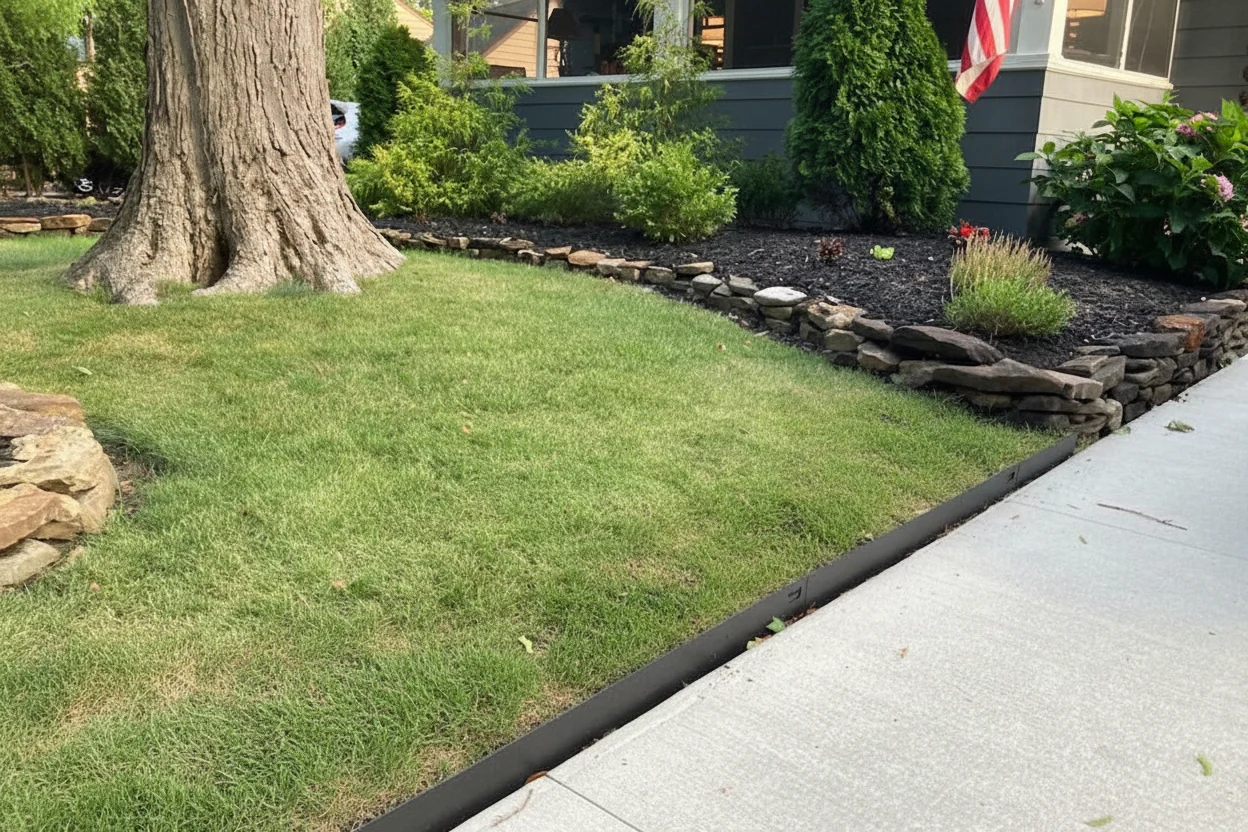
The biggest visual upgrade for an island bed is a clean, consistent edge. Even when perennials are cut back in winter, a tidy line keeps the bed looking intentional.
Edge options that work in lawns
- Spade-cut edge: a simple trench edge that you refresh once or twice a season. Classic and inexpensive.
- Steel edging: discreet and very clean, especially if you like modern lines.
- Brick or stone: beautiful, but be careful not to create a mower obstacle course. Install flush or slightly above grade.
Whatever you choose, keep the edge consistent around the entire bed. Mixed edging styles can make a freestanding bed look like it is still in progress.
Prep the soil for the long haul
Island beds are surrounded by grass, and grass is a fierce competitor. Good prep helps your perennials establish quickly instead of struggling in a sea of turf roots.
Remove sod thoroughly
Cut and lift the sod inside your outline. If you leave strips of grass, they will creep back in and you will be weeding forever. Ask me how I know.
Get ahead of weeds and grass creep
If you have persistent weeds or aggressive lawn grass, it helps to be extra thorough before planting. In addition to removing sod, dig out thick mats of roots along the edge and keep the first season mulched and watched. A crisp edge is not just for looks. It also slows turf from sneaking back in.
Improve soil without overdoing it
- If you are able to cultivate, mix in 2 to 3 inches of compost across the bed and blend it into the top 8 to 10 inches.
- Aim for gradual improvement of native soil rather than a sharply different layer. You want better soil structure, not a fluffy bowl that holds water.
- If drainage is poor, consider a slightly raised bed profile by mounding soil 2 to 4 inches higher in the center.
- If plants have struggled in that spot before, a simple soil test can save you a lot of guesswork.
Mulch like you mean it
After planting, mulch 2 to 3 inches deep. Keep mulch pulled back from crowns to prevent rot, especially on plants like lavender and some salvias that dislike wet collars.
Two layouts you can copy
If you want a clear starting point, these are two layouts that work in many sunny yards. Adjust varieties to your climate, soil, and light, but keep the structure.
Layout A: Classic oval, summer to fall (about 10 by 14 feet)
- Center anchors: 3 clumps of ornamental grass (like switchgrass or feather reed grass) in a loose triangle. If you are in a small yard, choose clump-forming, well-behaved cultivars and keep an eye on mature size.
- Mid-layer repeats: coneflower repeated in 3 drifts, salvia repeated in 3 drifts, sedum repeated in 2 drifts
- Edge: hardy geranium around most of the perimeter with pockets of creeping thyme in the sunniest spots
Layout B: Cottage feel, spring to summer (about 8 by 12 feet)
- Center anchor: 1 to 2 peony clumps plus 1 sturdy upright perennial (like baptisia) for structure after peony bloom
- Mid-layer repeats: catmint, daylilies, and garden phlox spaced for airflow
- Edge: dianthus and low sedums for tidy mounds and long interest
Both layouts rely on repeating the same plants rather than using one of everything. That repetition is what makes the bed read beautifully from every side.
Easy maintenance plan
An island bed is not high maintenance, but it does reward a little seasonal rhythm.
- Watering (year one): Water deeply and consistently until roots establish. In hot or windy weather, lawn-surrounded beds can dry faster than beds tucked against a house.
- Weeding: Stay on top of weeds early, before the perennials knit together. A quick weekly pass beats a weekend rescue mission.
- Deadheading and cutbacks: Snip spent blooms when you feel like it, especially on repeat bloomers. In late fall or early spring, cut back what looks messy, but consider leaving sturdy seedheads (sedum, grasses, some alliums) for winter interest if you like that look.
- Divide when crowded: Every few years, many perennials appreciate dividing. If the mid-layer starts swallowing the edge ring, it is time.
- Edge upkeep: Refresh a spade-cut edge once or twice a season, or keep steel edging clear so grass cannot crawl over it.
Common mistakes to avoid
Tall plants around the edge
It blocks the view into the bed and makes the whole thing feel bulky. Keep tall plants toward the center, then step down in height.
Floppy plants without a plan
Many cottage garden favorites flop when watered by sprinklers or hit with summer storms. If you love them, plan discreet supports early, or choose sturdier cultivars.
Forgetting winter structure
An island bed is a focal point year-round. Add at least one plant with strong off-season presence such as ornamental grasses, sedum seedheads, or evergreen perennials suited to your region. Some alliums also leave interesting seedheads, although some gardeners prefer to deadhead depending on the type.
Making it too narrow to layer
If you cannot fit three rings, the bed will always feel a bit awkward. Go wider, or simplify into a lower, meadow-style bed with one main height.
Quick FAQ
How tall should the center be?
Match it to bed size and viewing distance. For a medium island bed (8 to 14 feet across), a 3 to 5 foot center height usually looks right. For larger beds, 5 to 7 feet can work if the plants are sturdy and repeated rather than stacked in one clump.
Should it be raised?
Not always, but a slight mound is helpful for drainage and visibility. Even 2 to 4 inches higher in the center makes a big difference, especially in heavier soils.
Do I need landscape fabric?
I do not use it under perennials. It complicates dividing and replanting later and can trap weed roots on top. A thick mulch layer and regular edge maintenance is simpler long term.
How do I keep it looking good from every angle?
Use rings of height, repeat your key plants, and avoid having a front-and-back mindset. When you place plants, check the bed from your main viewing spots before you commit to the final holes.
A final pep talk
An island bed feels like a big commitment because it is right out in the open, but it is also one of the most satisfying projects you can do. When you build a simple structure of tall center, mid-layer repeats, and a tidy edge, you can change colors and varieties over time without losing the bed’s shape. And that is the kind of garden confidence that grows right alongside your perennials.