
Crown rot is one of those garden heartbreaks that can look like “mysterious wilting” until you get brave, kneel down, and actually check the crown. I have lost plants to it and I have saved plants from it. The difference was almost always timing and drainage.
The crown is the plant’s handshake with the soil, the spot where stems meet roots. More precisely, it is the transition zone where new shoots and buds emerge above, and roots branch out below. When that area stays cold and saturated for too long, fungi and fungus-like water molds can move in, tissue turns mushy, and the plant can collapse fast. The good news: if you catch it early, you can often rescue at least part of the plant and stop the problem from spreading.
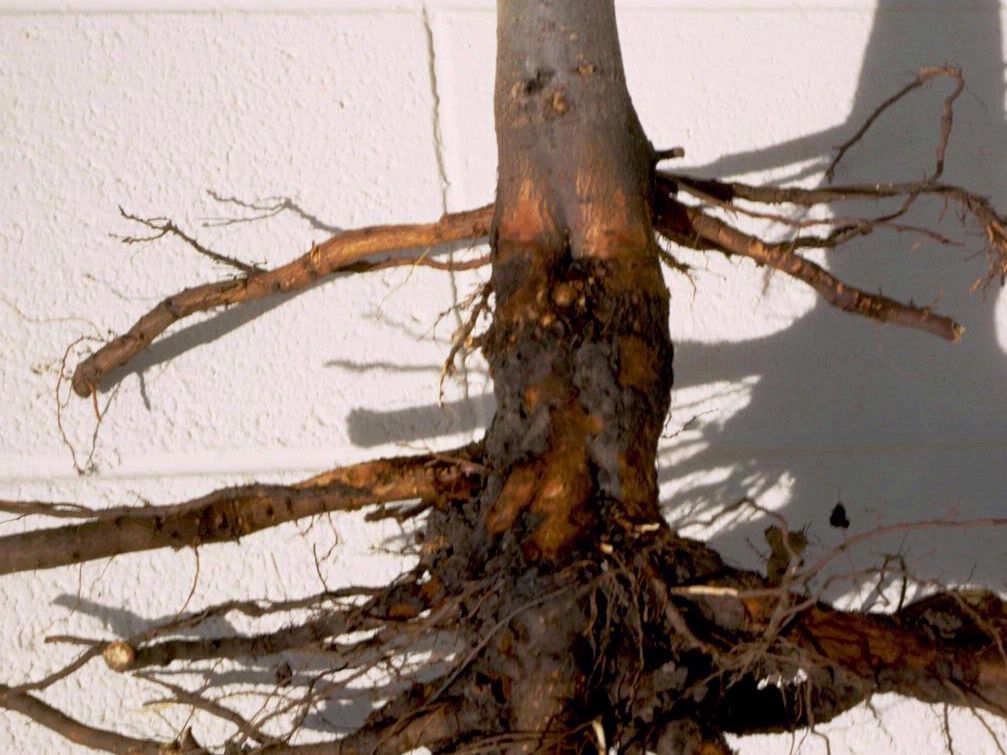
What crown rot looks like up close
From a distance, crown rot can masquerade as drought stress, heat stress, or even a pest problem. The giveaway is at the soil line and just below it.
Common above-ground symptoms
- Sudden wilting even when the soil is wet
- Yellowing leaves that progress quickly to browning
- Stems that topple or pull away easily from the base
- Stunted growth in spring, especially after a wet winter
- Patchy dieback where one side of the clump fails first
What you will see at the crown
- Brown to black discoloration at the base of stems
- Soft, water-soaked tissue that compresses when pinched
- A sour, swampy smell in advanced cases
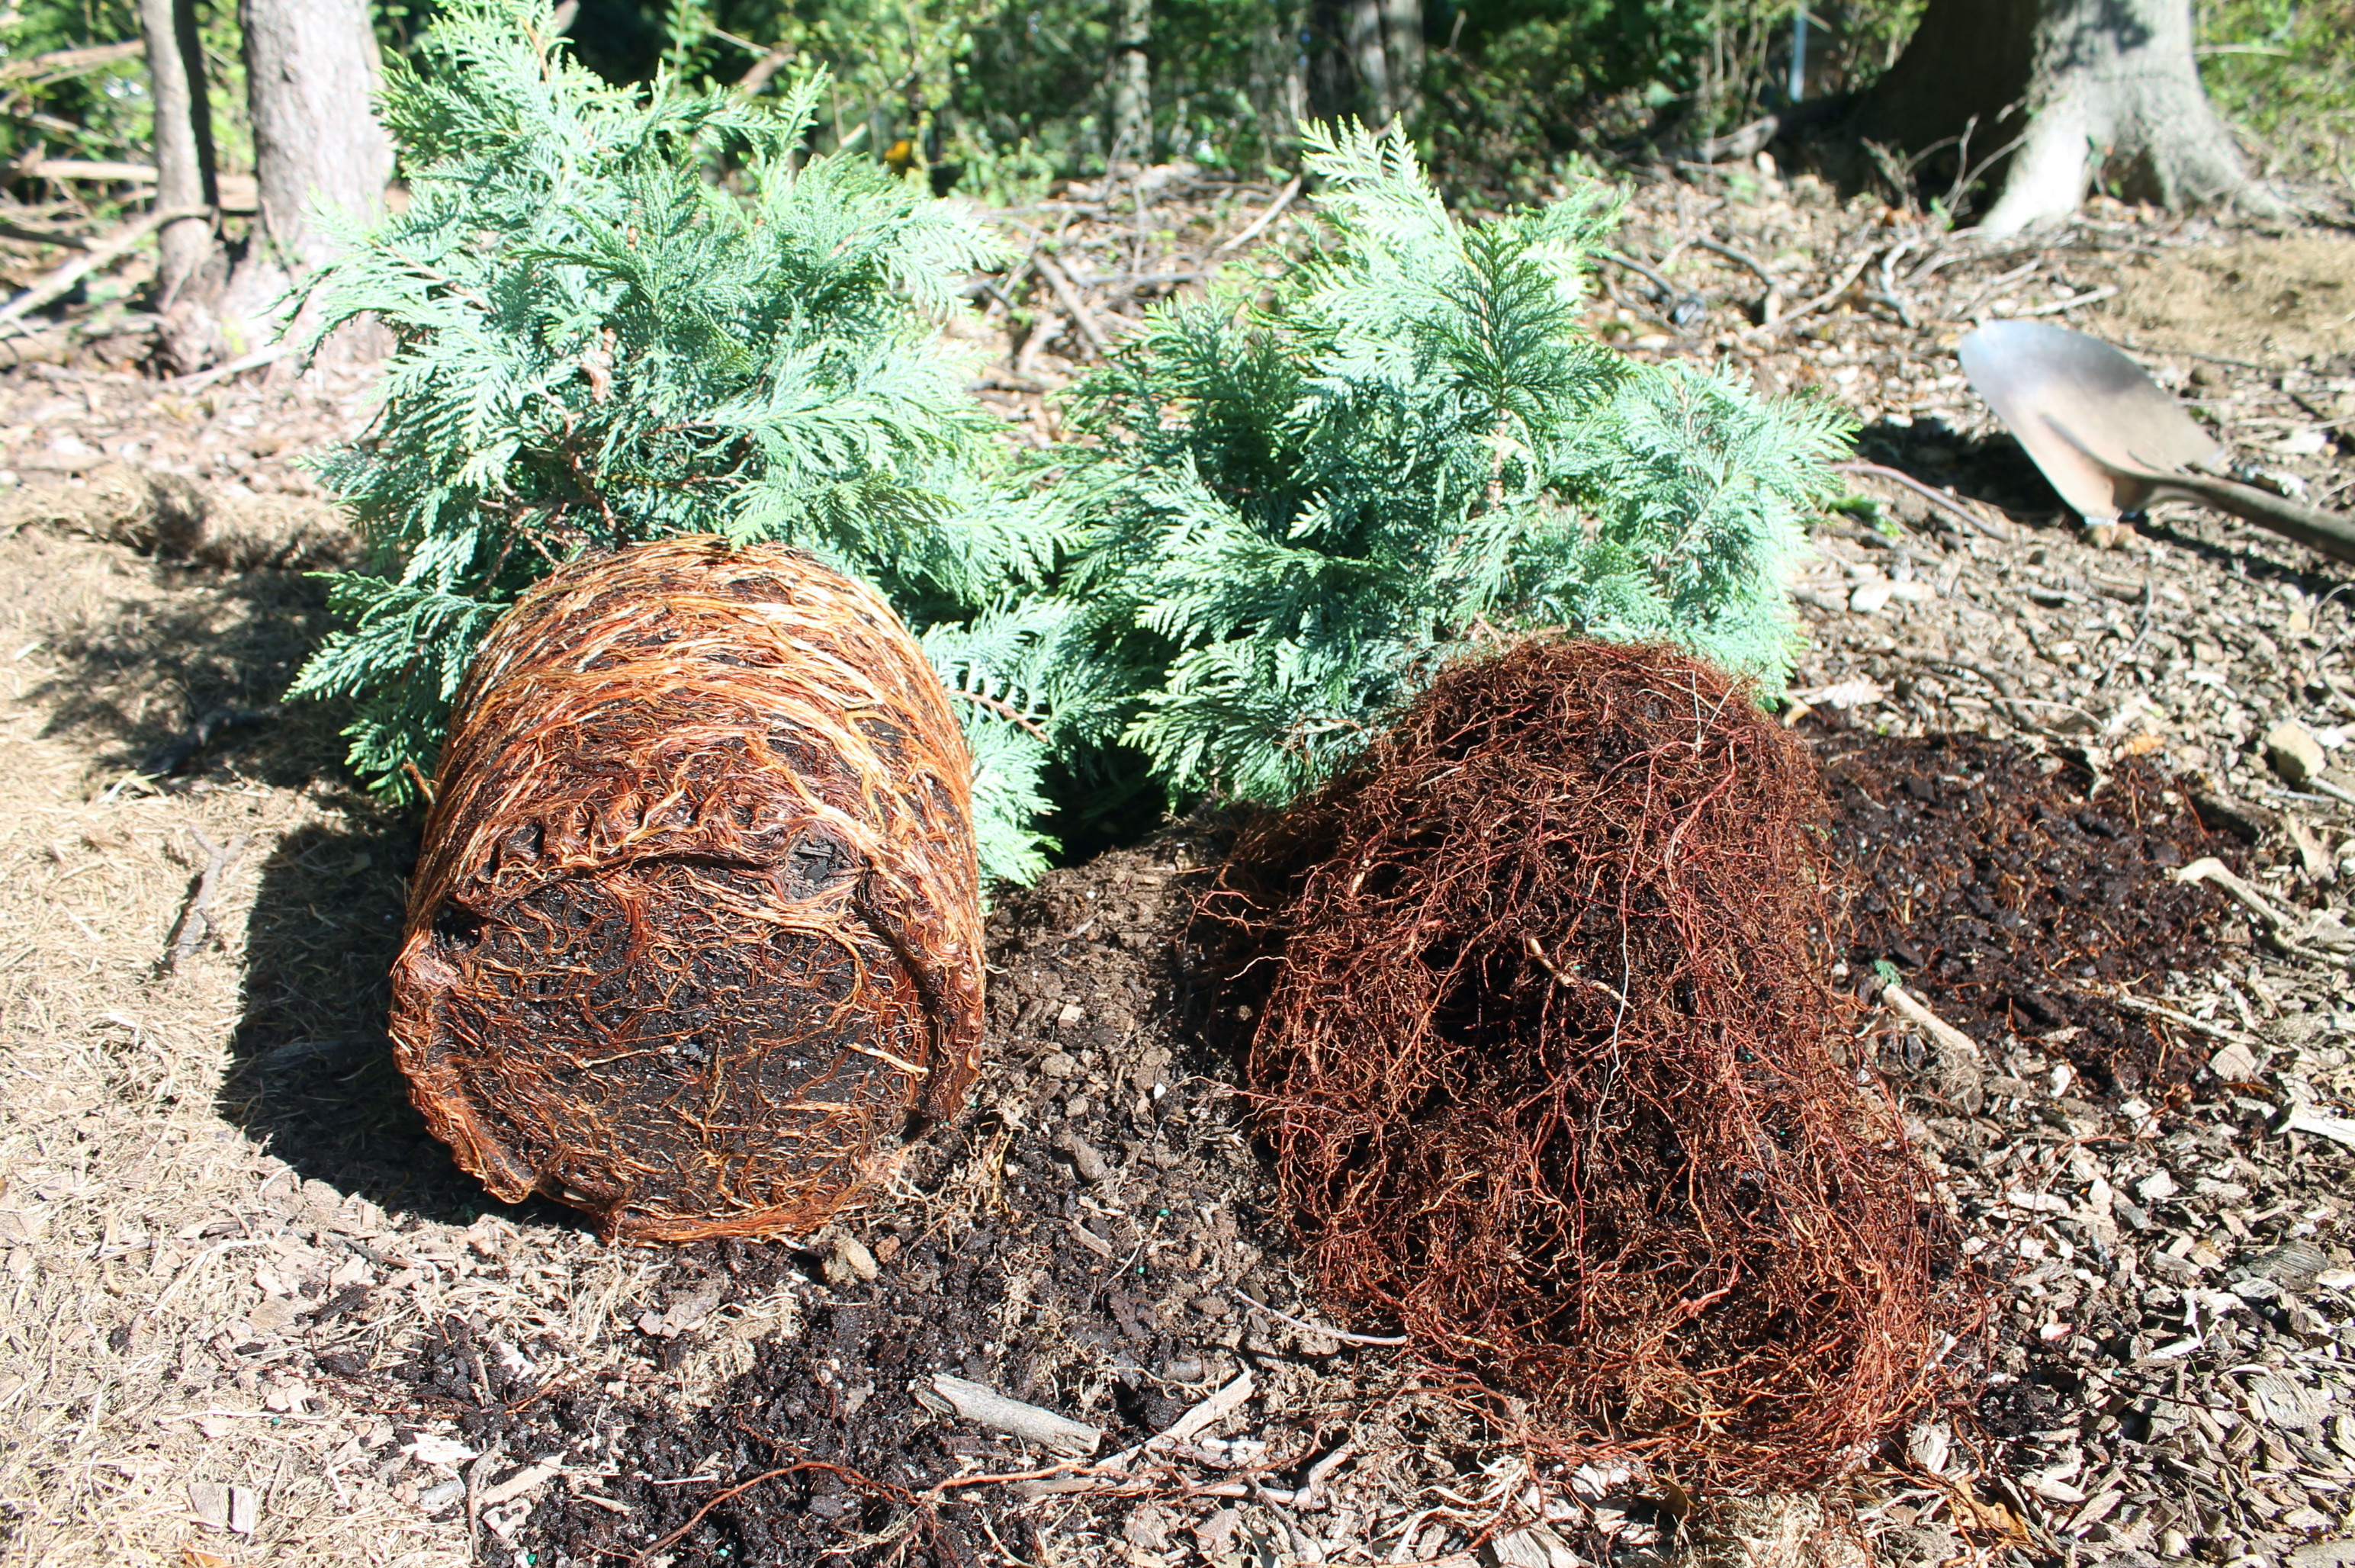
- Roots that are limp or slough their outer layer rather than staying firm (color varies by plant and soil staining)
If you are unsure, do a gentle “tug test.” Healthy stems resist. Rotting stems often slide away from the crown with very little effort.

Crown rot vs. root rot vs. winter kill
These issues overlap, and the fix depends on which one you are dealing with.
Quick differences you can actually use
- Crown rot: damage centers at the soil line. The base of stems looks dark and soft. Top growth can collapse quickly.
- Root rot: roots are the main problem, often with a generally weak plant. You may not see stem base mush right away.
- Winter kill: tissue is dry, hollow, or brittle rather than slimy. You often see desiccation, cracking, or dead buds after freeze-thaw cycles.
In real gardens, it can be a mix. A plant weakened by winter stress is more likely to rot in a persistently wet spring, especially in heavy soil.
Why poor drainage invites rot
Crown rot is less about “a bad plant” and more about a bad situation that stays bad for too long. Most crown-rot pathogens thrive when crowns and roots sit in low oxygen soil for extended stretches.
The usual culprits are a mix of fungi and oomycetes, and home gardeners rarely need an exact lab ID to act. Names you will see in extension articles include Phytophthora and Pythium (water molds), plus fungi such as Rhizoctonia. In practice, diagnosis is often based on conditions plus symptoms: wet soil, a declining plant, and a soft or dark crown.
Garden conditions that raise the risk
- Clay soil or compacted beds that drain slowly
- Low spots where water collects after rain
- Thick mulch piled against the crown (mulch volcanoes are not just for trees)
- Overwatering on a schedule instead of checking moisture first
- Dense plantings with poor airflow at soil level
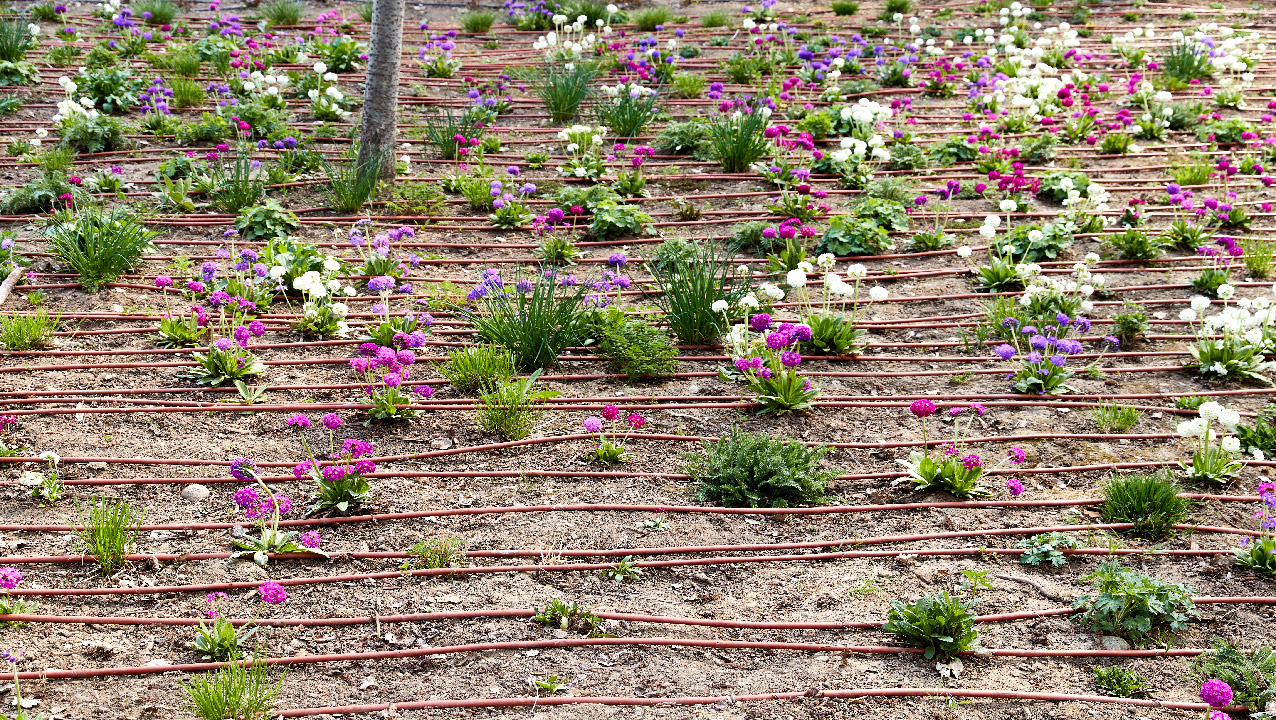
- Drip lines or sprinklers that keep the crown area constantly damp
Another sneaky contributor is planting too deep. Many perennials want their crown right at, or slightly above, the finished soil line.
Rescue plan: saving a stressed perennial
If you suspect crown rot, resist the urge to “wait and see.” In saturated conditions, it usually gets worse, not better. Here is the approach that has given me the best odds.
Step 1: Pause watering and expose the crown
- Stop irrigation for that plant unless conditions are truly dry.
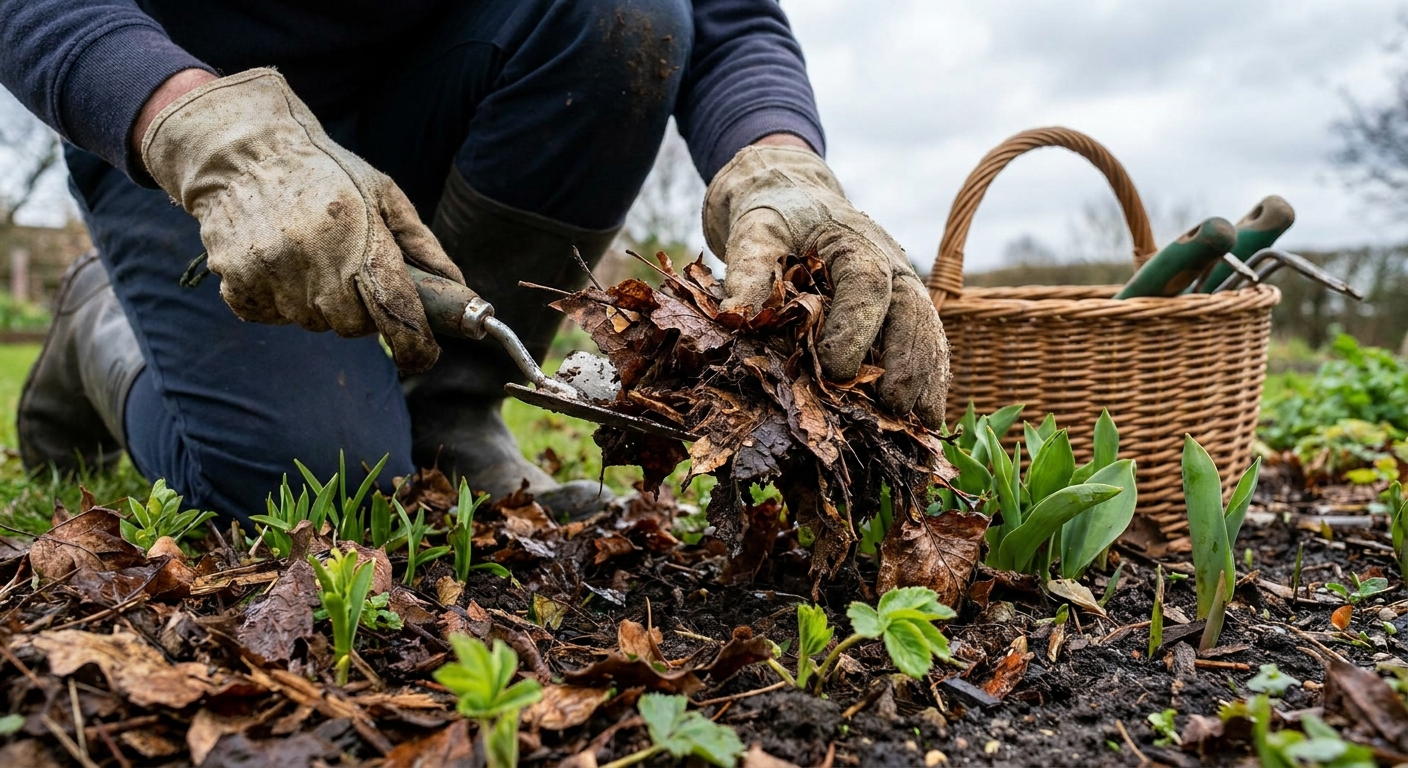
- Pull mulch back 2 to 4 inches from the crown so the surface can dry.
- Gently scrape away a thin layer of soil around the crown to inspect it.
Step 2: Lift the plant for a real inspection
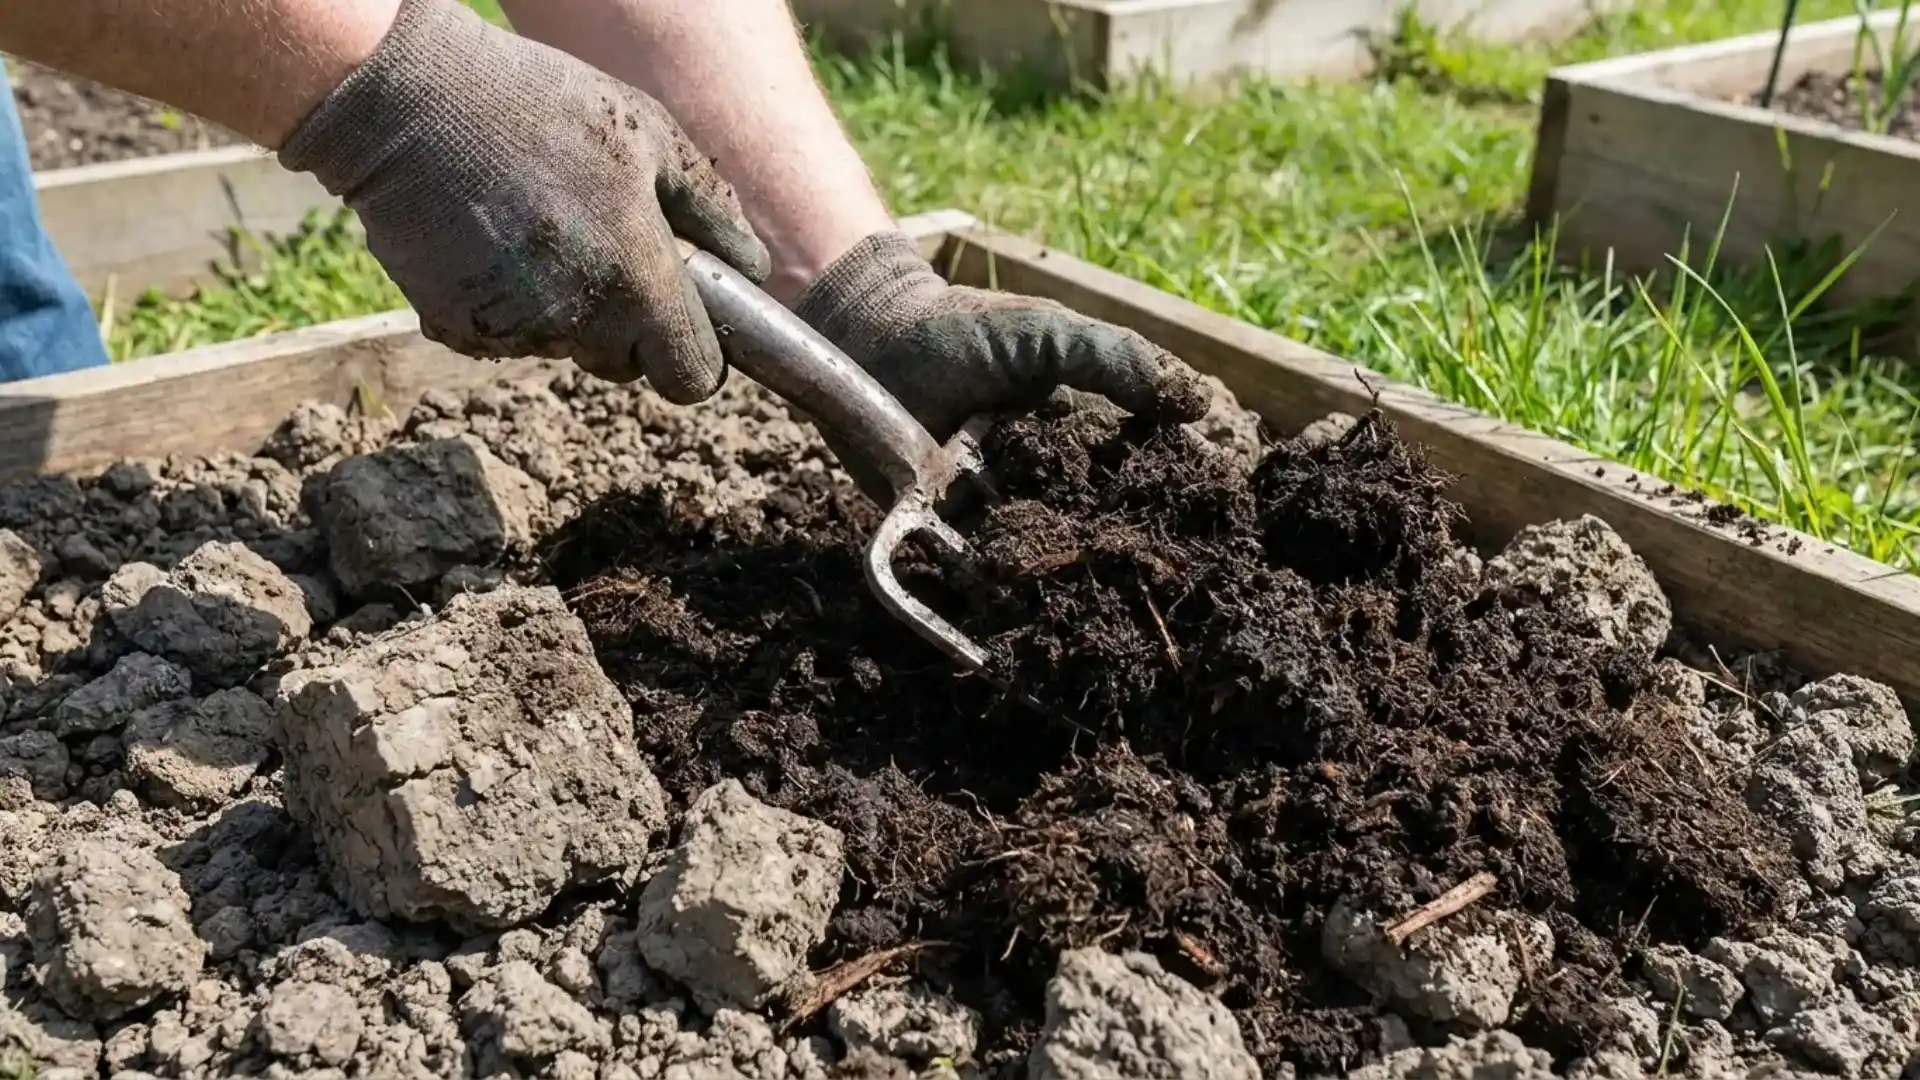
If the crown is soft or blackened, lifting is worth it. Use a garden fork if you can. It is less likely to slice through salvageable roots.
- Loosen the soil in a wide circle around the plant.
- Lift the clump and set it on newspaper or a tarp.
- Rinse or shake soil off so you can see the crown clearly.
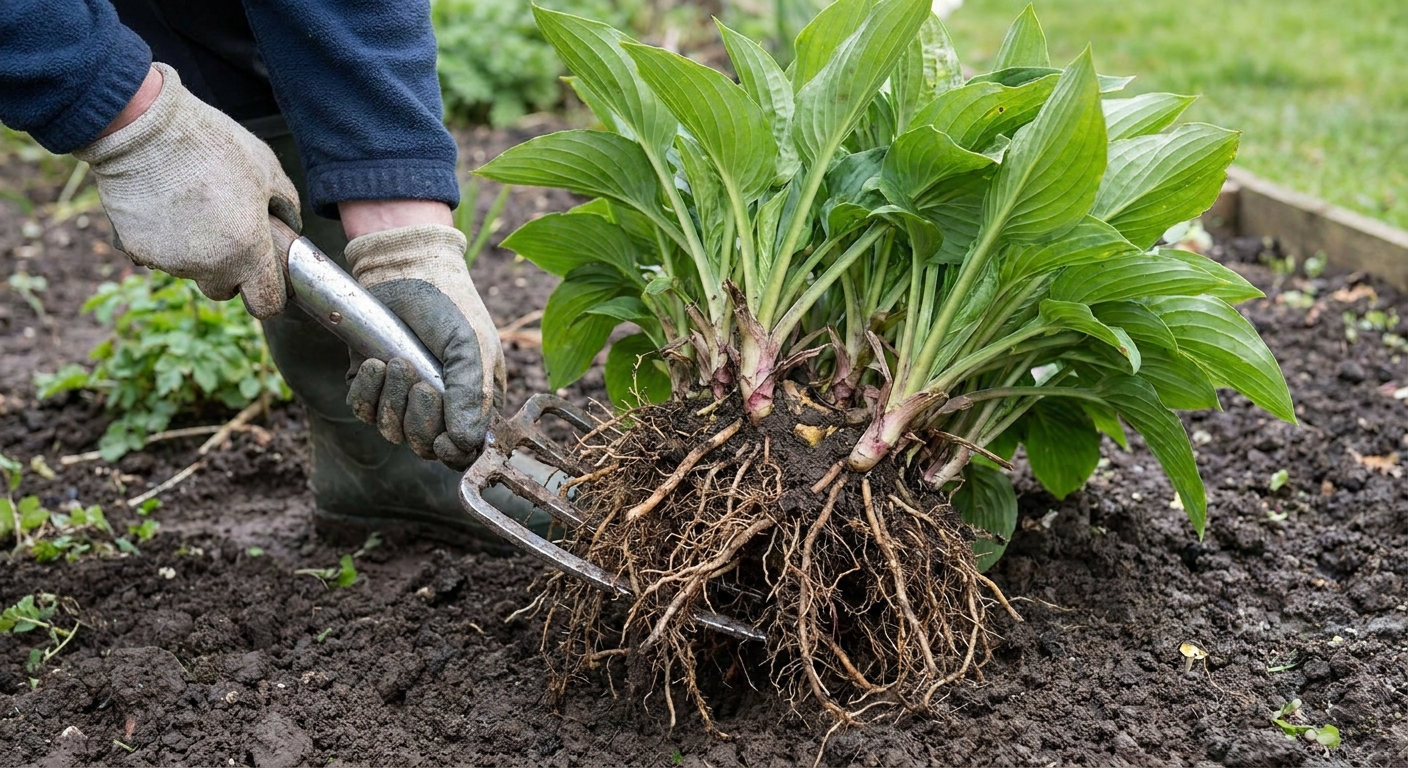
Step 3: Cut away rot until you hit firm tissue
Use a clean, sharp knife or pruners. Remove any mushy, dark sections. Keep cutting until what remains is firm and shows healthy color. If the entire crown is soft, composting is the kindest call.
- Discard rotten pieces in the trash if disease pressure is high.
- If you compost, only add questionable material to a hot, well-managed pile that sustains high heat. Most casual backyard piles do not get hot enough, long enough, to reliably reduce pathogens.
- Sanitize your tool between cuts with isopropyl alcohol or a disinfecting wipe, and let tools dry before storing. Use alcohol away from open flames.
Step 4: Decide whether to treat
In home gardens, the most effective “treatment” is usually drying plus improved drainage. That said, gardeners sometimes use extra steps after trimming rot.
- Skip-it option: trim, dry, and replant higher in better soil conditions. This is often enough.
- Hydrogen peroxide rinse (use caution): this is a common home remedy, but it is not a guaranteed fix and strong solutions can burn living tissue. If you use it, stick with mild, label-safe handling. Many gardeners dilute 3% household hydrogen peroxide with water and do only a brief rinse, then let the crown air-dry before replanting. When in doubt, test on a small section or skip it entirely.
- Fungicide drench (situational): products labeled for root and crown rots may help when used exactly per label. They work best as part of a drainage fix, not as a substitute for one.
If you choose any product, follow the label precisely and consider it a support tool, not the main solution.
Step 5: Replant higher in a better spot
This is where most rescues succeed or fail. Replanting into the same wet pocket usually repeats the problem.
- Choose a location that does not collect runoff.
- Replant with the crown at soil level or slightly proud of it.
- Water once to settle soil, then let the top few inches dry between waterings.
When to stop and replace
If more than about half the crown is soft or blackened, or you have to cut so much that only a sliver of firm tissue remains, replacement is often the wiser use of time. The same goes for plants that repeatedly rot in that spot year after year. Sometimes the lesson is simply “wrong plant, wrong place.”
Relocating a perennial crown safely
If your bed stays wet for days after rain, moving the plant is often the best long-term fix. I know it feels dramatic, but it is usually faster than fighting your soil all season.
Pick the right time
- Cool, mild weather is ideal. Early fall or spring works for many perennials.
- Avoid moving stressed plants during extreme heat.
Prep the new hole before you lift
Have the new site ready so the crown is not sitting out drying for too long.
- Dig wide, not just deep.
- Create a slight mound if drainage is borderline.
- Mix in compost to improve structure, but do not rely on compost alone to “fix” heavy clay.
Aftercare that prevents relapse
- Keep mulch pulled back from the crown.
- Water deeply, then wait. Frequent shallow watering keeps crowns damp.
- Watch for new growth. In active growing seasons, improvement may show within a few weeks, but full recovery can take several weeks to a month (or longer), depending on the plant, the season, and how much crown you removed.
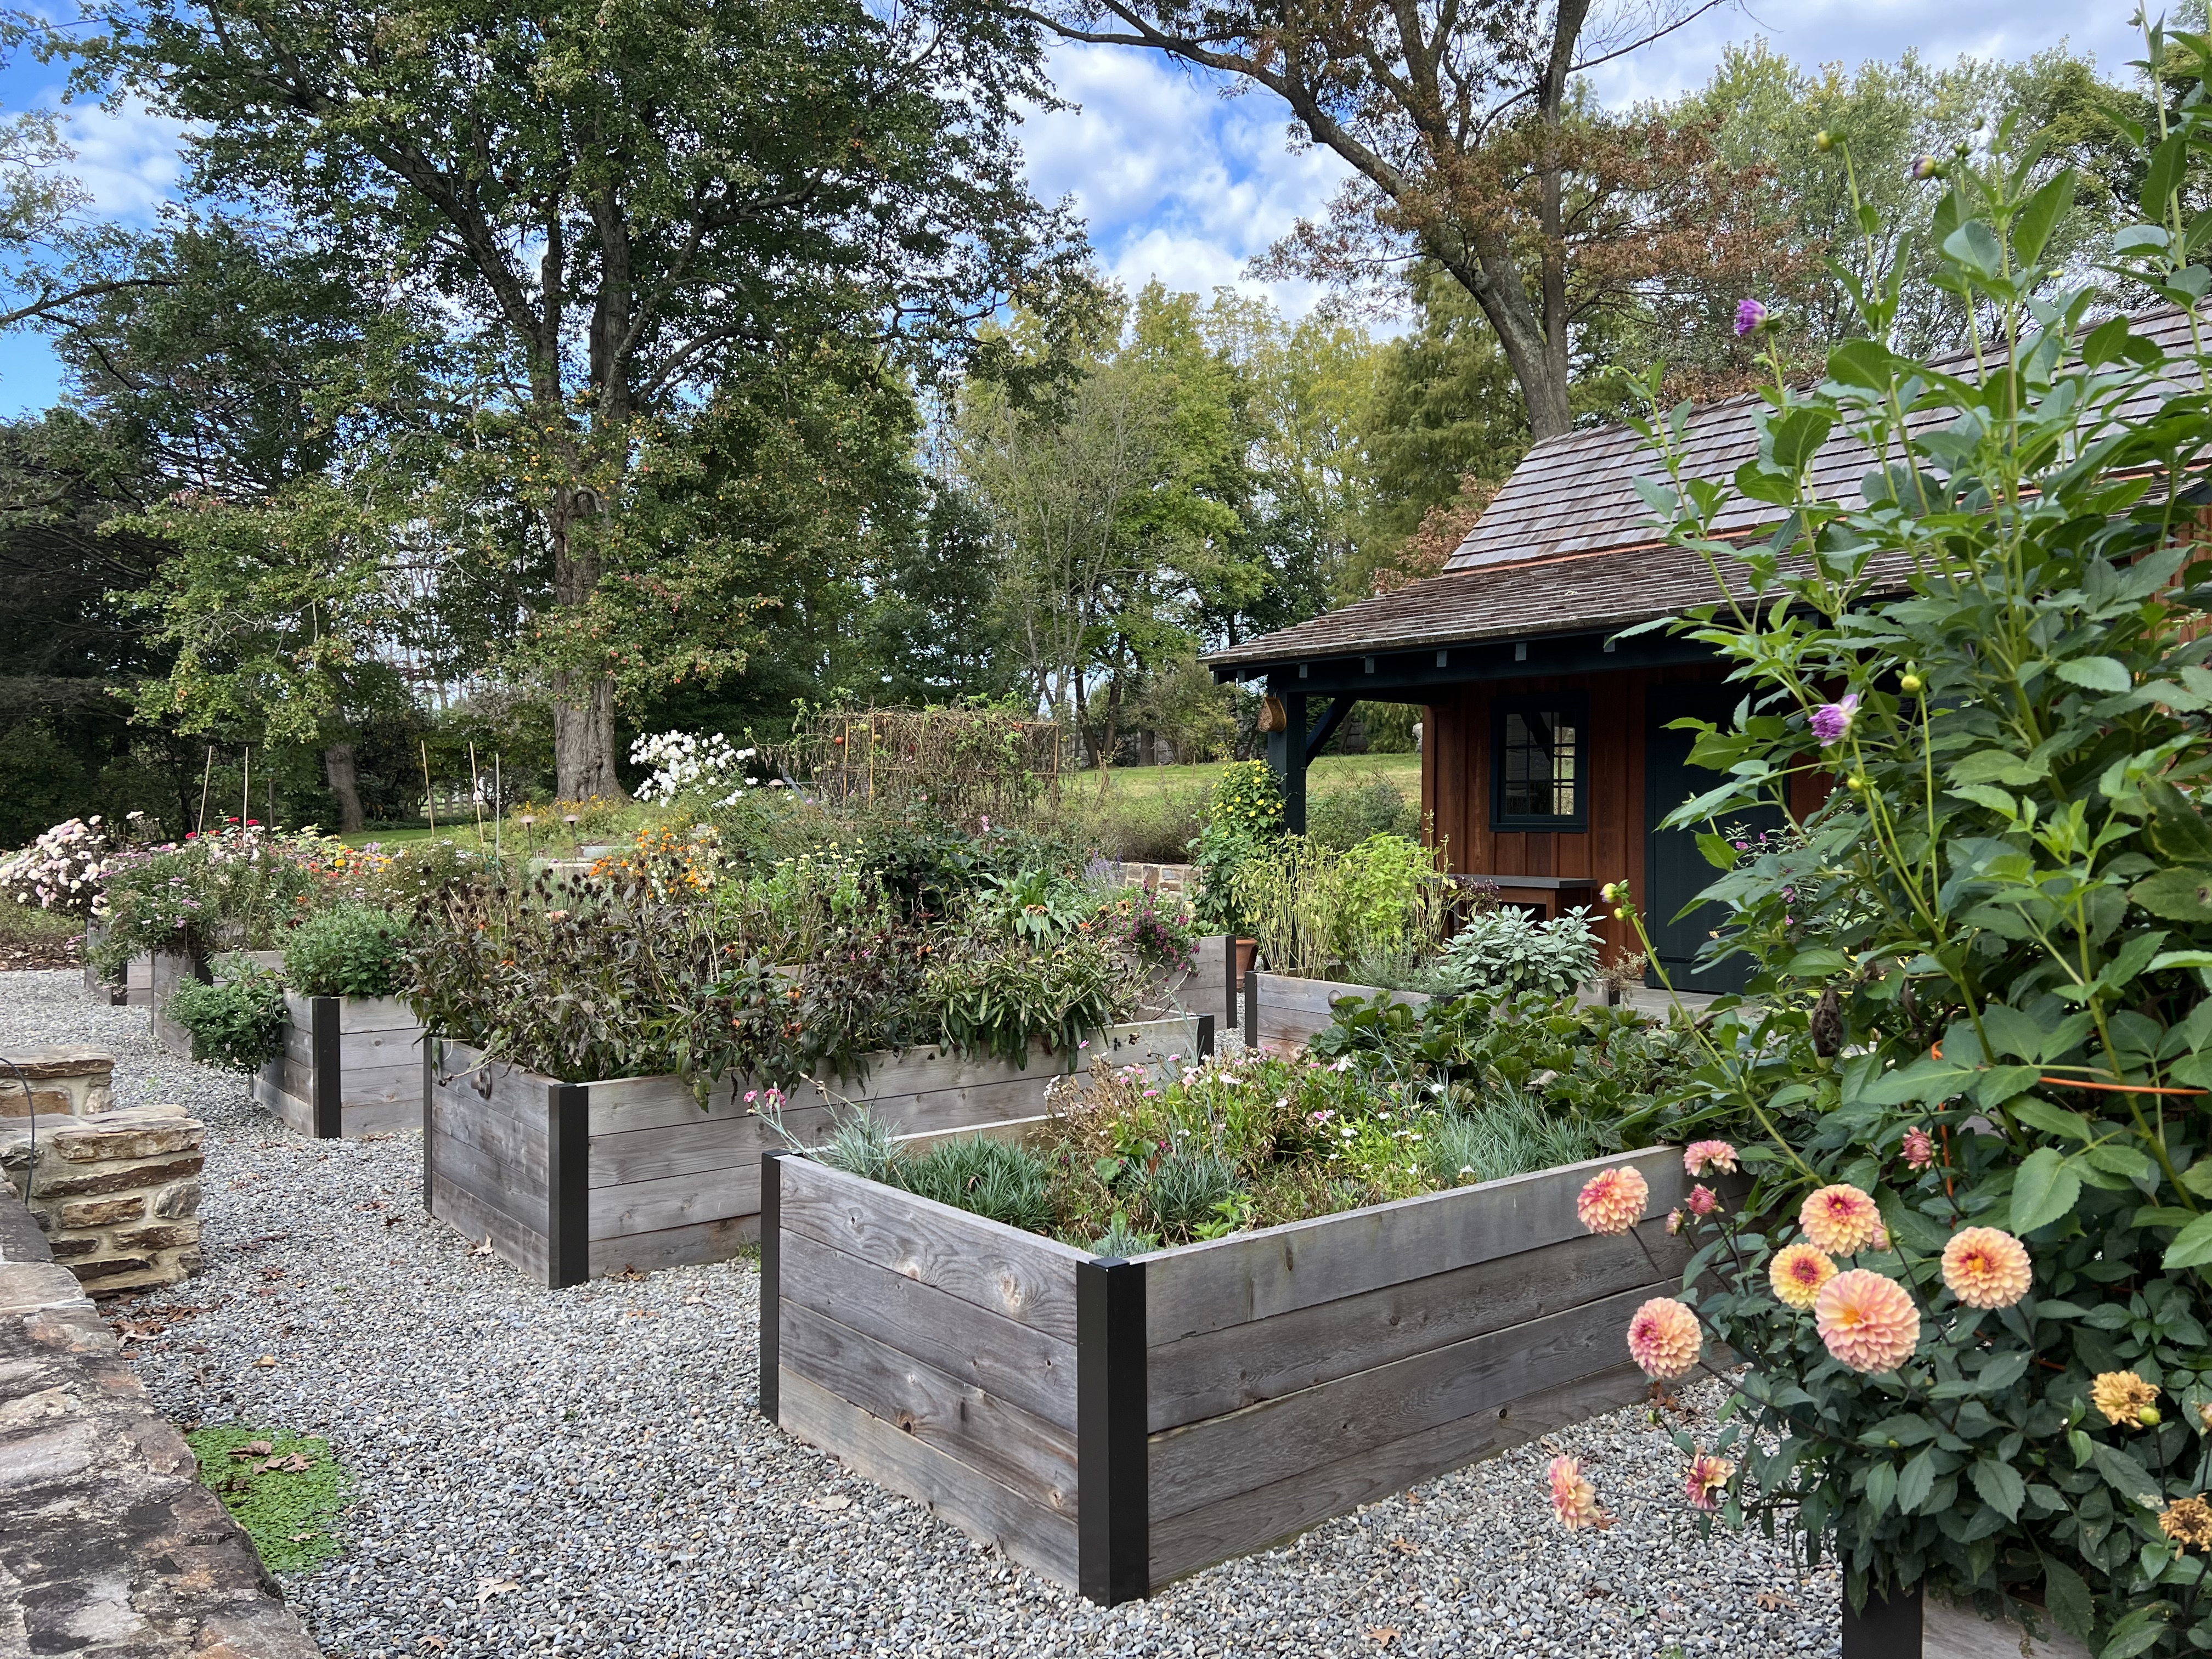
Fixing the real problem: drainage
If crown rot has shown up once, your garden is giving you useful information. Think like water. Where does it sit? Where does it run?
Easy improvements for existing beds
- Pull back mulch from crowns year-round, especially going into winter.
- Aerate gently with a garden fork around plants (do not churn up roots). This can help water infiltrate instead of pooling.
- Create micro-mounds for susceptible perennials by adding soil around the planting area so crowns sit higher.
- Redirect downspouts and runoff that dump into perennial beds.
When you need a bigger fix
- Raised beds or raised rows: my favorite solution for chronic clay or flat yards.
- French drains or swales: great when the whole area stays wet, not just one planting pocket.
- Soil rebuilding over time: repeated additions of compost, leaf mold, and fine pine bark can improve structure, but it is a multi-season project.
A quick caution: adding a little sand to clay can backfire, creating a denser, brick-like texture unless you add a large amount and mix it thoroughly. Aim for organic matter and structural changes instead.
Perennials most prone to crown rot
Any perennial can rot in bad conditions, but some are simply less forgiving of wet feet, especially in winter.
- Lavender (especially in humid climates or clay)
- Hardy rosemary where winters are wet
- Bearded iris if rhizomes are buried or kept too wet
- Many salvias in heavy soil
- Delphinium and other crown-forming perennials that hate saturated crowns
- Some ornamental grasses when crowns stay wet and cold
On the flip side, moisture-tolerant perennials can be a smarter choice for wet areas: think astilbe, ligularia, joe pye weed, and many sedges, depending on your climate and sun.
Prevention habits that work
Once you have seen crown rot, you start gardening a little differently. Not fearfully, just more observantly. These are the habits that keep my beds healthier across wet seasons.
Watering rules I live by
- Water the soil, not the crown. Aim at the root zone.
- Water in the morning so surfaces dry faster.
- Check first. Stick a finger 2 to 3 inches down. If it is damp, wait.
- Reduce fall watering as plants slow down, unless conditions are truly dry.
Mulching without smothering
- Keep mulch donut-shaped, not piled against stems.
- In wet winters, use a lighter layer and refresh in spring as needed.
Planting depth and spacing
- Set crowns at the right height, usually at soil level.
- Give plants enough elbow room for air movement at ground level.
FAQ
Can a plant come back after crown rot?
Sometimes, yes. If there is firm, healthy tissue left and you fix the wet conditions, many perennials can regrow from remaining crown buds or from healthy divisions taken from the edge of the clump.
Should I throw away the soil from the planting hole?
If you are dealing with widespread rot in a small bed, replacing some soil can help, but drainage is still the bigger issue. In most gardens, improving the site and removing diseased crown tissue is more impactful than trying to “sterilize” soil.
Is crown rot contagious?
The organisms that cause crown rot can spread in splashed water, contaminated tools, or infected plant material. Cleaning tools between plants and not composting rotten crowns in cooler compost piles are sensible precautions.
What if the bed is always wet and I cannot change it?
Then I would garden with the conditions you have. Shift that area toward moisture-loving perennials, use raised planting pockets for anything that needs sharper drainage, and keep crowns exposed and airy.
A final hopeful note
If crown rot has taken out a favorite plant, you did not fail. You learned something real about your soil and your microclimate. Gardening is a long conversation with water, weather, and time.
Start by checking crowns early, especially after rainy stretches. Improve drainage where you can, raise the planting height where you cannot, and choose the right plants for the spots that stay wet. Perennials are wonderfully forgiving when we meet them halfway.